Removing your printer cartridge is not the cheapest thing. What’s more, thousands of them stuff garbage dumps all over the world.
So, what can you do to save both money and the environment? Read on the article and find the answer.
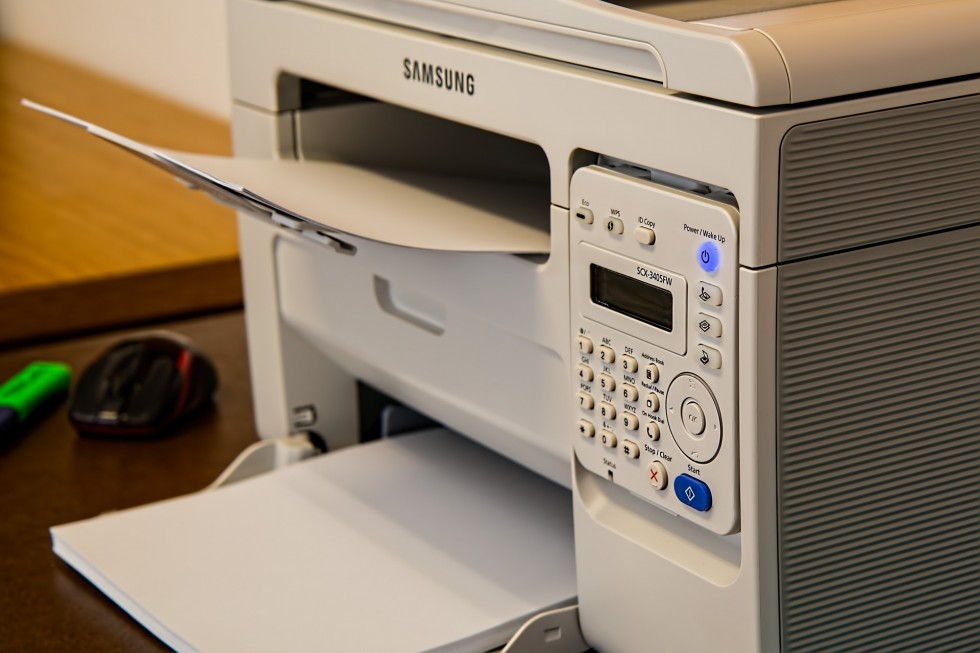
Most of us can’t imagine our life without computers. In the same way, people really got used to printing something with different purposes.
For example, a 15-year old teen needs printer to have the latest party photos on paper. While an office employee has some of important document to be printed and introduced before his chief.
But, oh, what a frost? Someday your cartridge runs out of ink and all plans have been shipwrecked just in moment.
We’ve got a perfect solution. You don’t need to pay hundreds of dollars to buy a new cartridge.
There is even no necessity to take it and head to the store. Refill your ink tank yourself.
Yet, at any moment you can contact your local specialist and get the job done professionally. Just leave the request and the available pro will take your task.Leave your request here
Here you can see some low-cost and environmentally-friendly tips. Use our instructions and computer cartridge refill won’t be a problem for you.
With modern blue-chip inks you will be able to save a high-resolution ability of your printer. In addition to it, by reusing the cartridge, you will take care of natural environment.
In word, look over the instructions and find out how to avoid expenses. Learn what you need and go ahead.
Refill kit you will need
To successfully complete the task yourself you will need some tools. Every refill kit depends on the cartridge.
In spite of the fact that you will need to spend money on the inks and other requisites, purchasing a new cartridge is much more costly.
That’s why, first buy printer inks. Find suitable inks in on-line shops or computer stores.
Next, you will need a syringe. Try to choose the one with the fine needle.
Finally, prepare the paper napkins and a duct tape. You will use them as supporting materials.
Besides, you can arm with a pair of gloves as the job involves contacts with a dirty ink.
How to refill ink cartridge in 7 steps
-
Take out the cartridge
From the very beginning, you have to remove the empty cartridge. Then during the process, watch that the printer door is closed.
As already mentioned, you can protect your hands using plastic gloves. -
Read the instructions
There is no sense to discover the continents again. The manual can substantially simplify your work.
If you’ve bought the refill kit, it is certainly complemented with the manual. Despite it’s only the general instructions, you should better pay some attention to it.
Meet the following guide to learn how to refill namely your cartridge. -
Find the hole
The next step is to find a tiny hole through which new inks can be filled up. Such holes usually located on the top part of the cartridge.
A small black dot could be seen almost immediately. Meanwhile, to determine the place of a hole itself you should look just below.In some cases, printer cartridges have several holes. You have to define the one with a sponge inside.
-
Inject the ink
So, a hole is right under the black spot. Now, insert the needle into it and spray the inks in.
Before injecting you may need to use a sharp knife or pencil to pierce the hole. Consult the refill kit instructions if got confused.
You can pour inks with the help of syringe. HireRush.com warns you to spread a towel in order to avoid black liquid besmearing your furniture.
If you want to fill not only black color, again do it in accordance with your manual. Each hole corresponds to each color.
Make sure you don’t make a muddle of colors. Examine each hole carefully. -
Apply the proper technique
While inserting the inks you should know some tips. First of all, put the needle deep enough so that it reached the bottom.
Insert the ink carefully and slowly. Avoid penetrating air, as it will hinder the inks to get to print head.So, don’t let air gaps to get in the cartridge. Computer repair specialists also emphasize that it’s important not to overfill it.
It guarantees you not to allow leakage. Before removing the needle, pour out some ink to ensure there is no air. -
Cover the holes
The last thing you have to do is to apply the adhesive to cover the holes. For this purpose use a duct tape.
Otherwise, you can use the seal dots that every refill kit provides. To finish the process, let your cartridge dry by putting it on its side on the paper towel.If the extra ink didn’t completely streamed, you should wipe it with a dry cloth. Anyway, remember not to install the cartridge when the ink is still leaking.
-
Leave to settle
The final phase includes some cleaning cycles according to your refill kit manual.
As far as you ended up with all steps, let the inks settle down. The sponges, which we mentioned need 4-8 hours to entirely soak.
After that, try to print something to check the results.