People who get gel manicure done adore the idea of not having to take care about their nails or bother painting them for about 2-3 weeks.
And, the best thing about gel nail polish is that it makes our hands and nails, of course, look amazing during that period of time. Being honest, the 2-week gel manicure probably looks 100% better than the 2nd-day ordinary polish finish.
But when it gets to the point where even gel polish starts looking kind of nasty, it’s better to remove it completely. When you see that your nails have chipped and overgrown significantly, you normally go to your nail specialist to strip that gel polish off.
But what if you can’t do that? What if you haven’t booked an appointment at the nail salon? What if you need to take that gel polish off ASAP?
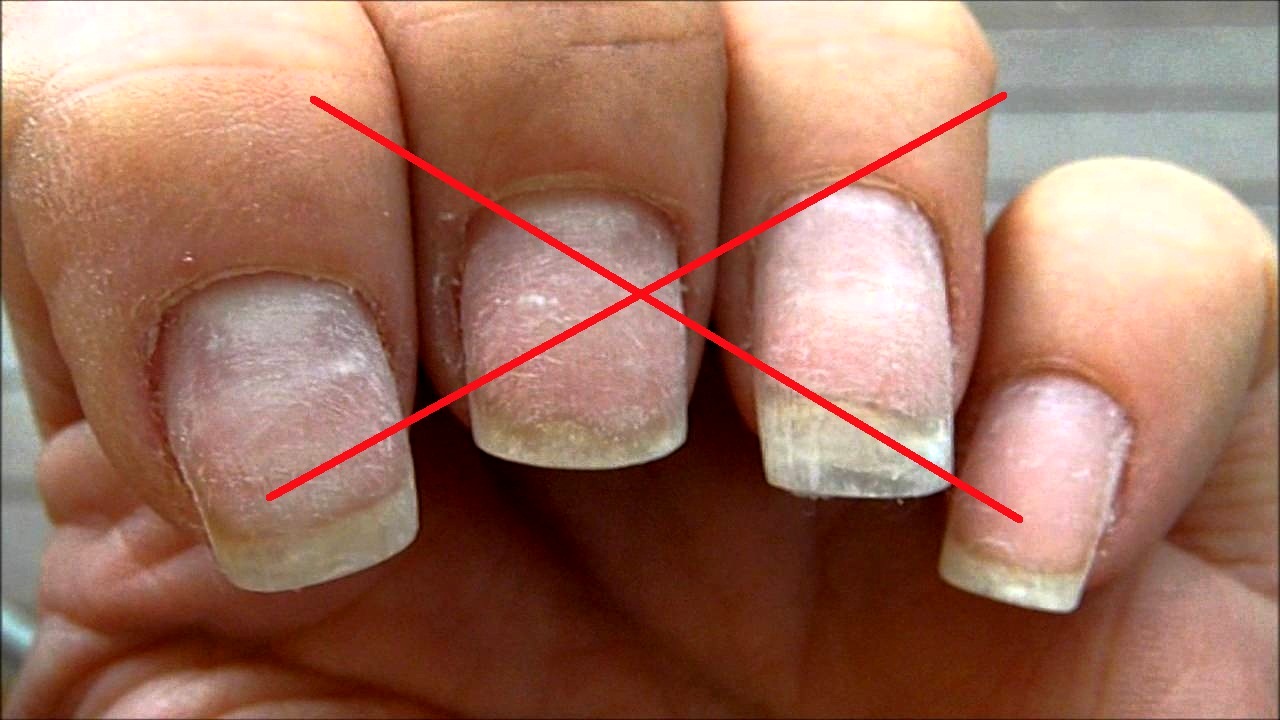
My answer is – get it done if you need to get it done. How? Certainly not by biting or scraping your gel manicure off and giving your nails a legitimate heart attack. If you don’t want your nails look like they’ve been chewed by an unknown beast, let’s figure out how to remove gel nail polish at home like a pro.
Note: this method, when applied properly, will leave you with healthy-looking and minimally damaged nails.
How to remove gel nail polish at home (step-by-step guide)
- If you’ve seen your nail artist removing gel nail polish before, you probably know that you don’t need anything extraordinary to get rid of it. In fact, you may gather a basic gel nail polish removing kit without leaving your house.
- So, in order to take the gel polish off, you’ll need to find some tin foil, acetone-based nail polish remover (your regular one will work as well), cotton pads/balls, multi-sided nail file (like 4-step, 7-step one), orange stick, paper towel and about 40 minutes of free time.
Vaseline and cuticle oil won’t harm as well. - Arrange your setup. Cover your table with paper towel to collect the dust and remains of gel polish. Grab a tin foil roll and cut out 10 tin foil 4-inch wide squares.
Cut cotton pads according to the size of your nail plate. Make sure that those cotton pieces cover the whole nail plate without leaving out some areas.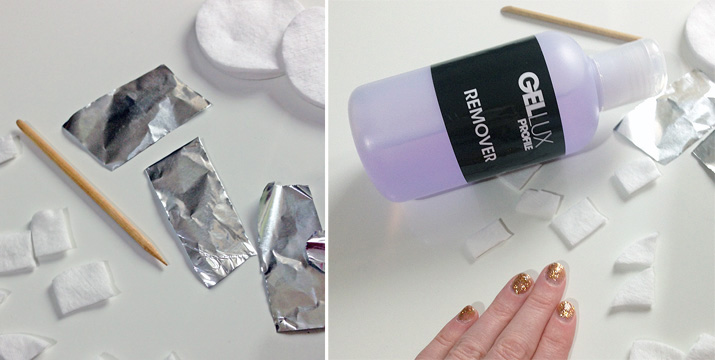
- Take your nail file and use the fine-grid side to remove the gel top coat. This will allow you to spend much less time on soaking your nails in polish remover. Don’t file the surface of your nails too hard.
By the end of this step, you gel nails should look mat, but not shiny. Don’t forget to go over the nails’ front edges. - In order to avoid intense skin and cuticle drying, cover the area around your nail with Vaseline or really greasy hand cream. It won’t allow nail polish remover affect your skin as much and make it look (and feel) really dry and irritated.
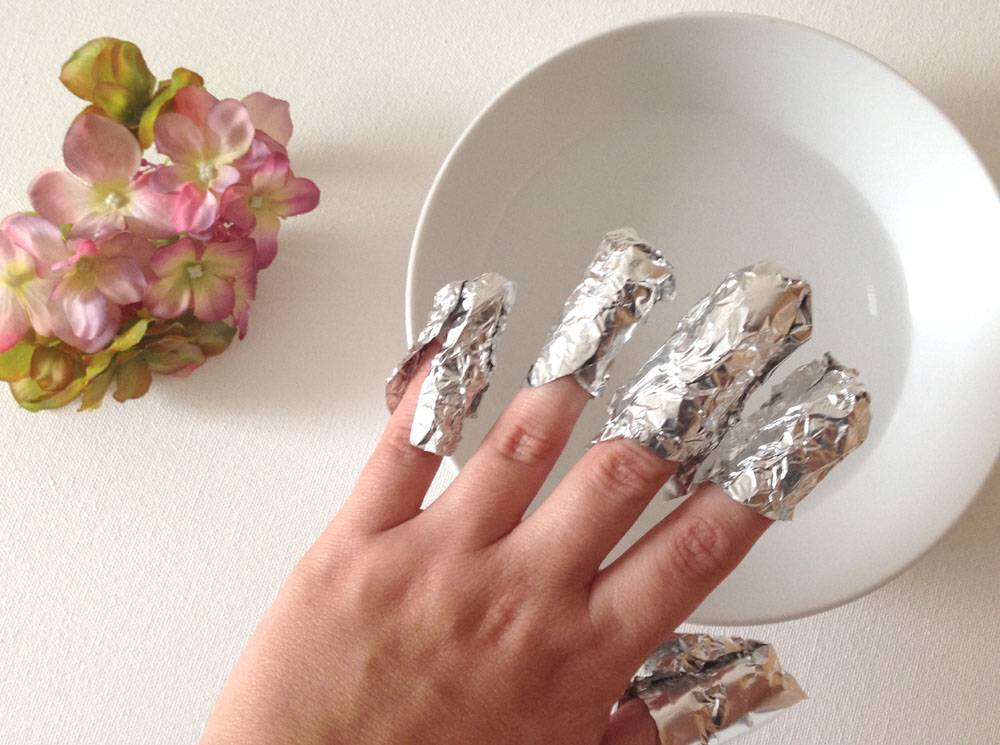
- Soak your cotton pads in acetone. They should be quite wet, but not runny. Place a wet piece of cotton pad onto your nail plate. Wrap a tin foil square around your finger. This ‘tube’ should go beyond your fingertip by 1/3 of the foil’s length.
- Fold the ‘hanging’ edge of tin foil on top of the fingertip to make sit tightly on your finger without slipping off. Repeat this step on each nail.
- If you don’t have tin foil for some reason, you may replace it with plastic wrap.
But, I find wrapping it around wet fingertip and making it stay in place almost impossible (and quite irritating). So, use it only if you have no other choice. - Let acetone work for about 15-30 minutes. I can’t say exactly how long it will take to ‘melt’ the polish, as it depends on the kind of gel you have on.
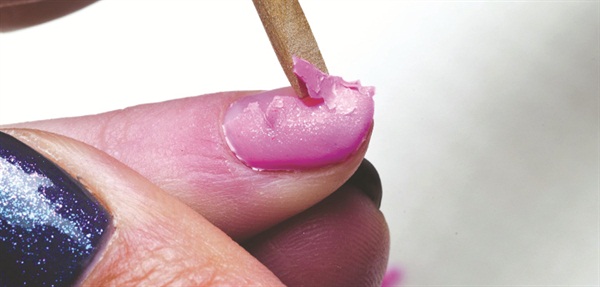
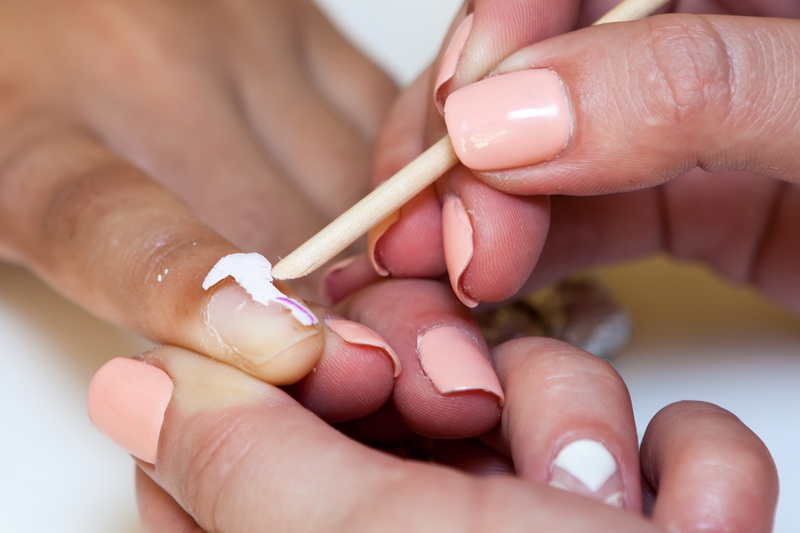
Bear in mind that you’re not supposed to keep the tin foil on for too long if you experience quite uncomfortable strong burning sensation. - If you peep into the tin foil wrap and see that gel polish has kind of crumbled up and ‘melted’ to the point when you may easily peel if off with a wooden stick, you may unwrap your nails.
Do that with one hand at a time. It’s better to begin with the fingers you’ve wrapped first. - Remove gel nail polish off your nails with orange stick.
- Soak your nails in warm soapy water for 5-10 minutes to give them a little home spa treatment. Add some bath salt to the water if you want.
- Dry your hands and make your nails look as good as ever with the help of an orange stick and a 7(4)-step nail file. Push the cuticle back with a flat side of the stick. After that, file and shape your nails applying coarse/medium side of the file.
- Buff the surface of your nails with conditioning and buffing side of the file. Make the nail plates all shiny and smooth with the help of the polishing side.
Basically, if you have that amazing multi-step file, you may just follow the sequence of the steps it features. That thing is basically all I need to make my nails look pretty.
- When your simple manicure is done, treat your nails and cuticles with oil or cream. Let your nails rest for a couple of days and head out to the nail salon to get them gel polished again. (Find local nail services on HireRush.com).