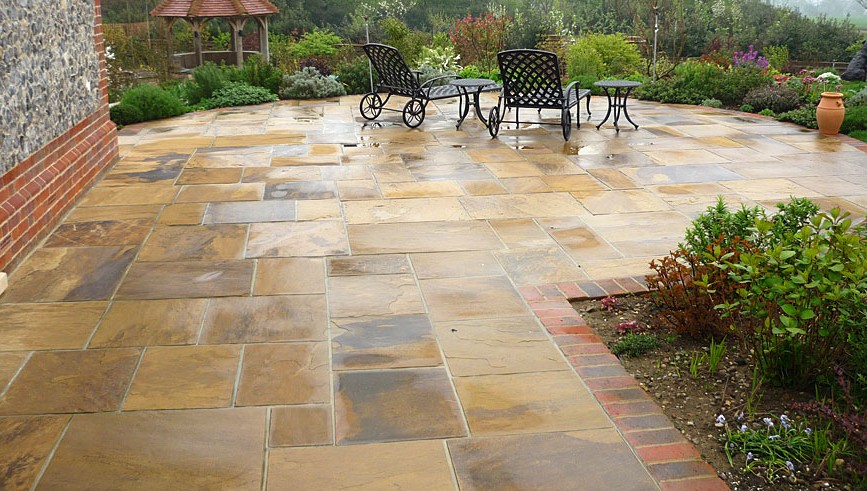
Adding a nice stone patio to your backyard or garden is a great way to improve that area, give it a lived-in and maintained look and actually create a nice opportunity and, let’s be honest, a reason to go outside and spend some time breathing fresh air. Besides, it may become pretty much everything you’ll need it to be. It’s possible to bring your laptop out and at least enjoy a benefit of being outside and still getting your work done. Don’t be lazy to set the table in the garden and have a nice meal with your friends and family under the blue sky and warm bright sun to take advantage of good weather and spend nice quality time with them.
Besides, if you’re going to host outdoor parties and activities, you’ll definitely appreciate a shaded patio of a reasonable size, with an even clean surface you may walk on barefoot. Imagine that you won’t have to slip into your shoes anymore in order to make a quick run outside. And, when it’s rainy and gloomy out there, your entire backyard won’t turn into one huge puddle or mud and you’ll be able to walk out and reach your car or leave house without ruining your shoes or having to wear wellies.
Either you’re going to use a patio as a dining area throughout the warm season, or as resting and working place in the backyard, you have to build it at first. And, that might seem a really complicated DIY project, especially for someone, who hasn’t ever dealt with construction work before. Quite a bit of planning, preparing and constructing activities (and skills) are involved. But only think about it! You’re actually going to build something in your house. Ok, technically it won’t be in your house, but still. Isn’t it so exciting?

However, if you just can’t imagine yourself laying stone pavers and building a shade over them, you can totally hire outdoor contractors and get everything done by them. Also, they’re capable of carrying out quite serious and complicated projects, which involve including a fire pit into the patio’s surface, building brick supports for roof or shading or allowing access to electricity and water supplies right on the patio. So, if you can’t embody the results of your imagination, hire professional builders using HireRush.com to find the ones, who work within your local area and are available when you need them. So, visit our site to find according specialists and finally start the works off.
Or, you may totally consider a DIY option and try to build a patio yourself (or with the help of your family). Then, check out these guidelines to design your own customized plan and carry it out the best and easiest way possible.
Drafting a project
First of all, you’ll have to develop a plan to follow. The location is probably the first thing to think of, as it defines the scope of future actions and amount of preparation activities. My recommendation is to avoid lower (compared to the level of the entire plot) areas, as this choice will result in either a lot of evening out work or not really good final result. The matter is that you want the land underneath the patio have normal drainage. It shouldn’t be subject to serious erosion, especially compared to the other territory. Otherwise, it won’t be too convenient to use a patio and it won’t last too long.
Also, you may choose to build a free-standing patio literally in the middle of the garden or build it right near the house. The last option is more common, but also much more advantageous. It allows you to use the backyard space efficiently. Besides, there’re various interesting design options for the last type of patios, which might include the attached to the house shading, outdoor mini-kitchen and other cool additions.
If you have a pool, then most of pool contractors will recommend building a walkway and patio near it to be able to walk around barefoot and not to wear shoes when going out from the house to jump into the water. Besides, it’s also safer for a pool.

When you’ve managed to find location, the next step is to determine the size and shape of future patio. The most basic kinds is a square or rectangular one, but you may opt for slightly more complicated designs, which presume circular or polygonal shapes. Just see what suits your garden best and which difficulty level you are able to cope with.
Besides, as you may cut stone pavers however you need, it’s also possible to come up with diverse patterns and designs. But again, consider the amount of work you’re ready to deal with, as the more complicated pattern you choose, the more time and effort you’ll have to spare to implement it.
However, you may find the already cut pavers that have uncommon shapes, outlines and colors, so you can work with them just like with ordinary square stones.
Think if you’re going to incorporate a built-in fire pit or flower beds into the patio.
Tools and materials
As the basic plan is finished and the patio sizes are calculated, it’s time to choose the stone pavers and pick up other materials according to your needs.
The most important step now is selecting the stone. Basically, there’re pavers made of natural stone like granite, sandstone and bluestone. They look impressively; they’re really durable and quite expensive. On the other hand, there’s more budget-friendly option such as manufactured concrete pavers, which imitate natural stone, bare extreme weather conditions just as natural ones (or even better) and may last for several decades. And, they cost much less than those granite or bluestone pavers, but look almost the same.
Both natural and manufactured stone pacers vary in colors, so you’ll be able to pick up gray, red, blue, dark or light green or any other stones you prefer.
So, as you stated your pavers’ budget and calculated how many of them you need, order the stone and other related materials (like cement solution, sand, wooden boards, landscape fabric and road metal or gravel).
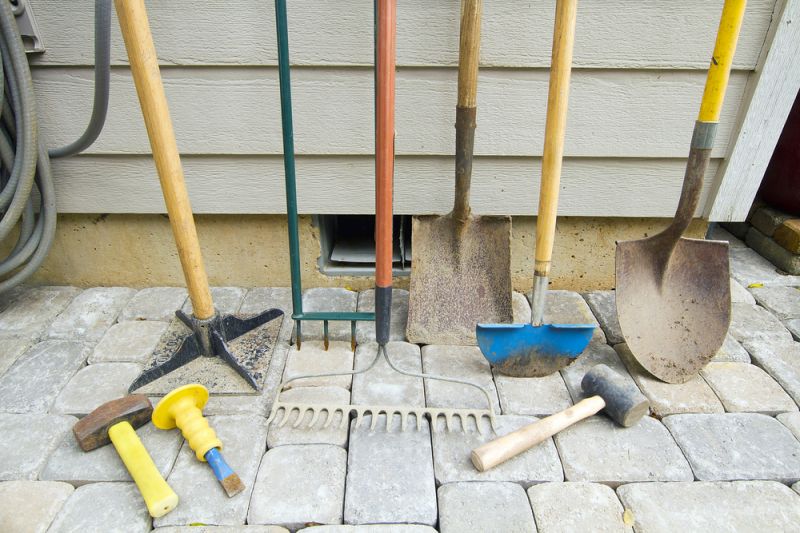
Certainly, you’ll need special tools to install pavers. Those are two shovels (square one to measure and mix with and spade one to dig with), rake, push broom, builder’s level, measuring tape, rubber and ordinary hammer, levels, electric saw or angle grinder, pointing trowel and plate compactor. Now, you don’t have to buy bigger items like a saw or compactor, as you may easily rent them.
Patio building steps
Preparing the spot for future patio
Measure the necessary spot and mark its boundaries using a thread and some sticks to point out the corners. If you want to lay out the stones to see how they fit the place, where you’ll need to cut them and so on, do it now.
Then, grab a shovel and start digging the area. You’ll have to dig 10’’ deep on average, but make sure to make the center of the patio’s base a little bit deeper to provide better drainage. This is going to be the hardest and the most time-consuming task that will leave you exhausted and unwilling to continue the job.
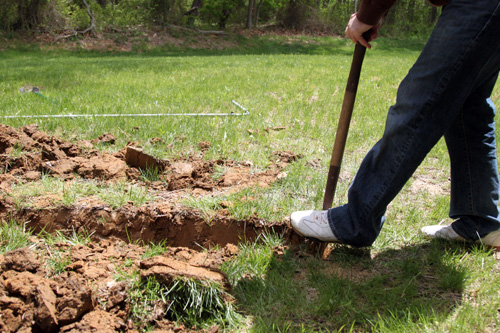
That’s why it’s necessary to consider hiring professional contractors, who have all proper equipment and technical means to perform the job faster and better.
But if you’re determined to build everything on your own, at least rent an excavator to do the digging part of the project.
Now, take a long and truly deserved break and continue preparing the ‘hole’. You just have to even it out, get rid of excess dirt and lay out a piece of a landscape fabric onto its bottom.
Base coat
Bring gravel and sand to the hole and start filling in in. You’ll have to create three layers of gravel that are around 2-3 inches thick and, consequently, three layers of sand in between. Remember, that each layer has to be spread evenly (use rake for that matter) and well-compacted. Sand makes it much easier to lay out the pavers and makes the base steadier. But, if you know that your patio will be uncovered, skip the sand layers to ensure better drainage.
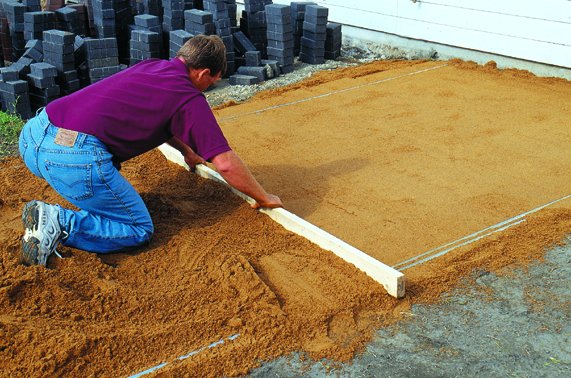
Now, you may attach wooden boards as your guidelines and a square corner as your starting point. Use leveling tool while doing that.
Then, go over the surface with a plate compactor once again.
Building the stone surface
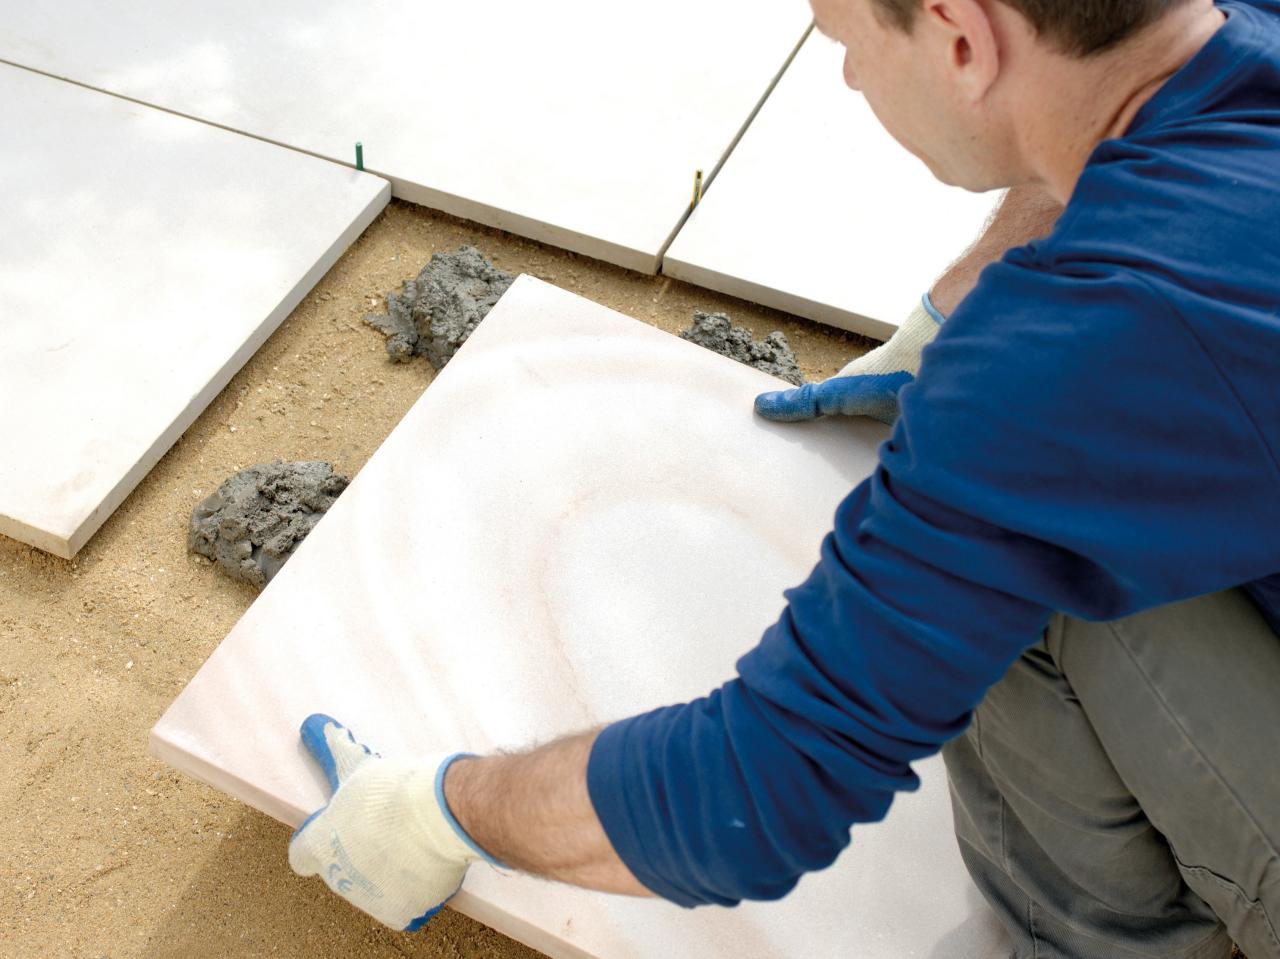
Prepare the cement solution according to the instructions, provided on the packaging. Use a square shovel to distribute the mix onto the base and even it out with a trowel. Continue laying the stones. Don’t forget to do regular check-ups with a builders’ level to make sure that the stones are applied evenly. Also, professional patio contractors recommend leaving a 1/2 inch gap between the stones.
If a stone doesn’t suit the pattern, just cut it with an electric saw. It’s quite easy, but the dust will go everywhere, so don’t forget to put protective glasses and a respirator on.
Finishing touches
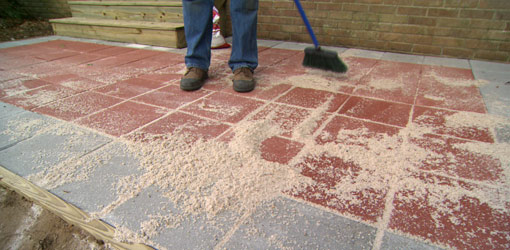 Once the patio is laid out, make sure that the joints are even. Then, start grouting them with sand using a broom. When material is spread out, compact it deep into the joints with the help of a shovel or an ice scraper. Trowel will do as well.
Before doing anything else (building a shade, placing furniture) and using the patio, let it set and dry for several days.


Yes, I totally agree with you that one can make his backyard or garden outstanding by adding a nice stone patio. This will be the great idea for improving that area.