
Laminate is one of the greatest modern inventions of home design and it has become one of the most common flooring materials along with carpets. It owes its success to the fact that it can be made out of both natural wood and artificial materials, it’s not as difficult to maintain as parquet, but much more pleasant and good-looking if compared with tile or linoleum. And, the main factor is that laminate embodies great and exalted look (that may suit practically every style of home design) in combination with quite reasonable price range.
Such flooring may come in various colors, imitating different natural floor materials, it’s easy to clean and it’s also health beneficial, as laminate floors are not subject to mold growth and bacteria proliferation. Due to the peculiarities of its top coat, laminate is sun, dirt and stain resistant, which makes it even more popular among the homeowners. And, if the moisture levels are tackled, it can be installed pretty much anywhere.
 Laying laminate flooring is almost like making a jigsaw puzzle with large and long pieces. Then, basically everyone can cope with the task and install it without calling on professional assistance. However, that part could be quite tricky. Despite its undeniable benefits, laminate flooring is not the best option for humid areas and rooms. Besides, it requires completely flat and leveled base concrete floors without any bumps or dents. Moreover, you have to do your measurements and calculations carefully to make sure that you buy enough materials and lay down laminate the way that it doesn’t swell too much, as you’ll have to redo the entire thing all over again and cut off the smallest pieces to make the expanded boards fit the room.
Some people also note that laminate gets scratched quite easily, that’s why its durability is questionable, especially if you have kids and pets. And, others are annoyed by the sound that can be heard when walking on laminate or, even worse, dropping something on it.
Nevertheless, laminate’s positive features definitely beat its cones for most of the homeowners, which can be observed on the flooring market. But, even though the manufacturers do their best to make it possible for ordinary people to install laminate in the houses on their own, most of them still prefer to submit this job to flooring contractors. And, it’s understandable, as professionals will perform the installation task easier, quicker and better, as they have extensive work experience in this field. It’s also better to seek the flooring services when you have to install laminate over a large area.
So, if you’re just looking for such services, visit HireRush.com to scroll through the contractors’ profiles and get in touch with one of them. But, for those of you who’re not willing to let someone complete this task for you, I’ll try my best to guide you through the laminate installation process. So, let’s jump into it then!
Tools and materials
- Laminate (the snap-together option) – make sure to get 15% more square feet of that than the room size is, you’ll need it later to be able to adjust the planks’ length. If you want to eliminate the already mentioned sound flaw – go for the soundproof kind.
- Baseboard and molding
- Underlayment as moisture protection (again, get 15% more than the size of the room)
- Floor leveling solution is your floors require an extra preparation step
- Level
- Rubber hammer (mallet)
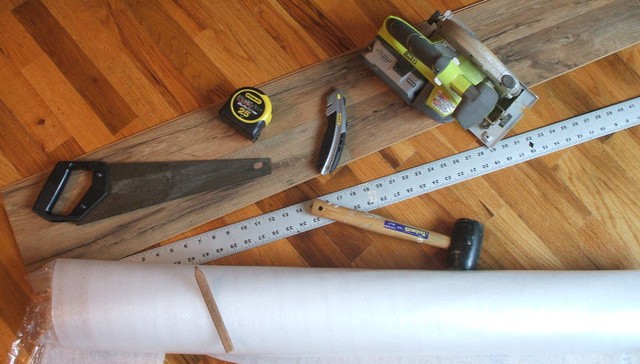
- Putty and utility knifes
- Stud finder
- Hammer
- Circular saw/jigsaw, table and hand trim saw
- Measuring tape
- Spacers
- Speed square
- Pull bar
- Tapping block
- Pry bar
Laminate installing steps
Step 1. Prepare the floor – make it completely bare. Use a utility knife to cut the carpet where you need it and pull it up. Get rid of the padding that’s lying underneath the carpeting and tack strips it was attached to with the help of the pry bar.
Step 2. Remove your old baseboard – you don’t have to necessarily throw it away, as you can re-attach it later on, but you’ll need a complete access to the wall and floor. That’s why you should grab a knife and carefully disconnect the baseboard from the wall by cutting into the caulk. Next, reach for a putty knife to remove the baseboard without breaking it or damaging the wall’s surface. Nails can be pulled out with the pry bar.
Step 3. Measure the height of a laminate plank to cut the bottom of the door frames with a trim saw for laminate planks to go under the frames.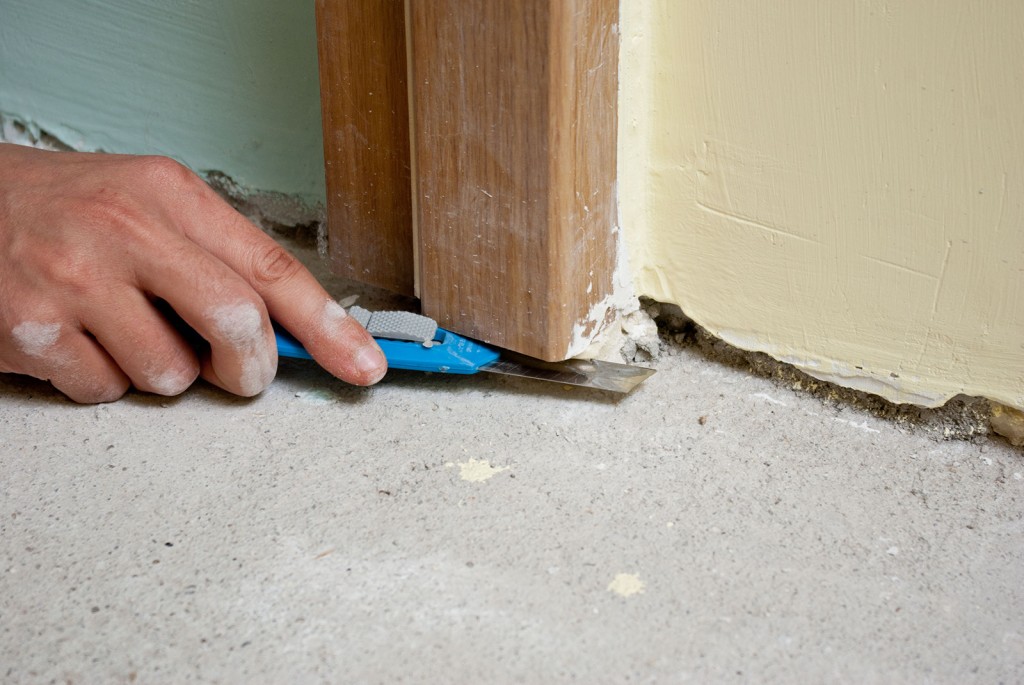
Step 4. Clean up the mess to make concrete floor spotless. Even small bumps of glue or something like that may ruin the even finish and influence the final results, so make sure to get rid of those.
Step 5. Check if the concrete base is completely even with the help of a leveling tool, which is at least 6 feet long. The variations and the extent of retreat from the ideal marks is determined by the laminate producer, so check out the packaging to see if you’re good to go. If not, you’ll have to either sand and decrease the higher patches or pour leveling solution all over the floor if it’s too uneven.
Step 6. Bring laminate planks you’ve already purchased into the room to let them ‘get used’ or acclimate in the room’s conditions. If you have time, let them sit there for 3 or even 4 days. However, laminate of different thickness requires different adjustment periods, so check out the manufacturer’s instructions to do everything right.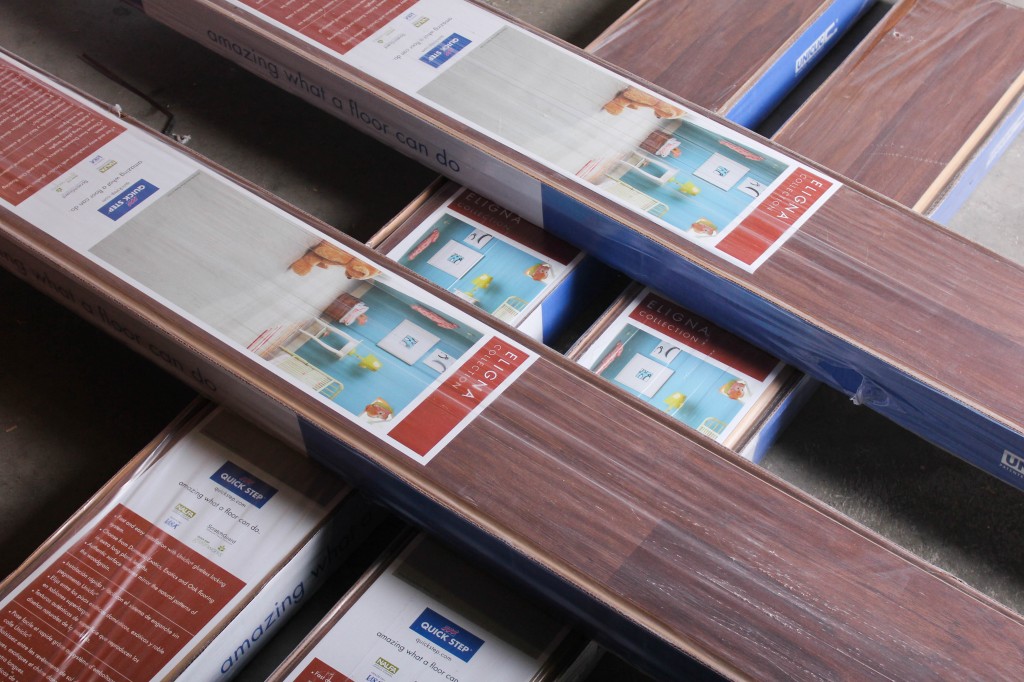
Step 7. Lay out the planks to see in which pattern you’re going to install them, as it’s possible to go for various techniques to create an interesting and unusual design. But, that issue will also depend on the kind of laminate you’ve chosen.
Determine how many rows of laminate you will have to install and see if it’s necessary to cut the planks for the last row vertically to make them fit considering the width.
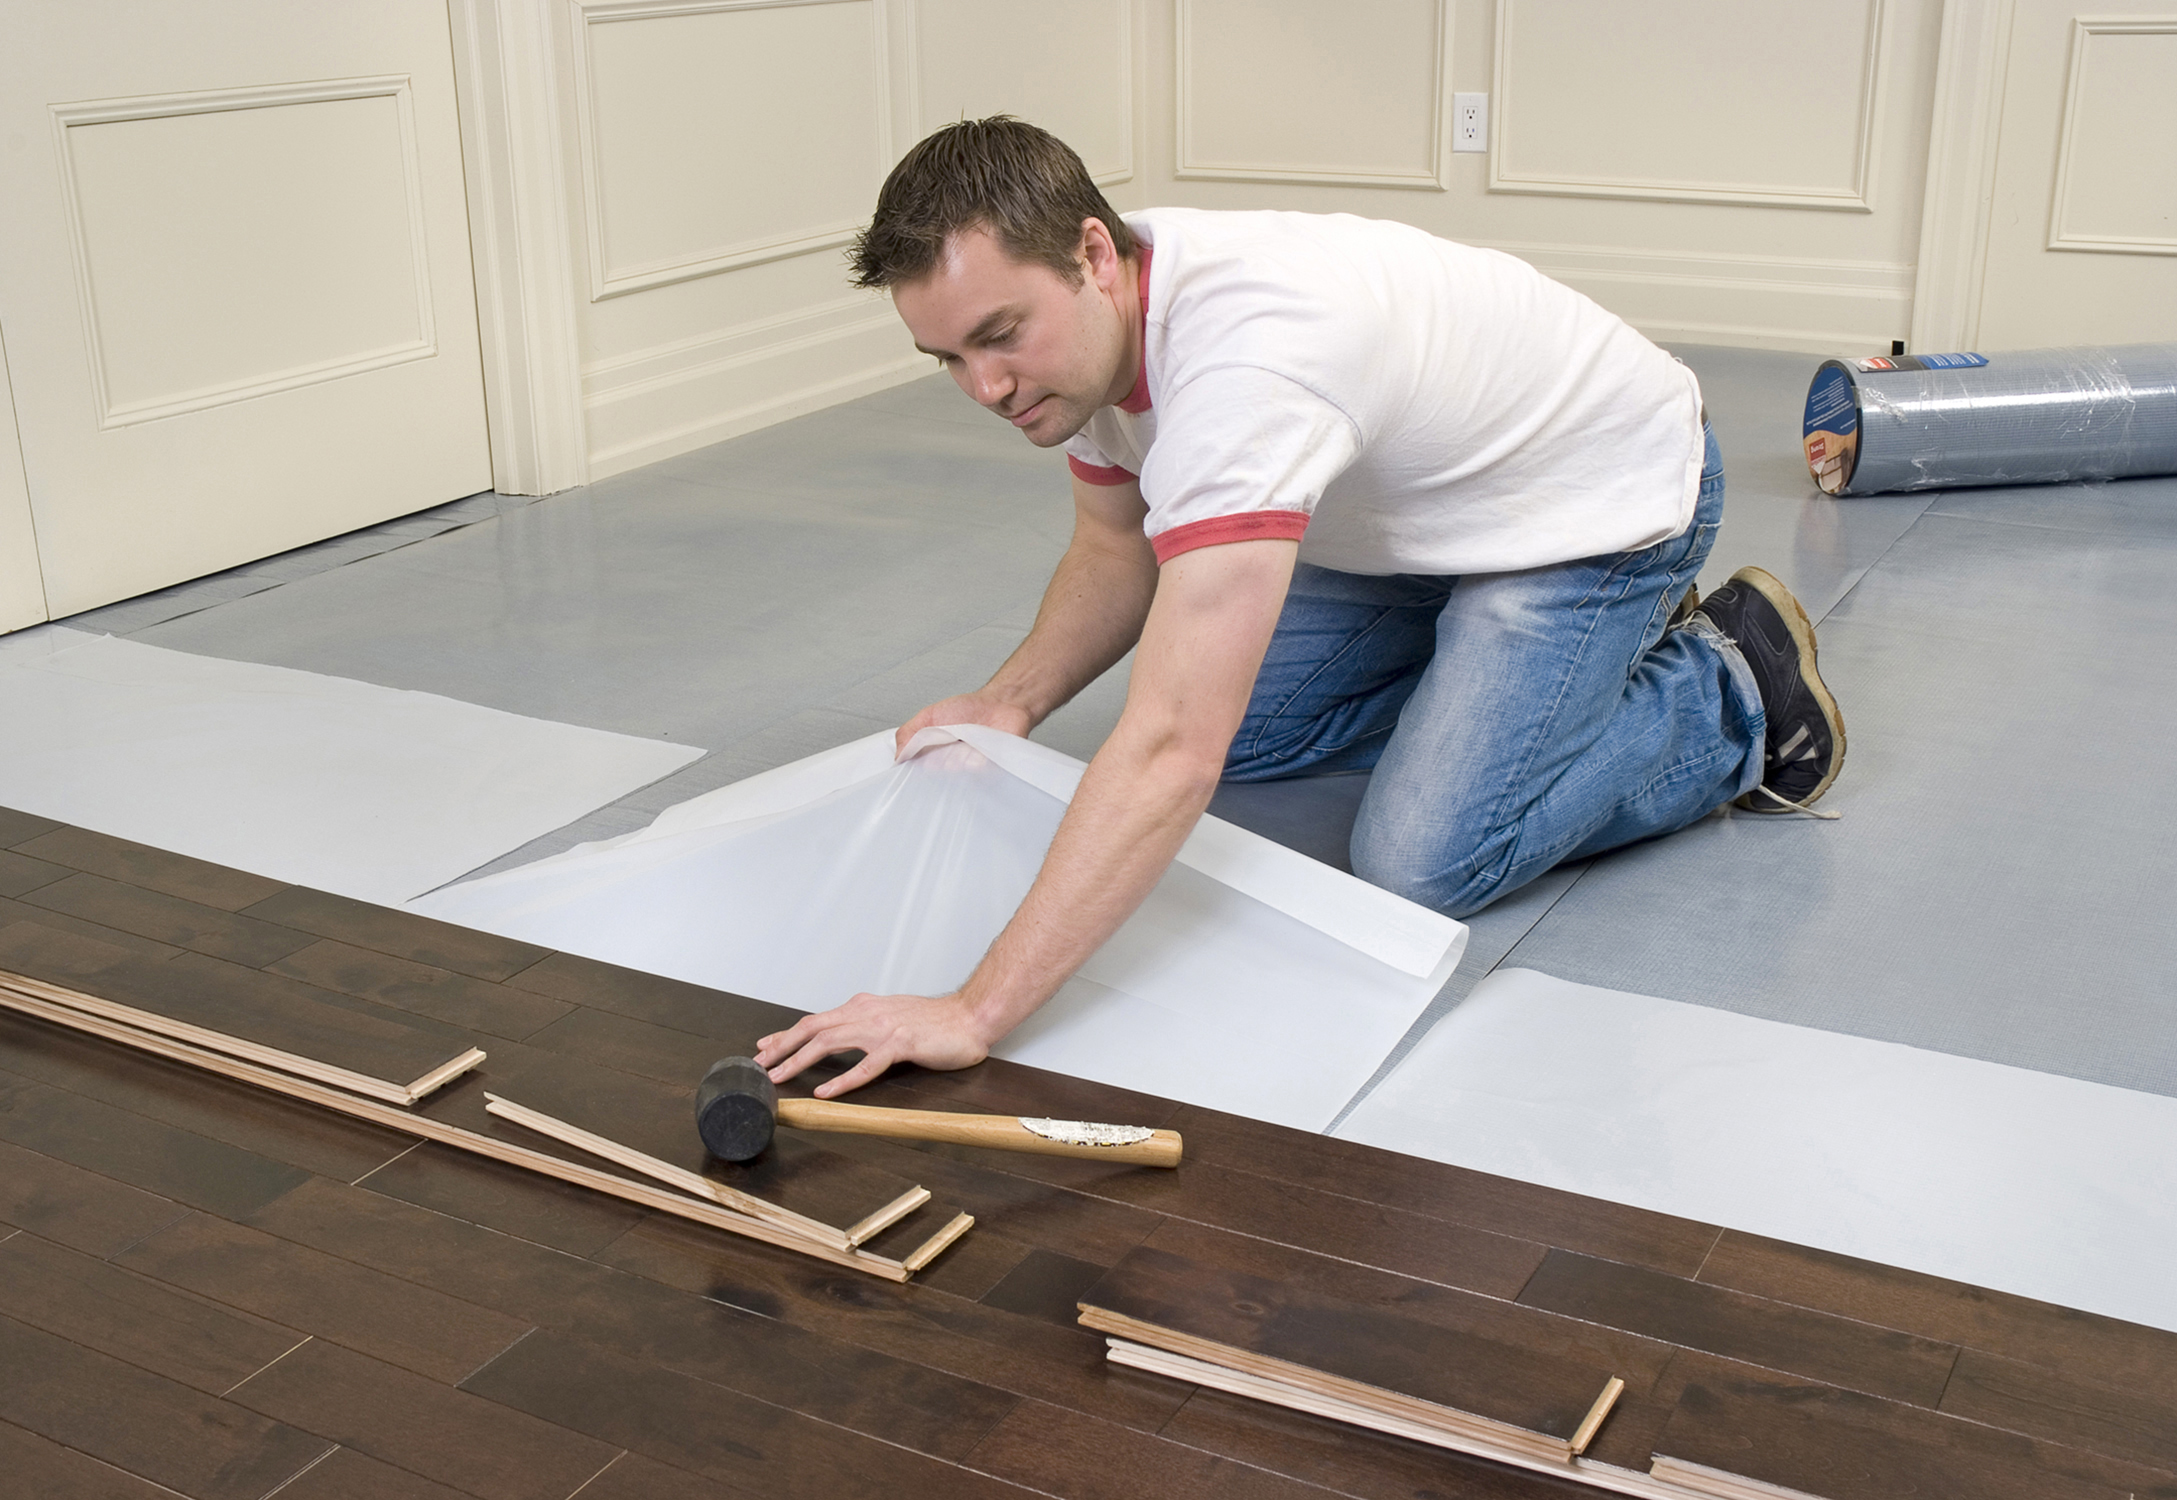
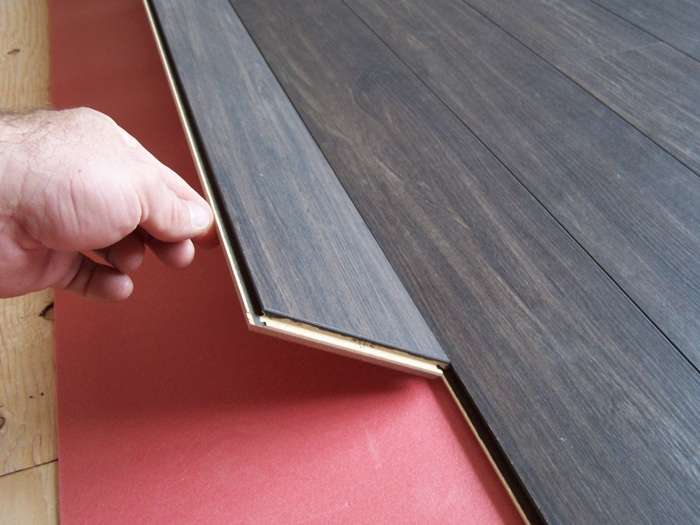
Step 8. Make sure that the subfloor is completely cleared out once again and start spreading the plastic sheeting as the underlayment. The trick is to attach its edges to the walls, that’s why you’ll have to bring the sheeting approximately one or two inches above the floor and tape it onto the wall.
This should ensure a perfect moisture prevention mechanism. If your underlayment doesn’t cover the entire room and you’ll have to use several sheets for that matter, don’t forget to overlap them by 5-6 inches and tape the joints together.
Step 9. Install spacers made of small flooring pieces against the walls to ensure that laminate has a space to expand. Avoiding this step is a common mistake all professional floor installers warn you about, as leaving less than 1 inch will cause major swelling problems later on.
Cut the planks for the first row the way that the last of them is not shorter than 12 inches. Then, start installing the first pieces at the longest wall, moving your way from left to right. The distance between the last laminate plank in the row and the wall should be about ¼ of an inch.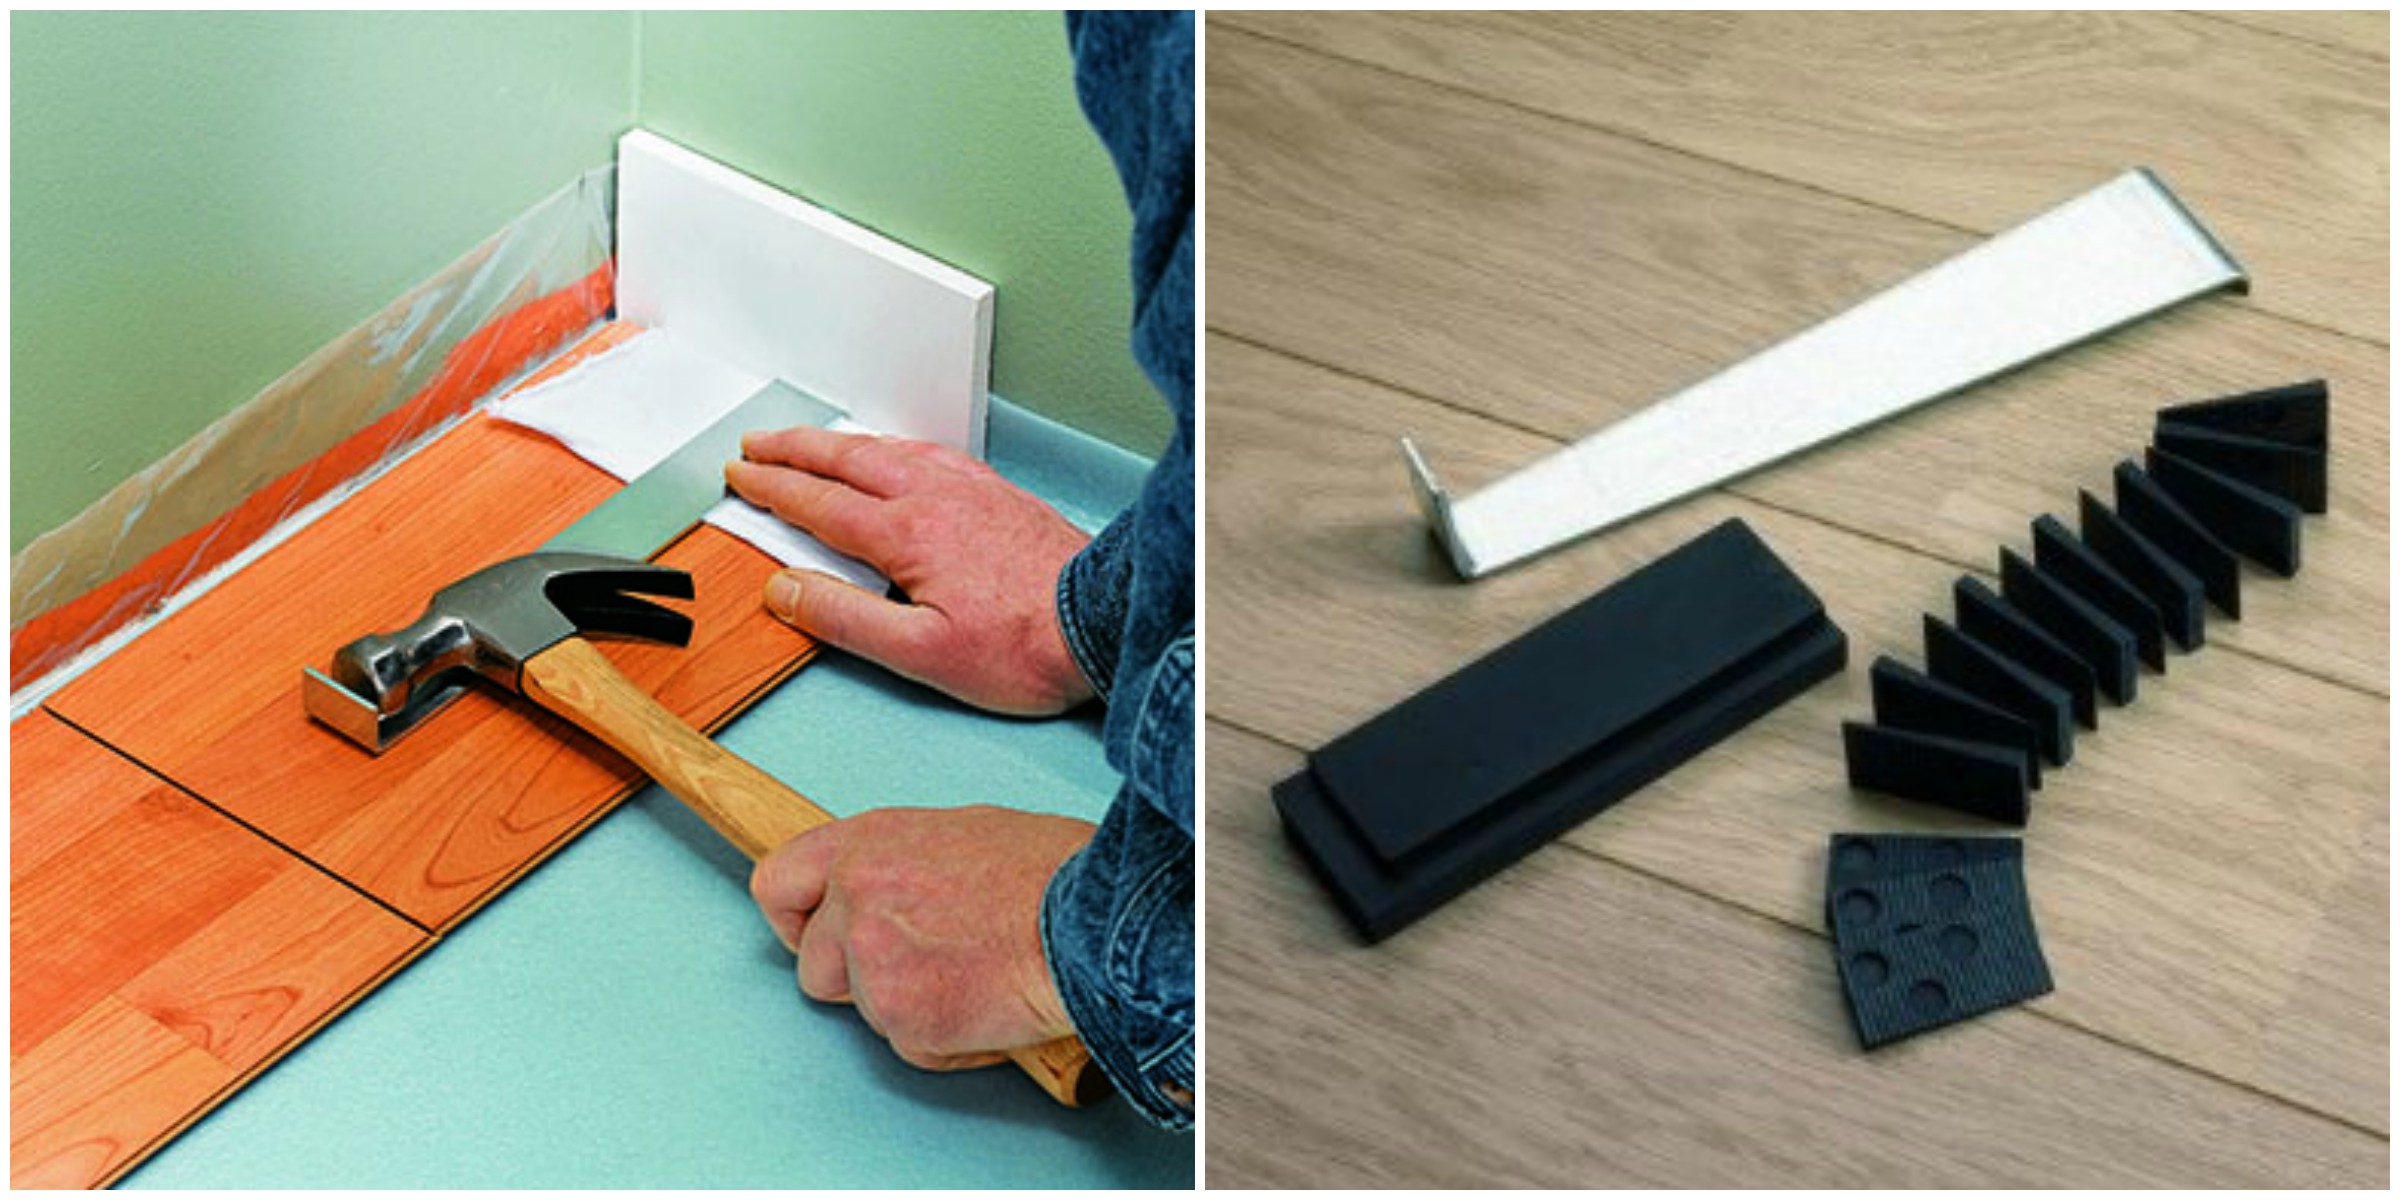
Step 10. Continue installing laminate planks in further rows. Use the cut-off pieces from the previous row to start the second (if they’re not too short, of course). To snap the planks of two rows together, lift up the already installed one at an angle, bring a second one underneath and tap it against the first plank with the help of a hammer (rubber one) or a special tapping tool. However, professional floor contractors make sure that the long edge of connection is overlapping the shorter one when joining two laminate pieces.
As it’s impossible to use a hammer to tap onto the planks in order to connect them properly, use a short gap for that matter. Trust me, that thing is like a magic wand for laminate floor installation.
Step 11. When the laminate is installed, get rid of spacers and start nailing down the baseboard. Use a stud finder to determine the studs’ location beforehand. Add molding to hide any small gaps or just if you think that it will look good. Caulk and paint the baseboard and molding afterwards.
And, that’s actually the last step!
Photo Credit by ledworld.com.au