Painting a ceiling can be a daunting task, but with the right tools and techniques, it doesn’t have to be. With some basic preparation and careful attention to detail, you can paint your ceiling like an experienced professional. In this guide, we’ll walk you through all of the steps necessary for painting your ceiling successfully, including prepping the area and choosing the right equipment. We’ll also provide some tips on how to get better results in less time.
So if you’re ready to transform your space with a fresh coat of paint on your ceilings, let’s get started.
Prepare The Room For Painting
The first step in any painting project is to prep the space. When it comes to painting your ceiling, this means clearing out furniture, rugs, and other items that may be in the way, and making sure all walls are clean and free of hanging pictures that may get paint dripped on them.
It’s also important to remove any light fixtures or other obstructions from the ceiling before painting. If this is not possible, you may want to consider using painter’s tape to mask these items to protect them from paint splatters or drips.
Choose The Right Materials And Equipment
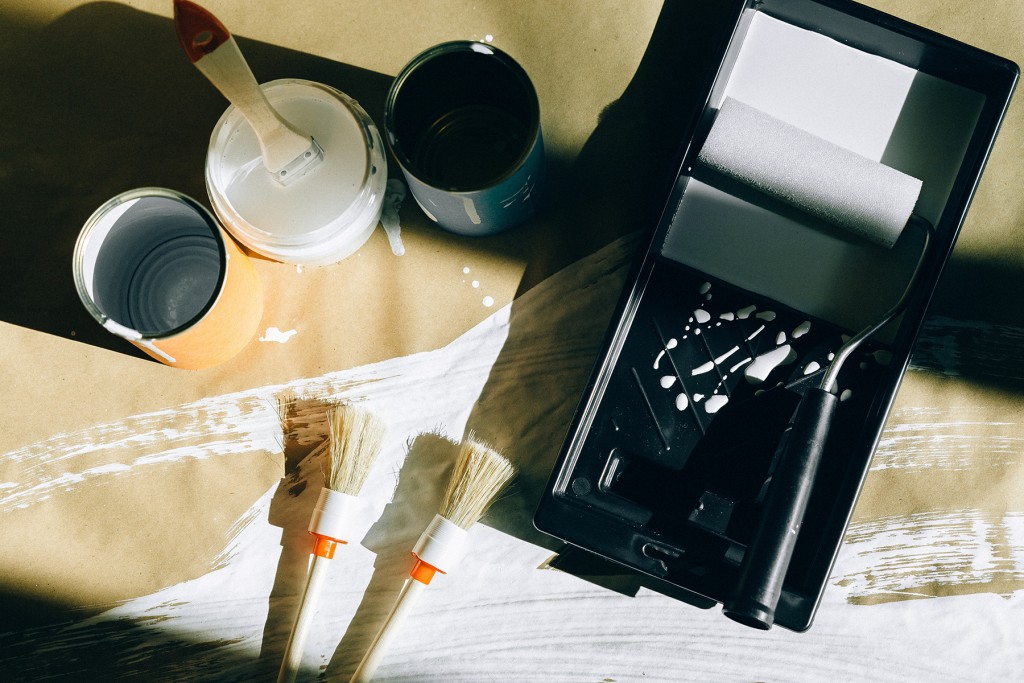
When it comes to painting your ceiling, you’ll need the right materials and equipment which can differ from other painting projects. This includes suitable paint, a roller and tray, painter’s tape, drop cloths or plastic sheeting, and a suitably-sized ladder or raised plank to stand on.
In terms of paint, it is important to choose a type that is specifically designed for use on ceilings. This will ensure the best possible coverage and finish, as well as a longer-lasting job.
You’ll also want to make sure you have the right roller and tray set up. A large roller with an extra-long handle is ideal for painting ceilings, as it will help you reach all areas of the ceiling with ease.
Clean And Prime Your Ceiling
Before you start painting, it’s important to make sure your ceiling is clean and properly prepped. Clean the area by using a mild detergent and warm water, and allow it to dry completely before continuing.
Once the surface is clean and dry, apply a coat of primer to create an even base for the paint. This will help ensure the paint adheres properly and provide a better finish.
Paint In Sections To Achieve An Even Finish
Once the primer is dry, you’re ready to start painting. To ensure an even finish, it’s important to break the ceiling up into sections and paint them one at a time. Start at the corner of the room and work your way out in a grid pattern.
Use long, even strokes with your roller, and make sure you’re painting in the same direction to avoid leaving streaks. Make sure to overlap each section slightly as you move outward so your paint job looks professional and consistent.
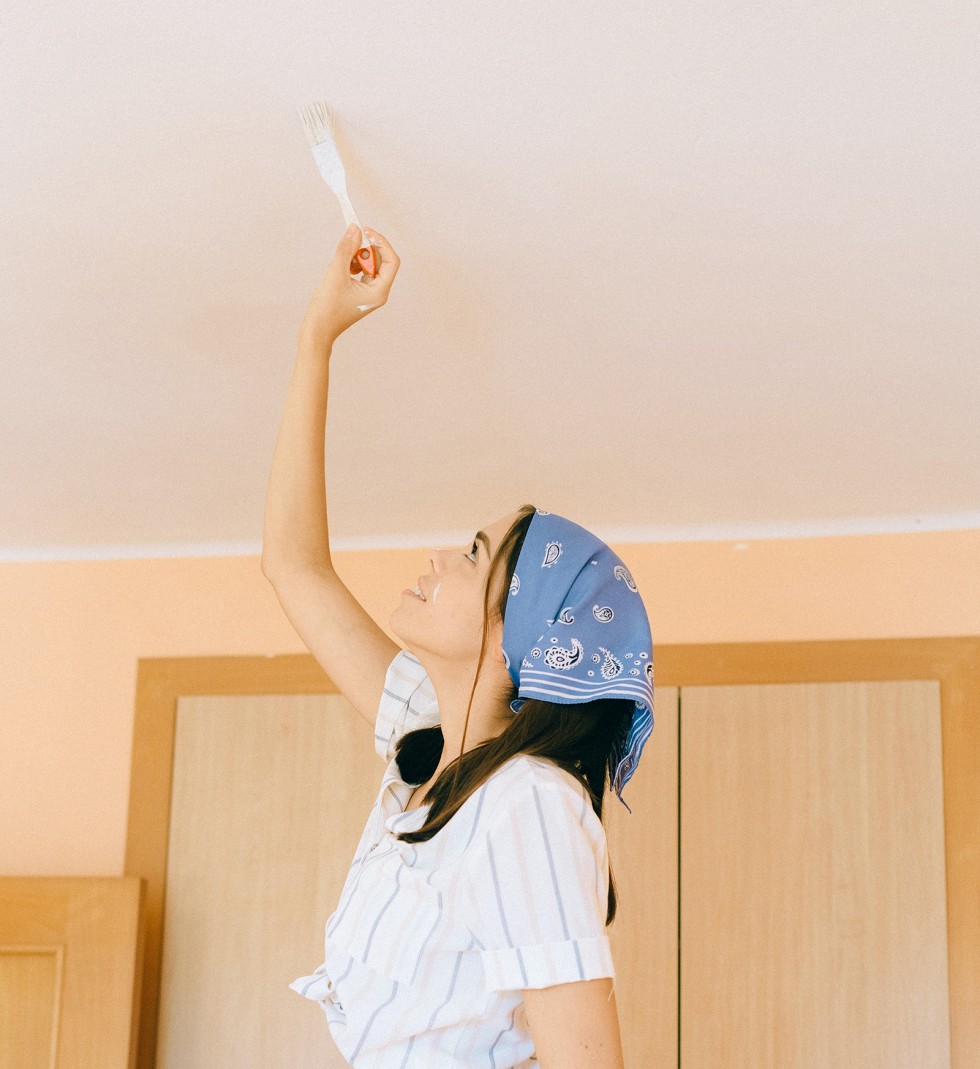
Cut In Around Trim With A Brush
Once you’ve finished painting the main sections of your ceiling, use a hand brush to cut in around door and window trim, corners, and other areas that can’t be reached with a roller. This will help ensure a clean, crisp line where the paint meets the trim and other features.
Add A Second Coat If Needed
Once you’ve completed your first coat of paint, it’s a good idea to check for any missed spots or areas that may need some touch-up. If necessary, add a second coat of paint to achieve the desired finish.
Tips For Finishing Faster With Better Results
Painting your ceiling doesn’t have to be a long and daunting task. Here are a few tips for getting better results in less time:
- Use an extension pole with your roller for easier reach
- Don’t overload the roller with paint, instead apply thin coats for better coverage
- Use high-quality paint for the best finish and longest-lasting results.
- Work from the top of the room down, rather than from side to side. That means after you have finished with your ceiling, you can paint your walls.
- Pair custom-built shelves from oak wood with beige or white ceiling/walls.
By following these tips, you’ll be well on your way to transforming your space with a fresh coat of paint on your ceilings. Of course, if this all seems too much of a hassle, you can always call in the professionals to do it for you.