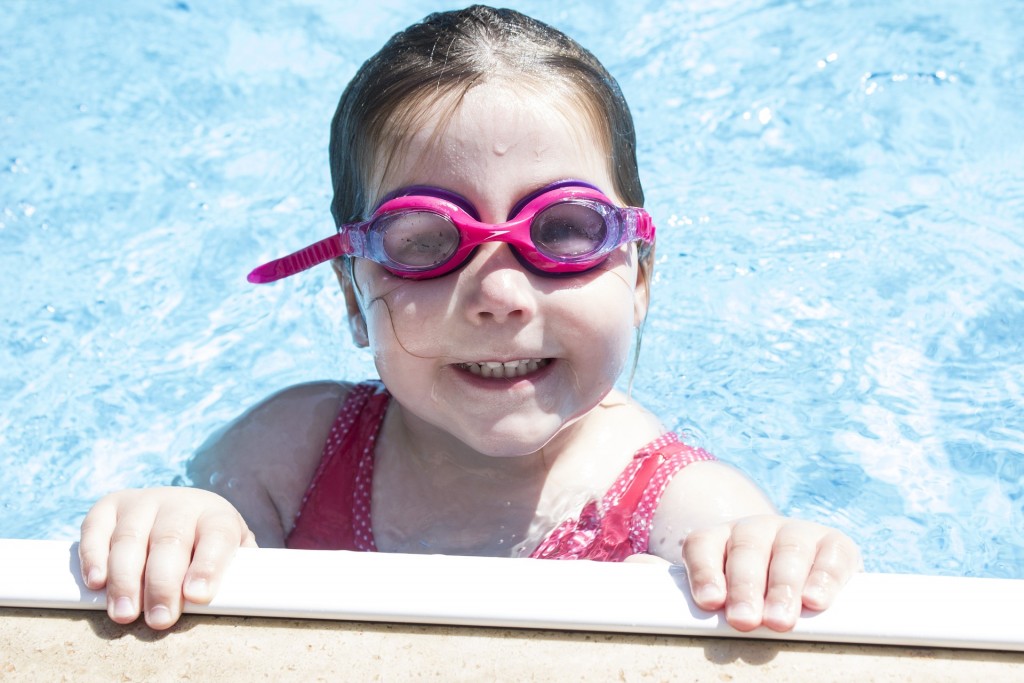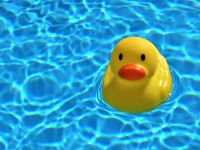
Are you excited to greet the summer by performing an impressive jump into your swimming pool? I’m sure you are. But before you get to do that, you need to make sure that your pool is ready to meet a new season. Unfortunately, your pool won’t become ‘swim-ready’ after you remove the winter covers. As you’ve probably expected, opening an inground pool for summer means much more than filling it up with water and starting the filters.
While appropriate winterization is the key to a successful and effortless season opening, one still has to take all the necessary steps to get the pool back in order after the ‘hibernation’, ensure its proper operation and chemical safety. Otherwise, that pool won’t be safe to swim in, not mentioning the fact that it may experience a number of failures during the use. Therefore, apply these tips to open your inground pool and get ready to the first plunge of the year.
Tips to open an inground pool
Before you start your grand pool opening, don’t forget to grab basic tools and supplies required to prepare an inground swimming pool for a new season, as well as remove all the debris that’s accumulated on its cover to prevent it from falling into the pool and polluting the water.
Things you’ll need:
- a pump for a pool cover
- a winter cover cleaner
- a broom and/or a skimmer net
- a brush to clean walls and floor
- a start-up chemical kit
- pool sanitizer
- manual vacuum
- a handy helper
How to open in-ground pool
-
Remove the covers
Remember that you need to remove the winter cover as carefully as possible not to get the unnecessary mess into the pool. For that matter, use a pool cover pump to get rid of the water that’s accumulated on top of the cover. Then, you’ll have to remove the leaves from the cover with the help of a soft broom or a skimmer (depending on what works best for you) and take the cover off. Ask someone to help you out, as it’s not the job only one pair of hands may cope with. Once the cover is off, clean it thoroughly using a special cleaner and place it into the storage container.
-
Take the freezing protection equipment off
And by that, I mean removing all the plugs, return/step jets, ice compensators on skimmers, inner winter plugs, etc. Don’t forget to replace return lines with fittings (eyeball or jet ones), as well as change the skimmer baskets.
-
Clean the filter if you’ve not done that when closing for winter
If you follow inground pool closing guidelines, you won’t have to clean the filter before summer. But if you forgot to do that, don’t skip the filter cleaning step this time around. If you’re a bit confused and don’t know how to do that properly, it’s better to invite pool maintenance services over. The experts will prepare your pool equipment for a new season and make sure that the water is clean and safe for swimming. Head over to HireRush.com home page to leave a request for local pool services if you haven’t found your ‘pool guys’ yet or seek better services for a reasonable price. Leave your request here
-
Get rid of debris
Winter cover protects your inground pool from most of the debris. But the chances that you’ll have to skim the water, as well as vacuum the dirt, small debris particles, sand and algae to clean things up before the pool opening are pretty high. Make sure to brush the walls and the floor too. It should be done at least once a year. (Side tip: if the lines between the tiles look particularly dirty, use tile cleaner or baking soda to clean them; nothing too abrasive, though).
-
Fill your inground pool up to its normal operation level
Your pool won’t come out of winter with the perfect water levels. You’ll have to fill it up to the required level.
-
Start your pump and filter
You can’t open an inground pool for summer without doing that, right? So, when everything is pre-checked and worn-out parts replaced, prime the pump and start it along with the water filtration system. Beware of the built up pressure and air accumulated in plumbing and equipment. You need to release it in advance. Also, observe the pool and its equipment for a while to see if there are any leaks (hopefully, there’s none).
-
Restore the chemical balance of the pool water
Don’t throw the chemicals in right away. Let the water circulate in your inground pool for 8 to 12 hours, then test the water for pH and alkalinity. To do that, take a sample of your pool water, bring it to the local pool maintenance professionals. Follow their advice regarding the amount of certain chemicals to balance the water with and introduce the recommended amount of pool sanitizer of choice.
-
Set up your deck equipment and pool accessories
Inspect your deck equipment and pool accessories (ladders, handrails, slides, diving boards, etc.) for damage to ensure pool safety and set them up securely.
-
Test run for 24 hours
After introducing the chemicals, let your inground pool test run for a day or so. If your pool has a water heater, it will do its job during that time. Then, test for chemicals one more time (a home-test kit will do) and if the water proves to be good, put your swimming suit on and open the season with a giant flip into the pool.