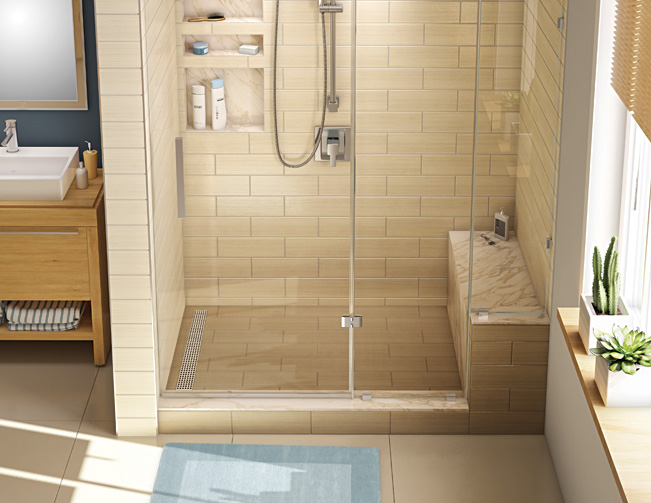
When planning to remodel a bathroom, you’ll most probably think about replacing the tiles, at least in the shower is you prefer painted walls in the bathroom itself. Installing tiles on the shower walls is quite beneficial. Such finish looks good and classy, it never goes outdated and, what’s really important, it’s durable and provides much more protection and enables easy cleaning. It’s more water resistant than paint, which is perfect for the shower area. And, there’s basically no alternative to the tile when it comes to the shower floor (if you don’t have a shower tub or base, of course).
Opting for tiled shower also gives you an opportunity to come up with interesting and unusual designs or stick to the classical ones, play with color, texture and decor elements. Moreover, it’s possible to find both affordable and more of a high-end tile options.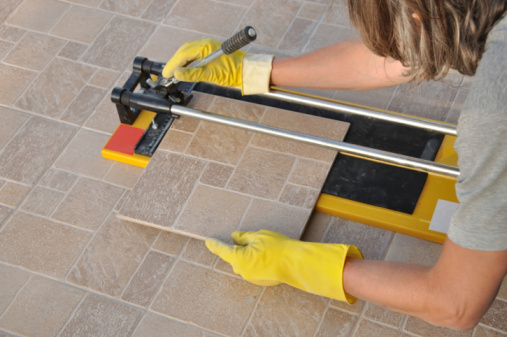
Most people don’t want to deal with a messy, time-consuming and labor intensive tile laying process. So, they usually hire a contractor to let him take care of the tiling process, and sometimes they even entrust him with choosing and purchasing all necessary materials on the basis of their general guidelines. It’s probably the best decision if you need to get the job done qualitatively and quickly, without having to spend money on tools or time on the remodeling process. Besides, contractors become lifesavers for people who just can’t deal with activities like that.
And, if you’re going to follow their suit and do the same, check out contractor’s profiles on HireRush.com to find a professional who operates within your local area and specializes in tiling. Don’t forget to book the plumber’s visit as well, as you’ll most likely have to re-install the shower tub, set up and connect water and sewerage pipes.
But, if you’re a dedicated DIY-er, I’ll give you a step-by-step guideline to help you tile the shower using minimum professional assistance.
Tools and materials:
- tile in necessary quantity
- thin-set solution (mortar)
- grout (both sanded and unsanded)
- a bunch of screws
- several fixtures
- a trowel (notched one works the best)
- a sponge and a sanding block
- nippers and spacers for tile
- basic builder’s necessities (bucket, electric screwdriver, safety glasses and mask, measuring tape, leveling instrument and a pencil)
- rubber grout float
- electric saw to cut the tile (rent it)
- rubber mallet
Tiling process
Step 1. Prepare the working area
Obviously, you have to start with completely blank walls without no tile or anything. If you have a shower pan, you should probably demount it as well to improve the shower’s base. Just cover the entire underneath surface with a piece of plastic or even flashing to make sure that the moist from the shower doesn’t permeate the base wood flooring, ruining and rotting it.
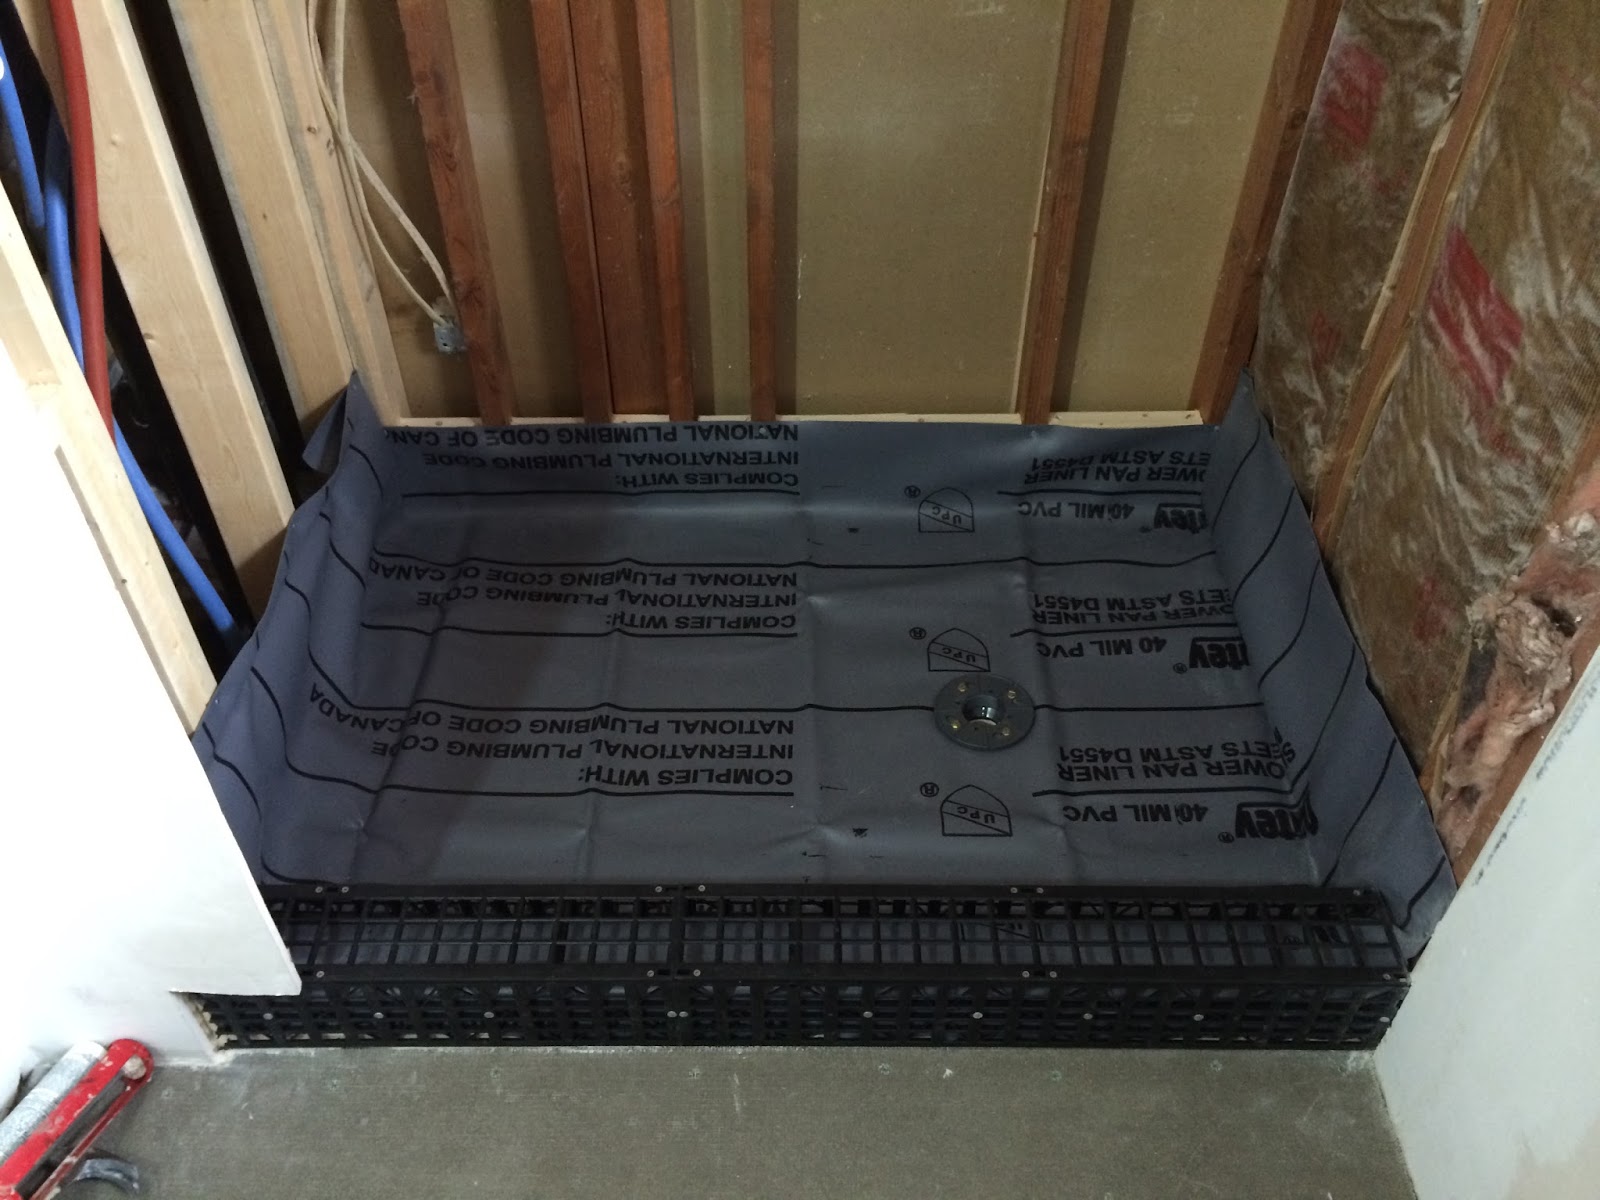
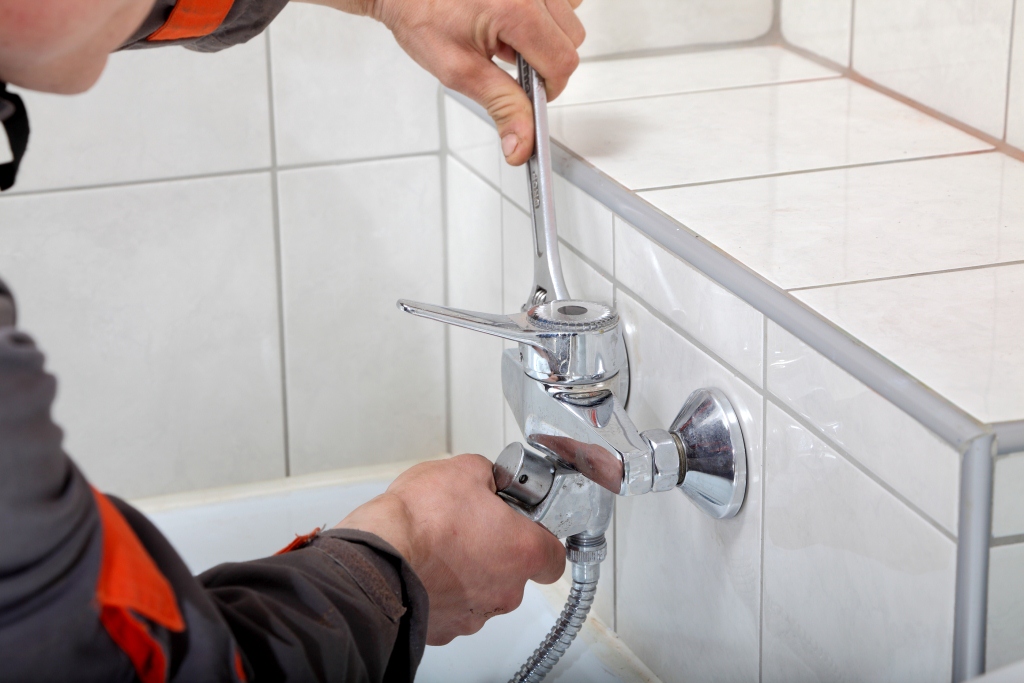
Once that’s done, install your shower pan back in. It’s better to hire a professional plumber for that matter to provide secure plumbing system and avoid sudden leakage. Besides, his services will come in handy later on. Once the tile is installed and completely dry, you’ll want him to connect all the pipes and hoses to the shower’s water faucet.
But, if you’re going to opt for a built into the floor shower pan (just poured concrete), then you may totally skip that part.
You might want to take down the ceiling cover as well to make sure that the tile creates an even edge with the ceiling.
Step 2. Lay out the tiles on floor to test out the chosen design and pattern
If you aren’t going to lay the tile in a simple and straightforward method, or if you have small tiles reminding mosaic pieces, it’s better to test out the chosen design, measure it once again to see how much space one design segment will occupy on the wall and how many times you’ll have to repeat it. If you assume that it won’t look good on the wall or that it won’t fit the wall because of the size, it won’t be too late to change the pattern.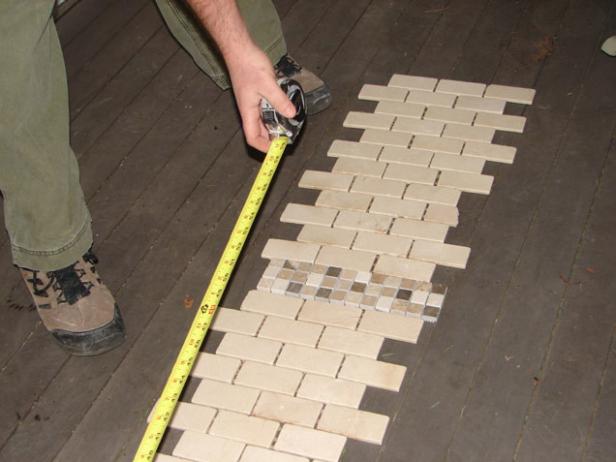
Step 3. Get the walls ready and do the measurements
Now, you have to make the base for the tile nice and even. Also, it has to be sturdy enough to be able to hold the tile’s weight. Unfortunately, drywall won’t do the job, so you’ll have to attach cement baker boards onto the walls.
Professional tile contractors rarely stick them to the walls directly. They usually create a frame out of fixtures by screwing them onto the walls at regular intervals and attach the boards to that ‘skeleton’. Next, they cover up the gaps between the boards with the unsanded grout mixture.
Step 4. Install tiles on the walls
If you have a shower tub, it’s going to be your guideline. If not, follow this contractor’s tip. Grab a wooden rail or a spare fixture and attach it to the wall just one tile up from the floor. Use a builder’s level to make sure that it has created a nice straight line.
Prepare the thin-set mixture according to the producer’s instructions. Mark the middle of the wall on your guideline and match the middle of your first tile with it. Then, take that tile, apply some solution (moderate amount) on it (or onto the wall) with a notched trowel and attach it to the wall on the designated spot. Press a tile to the wall and remove all the access solution. Continue the job until the entire wall is done. 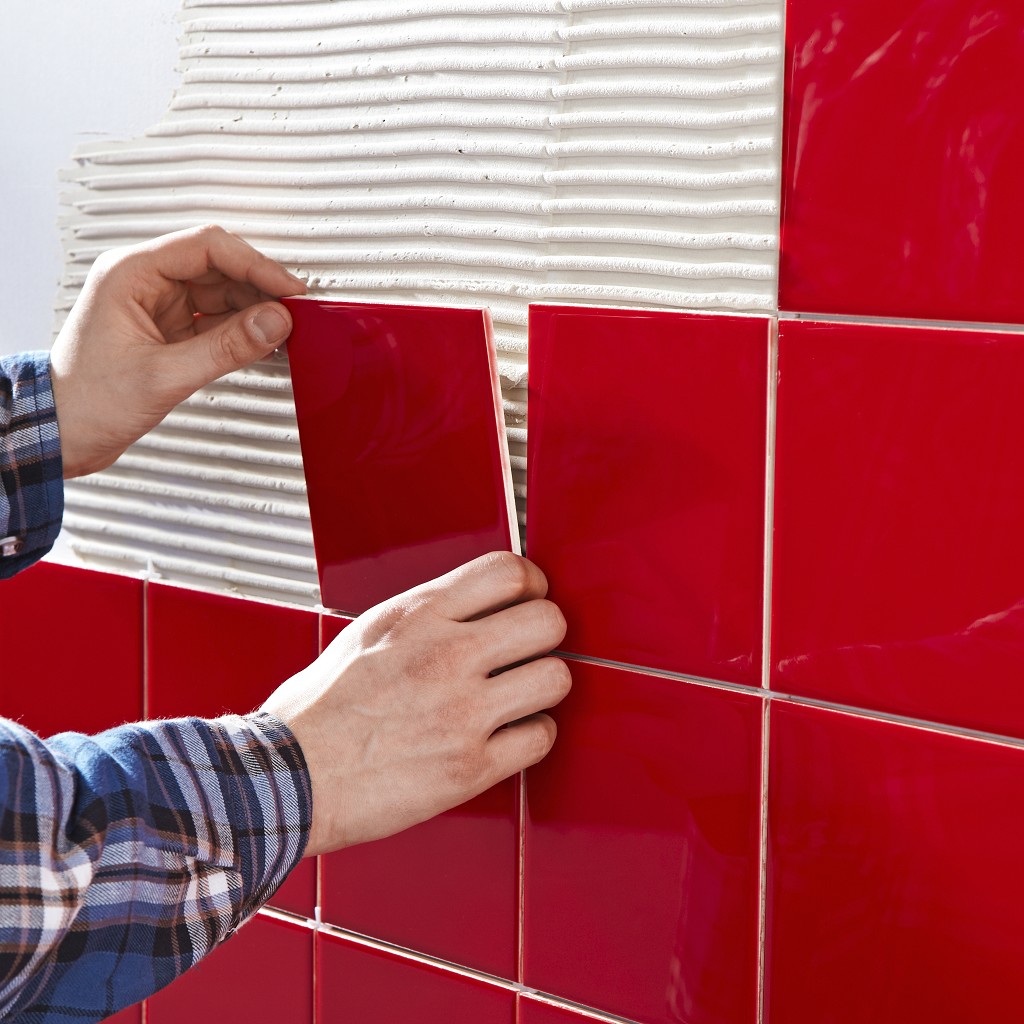
Check your work with the leveling instrument every once in a while. Don’t forget to stick the spacers between the tiles and make holes for water pipes in them. Cut the tiles to a necessary size if they don’t fit. If your shower’s floor will serve as a pan and you don’t have a built-in tub, then don’t cover the space below the guideline just yet.
Once the walls are done, let them set and dry for at least 48 hours.
Step 5. (optional) Tile the floor
The procedure doesn’t differ from tiling the walls at all, so, follow the rules above. The one thing flooring contractors suggest is that you should choose a starting point wisely, as you can’t step onto the ‘wet’ tiles. Just work your way towards the exit, and not vice versa. Leave the floor to dry for 2 days as well.
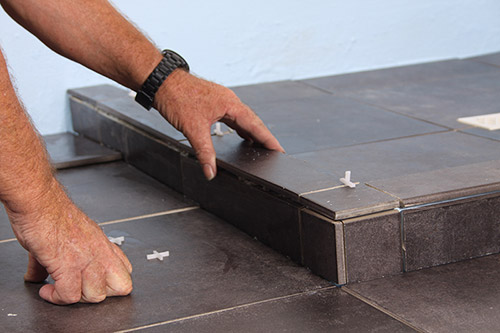
Step 6. Fill in the gap between the floor and the walls
The reason why we haven’t done that before is that we had to install the floor’s tile and measure the gap between the wall and floor only after that. But now we can totally cut the tile as we need and attach the last pieces.
Obviously, this step is not applicable to showers with bath-like tubs.
Step 7. Grout the gaps between the wall tiles
Take out the spacers and prepare the sanded grout mixture. Soak a sponge in water and wet the tile with it. Fill in the gaps between the tiles using a rubber grout float. Let it set for 40 minutes and clean wipe the surface till it’s clean.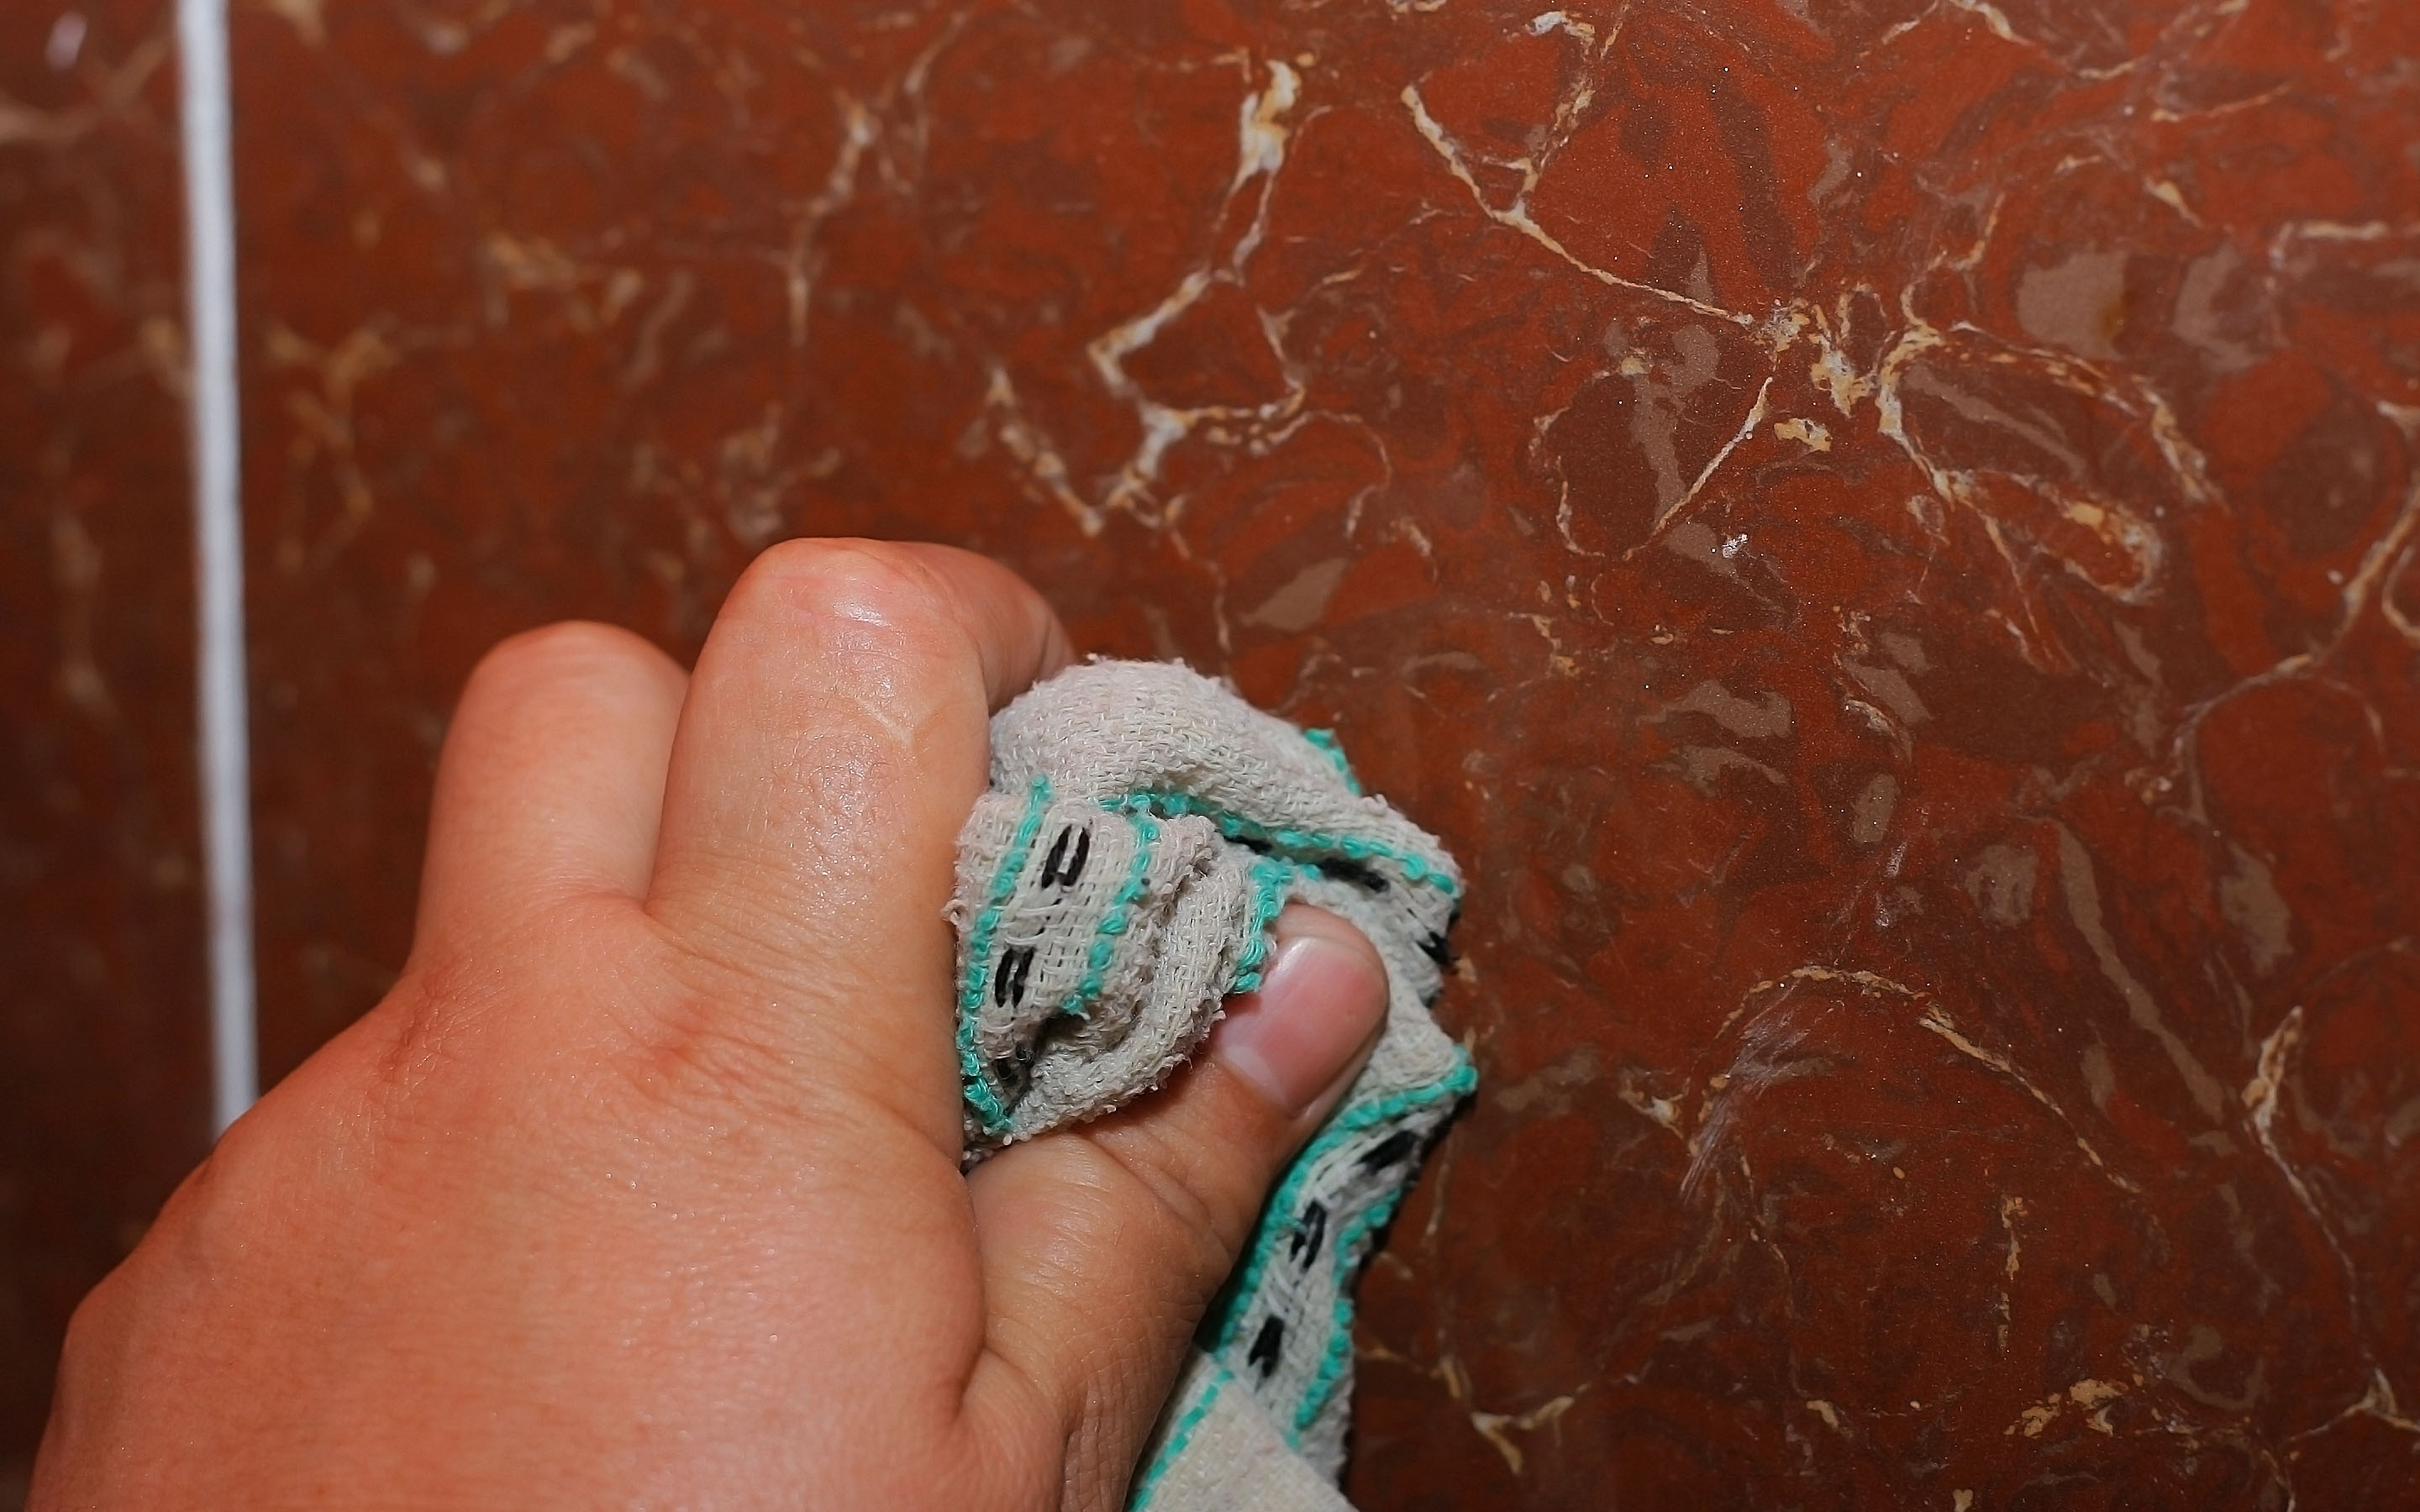 Contractors recommend purchasing a caulk gun and sealing the space between the tile and bath-like shower tub to prevent water from poring under it when you shower.