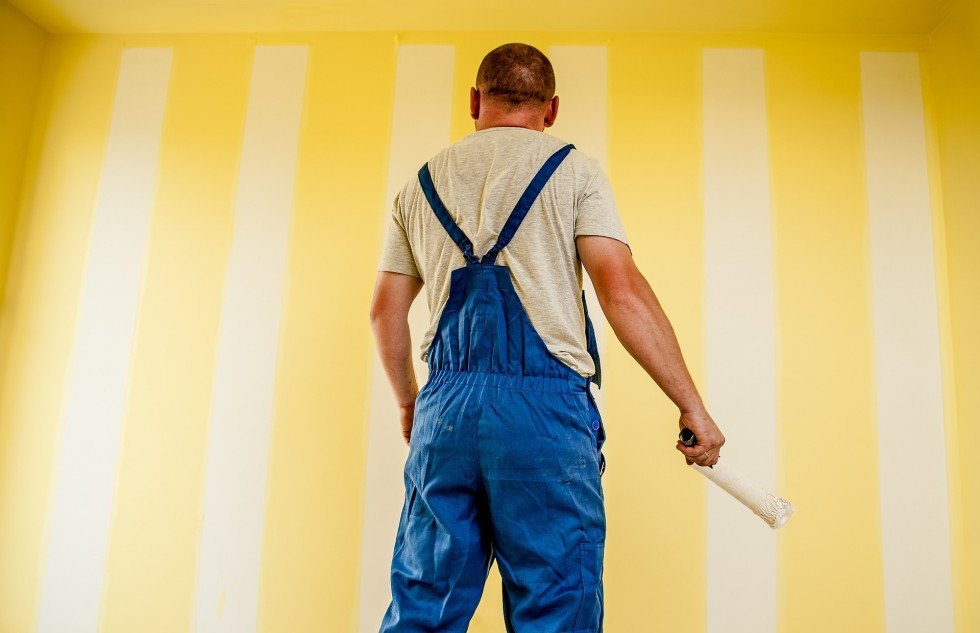
Painting a room is quite common, but still really good-looking and inexpensive way to get it done or give your space a makeover. The monochrome style or a pop of bright colors on an accent wall will change the room completely. The color and design choice will even affect the atmosphere and style of the room, along with the way people will feel while being in it. Will it look bright and fresh or dark and gloomy? Will it seem cozy and muted or vivid and resilient? It depends on what paint color, shade and tone you’ll go for.
Which problems might occur while painting?
Unfortunately, even incredibly beautiful and deep paint won’t look great on the walls if applied incorrectly. It’s so easy to notice uneven edges, cheeky little strokes on trims, window glasses and ceilings that weren’t supposed to be there and were impossible to cover. Uneven or quite noticeable lines and paint drips ruin the impression as well. In short, painting a room doesn’t mean slapping the paint all over the walls however you want. You have to be really precise and careful, follow some techniques and rules, prepare the surface correctly and do everything without any rush or bustle.
Some beginners find it difficult to spread the paint evenly and eliminate misstrokes even when they tape all the trims, edges,
window frames, etc., as the paint tends to seep under the tape and make the entire masking job people’ve spent so much time on completely useless. This fact makes question not the quality of that job, as many people may have thought and unfairly blamed themselves for messing it up, but the paint’s consistency. The latter may also cause those unpleasant drips and lap marks if the paint is too liquid and, consequently, too runny. This issue may be fixed by adding a little bit of paint extender to your paint to make it stay wet on the walls longer and exclude the possibility of getting marks and streaks from brush bristles, along with problems mentioned above.
As you have already been able to realize, it’s not so easy to paint a room decently, especially for someone, who’s going to do it for the first time.
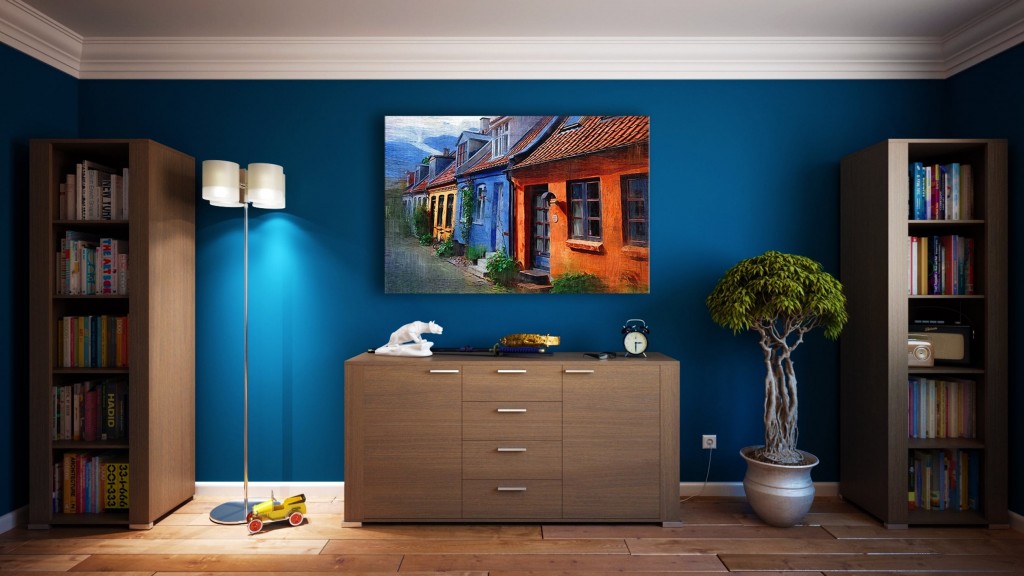
That’s why experienced painting contractors may do the task for you really fast and seamlessly. They may perform awesome job and recreate complicated designs you won’t even dare to execute on your own (like striped or floral ones) perfectly and turn your room from plain and boring looking one into a kingdom of color and brilliance just using different shades of paint. They’re aware how to work on different surfaces, textures and will satisfy pretty much any client’s whim. You may ask your friends and neighbors for some references, or hire such professionals online. Find some ads of painting contractors on HireRush.com and let them transform the inside or outside of your house as if by magic.
Besides, you may observe them doing their job and learn from their experience to improve your skills and don’t waste your money on their services in the future.
However, if you’re determined to paint your room on your own without addressing a professional, then it’s necessary to figure out the most efficient and neat way of how to paint the walls in the shortest time and with minimum struggle.
Here are some tips that might help you get the smoothest finish and the most even color possible.
Preparations before the actual painting
Frankly speaking, they take quite a while to complete. And, and even professional general contractors approach this task with special attentiveness. First of all, you want to move all furniture and other things from the room until it’s completely empty. Then, remove all the hardware (power sockets and switches). Protect the floors from paint drips with paper sheets or plastic cloth.
Get the walls ready. Fill in the holes and sand the surface to ensure that it’s even. Clean it using a TSP solution and a sponge. This way you’ll remove all the grease and dust from the walls and allow paint stick to them better, making the application process much smoother. Of course, you may use warm water with mild detergent to perform the same task, but you’ll do it much faster using a TSP cleaner.
Even if you’re working with the already painted walls, it’s better to prime them to fill the pores and be able to cover the previous paint color.
Taping part is completely optional, but don’t go overboard with it, as paint might spill under the tape or the latter may ruin the look when you peel it off. Moreover, it takes quite a while to apply and remove the tape. So, it’s better to cut in carefully using angled or tapered paintbrush and save time on attaching those strips everywhere. However, you may do that on the top flat part of the trims, ceiling edges, door frames and window glasses to avoid scraping occasional paint spots off.
If you’re planning to paint the ceiling as well, do it before you start working on the walls.
Cutting in
You won’t need to waste time on taping if you cut in correctly. And, you don’t have to be a magician to do that. The key is to use an angled paintbrush while cutting in along the trims and windows, positioning it the way that the longest bristles create a sharp straight line on the edges. Never do the very edge while making your first pass, but stay ½ inch away from it. Make the next stroke to cut in right along the trim or whatever you’re working on. Using a speciat cutting in tool will make the task much easier.
To make the process easier and achieve precise lines, you should
- be confident and hold your brush still
- always remove the access paint from the brush
- not press too hard onto the brush, but guide it as you go
- move the whole arm when you paint to ensure the steadiness of your brush.
It’s better to cut in only one wall at a time and paint it afterwards. This way the paint on the edges won’t dry up by the time you start covering the walls, so it will blend with the wall paint (as those two parts will be still wet).
Rolling the walls to paint them completely
Take your paint and pour little bit of it into the painting tray. It’s better to do so, as it will be easier to distribute paint all over the roller and control its amount. Besides, if small particles fall into the paint, they won’t mess up the whole bucket.
Most of the handyman recommend using a W or M technique while painting the walls. Basically, you write a W in your wall using a paint roller and fill the space between the lines in up-to-down motions. Paint from left to right if you’re right-handed (or in the opposite direction if you’re left-handed).
Nevertheless, some painting contractors prefer painting the walls using a different technique. They roll from the bottom of the wall to its top by one single move, going over the same spot twice and overlapping the previous pass each time. They say that this method is much more efficient and less time-consuming.
After you covered all the walls, remove masking tape right away and let the first coat dry.
Once the paint is not tacky when you touch the walls, you’re ready to apply the second coat if necessary. Honestly, you have to do it most of the time to ensure even finish. Besides, if you’ve filled in any holes and left some putty patches, it’s unlikely that the first coat will cover them completely. If you’re painting over the previous darker shade, the second go is inevitable. In general, the better the paint is, the fewer coats you’ll have to apply.
I won’t recommend you paint the walls on your own if you are allergic to paint. It’s definitely better to hire a handyman or a painting contractor on Hirerush.com instead and leave the house till the smell disappears to avoid some adverse health consequences.


Personally, I really hate painting walls. Mainly because I always make a giant mess. It was nice that you pointed out that you should remove all excess paint from a brush when you are cutting in. That could be why I am making such a huge mess. It might be better for me to hire a professional painter to paint my walls.
Oh my goodness! People, you did such a fascinating job explaining what to do with walls, and I understand now that I don’t want to do it myself. Thank you, HireRush, for saving me time and money. I’ll definitely hire the pro painters instead!