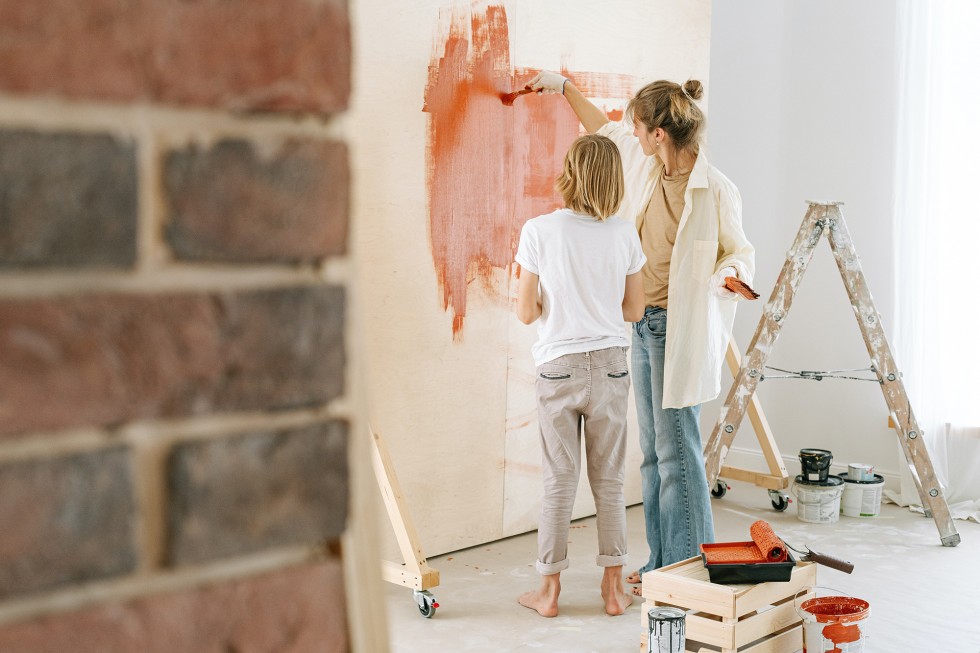
Painting a wall is one of the most common DIY projects around the house. Many people choose to tackle this project themselves, but often have trouble achieving professional-looking results. Painting any area or object like a pro requires careful planning and consideration. But with a bit of practice and some helpful tips, you can paint your walls with beautiful, clean lines and smooth finishes.
In this article, we will cover the basics of painting a wall like a pro. But before we get started, if you plan on painting your whole room, you should first paint your ceiling. That will prevent unwanted paint drips from ruining your freshly painted walls if you try to do it the other way around.
Getting Your Tools And Materials Ready
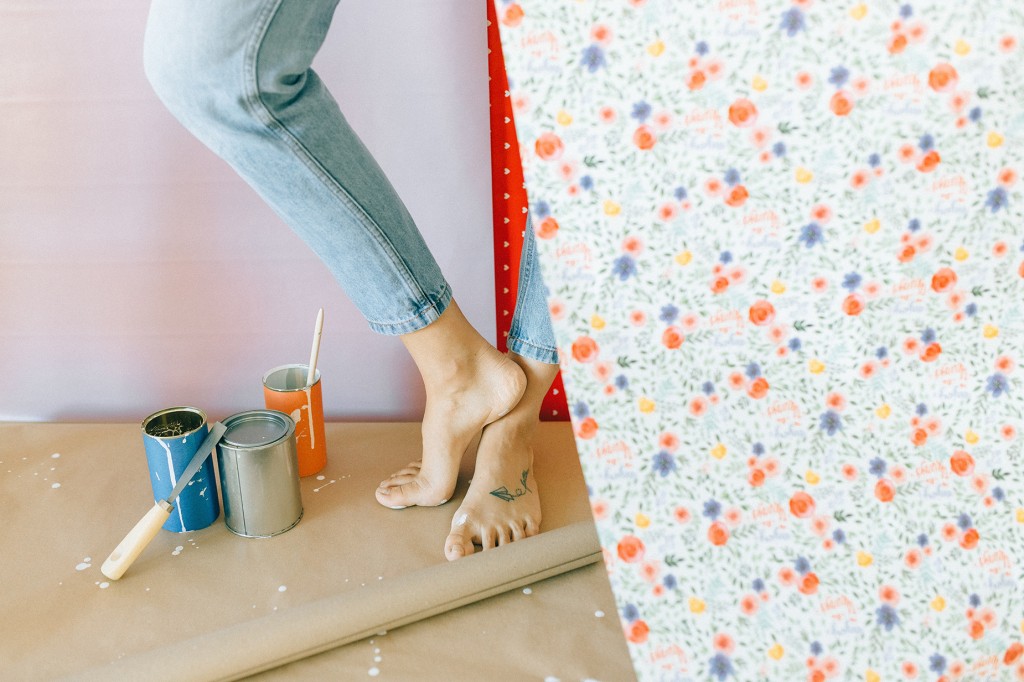
To paint your wall like a pro, you must use the right materials and tools. Invest in quality brushes, rollers, and drop cloths for best results.
Additionally, make sure that you select high-quality paint in the color of your choice. A high-quality paint will help ensure even coverage and improved durability. Also, matching the color to the rest of the room’s walls, ceiling and furniture will make the painted wall match cohesively.
Prepping The Wall For Painting
Before you begin painting, it’s important to make sure your surface is prepped and ready. For walls, this involves cleaning the full area by first removing any wallpaper or other debris, patching up cracks or holes, and sanding down rough patches.
Getting these steps right is essential to achieving a professional finish, so make sure you take your time and do them correctly.
Start With A Base Coat Of Primer
Once you’ve chosen your paint and gathered all the necessary tools, and the wall is prepped, it’s time to start painting. Begin by applying a base coat of primer that is suitable for the surface you are painting.
Primer helps create an even surface for the paint to adhere to, as well as offering improved coverage and durability. Allow the primer to dry fully before you move on to the next step.
Use Painter’s Tape For Crisp Edges
Painter’s tape is an invaluable tool when interior painting. Use it to create straight, crisp edges and lines that add a professional look to your painting project. Take your time applying the tape so you get a clean line without any gaps or overlaps.
Paint With Even Strokes
Now that the primer is dry, it’s time to start painting with your chosen color. Begin by using an angled brush to cut into corners and around edges. Use broad strokes to paint large surfaces, and make sure to keep your brush strokes even.
You may also choose to use a roller for larger flat wall surfaces. If so, start from the top of the wall and work your way down in overlapping strokes.
Touch Up Imperfections
If you notice any imperfections after the paint has dried, use a smaller brush or sponge to touch them up. This can be used to fill in small corners, blend out uneven areas or remove streaks.
Often times a second coat will be needed to ensure a smoother finish. Just make sure to allow the first coat to dry completely before applying a second.
There you have it! With these tips, you can now confidently tackle a wall painting project like a pro. Just remember to take your time with each step, use quality materials and tools, and be patient while allowing the paint layers to dry properly.
Once completed you can sit back underneath your aircon and enjoy the satisfaction of knowing you achieved great results on a DIY job.


Thank you for benches of advice. I’ll use it
I believe this is among the such a lot important information for me.
And i am satisfidd studying your article. However want to remark on some common things, The website
taste is great, the articles iss iin point of fact great :D.
Good task, cheers.
Hey people!!!!!
Good mood and good luck to everyone!!!!!
Great work! That is the kind of info that are supposed to be shared across the internet.
I’ve always been intimidated by the idea of painting my own walls, but your step-by-step instructions make it seem so manageable. The tips about prepping the wall and using painter’s tape properly were especially helpful. I never realized how much difference sanding and priming could make in achieving a smooth finish. Can’t wait to put these tips into practice this weekend – my living room is going to look amazing! Thank you for the clear, practical advice!