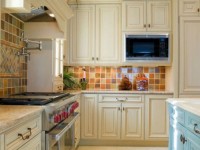
Repainting cabinets in the kitchen or some of their decorative elements and parts is a great way to give your kitchen furniture a new life and change the look of the room completely without replacing the cabinets or countertops. We may get bored of the furniture in this area of our house, but replacing it is not the wisest and definitely not the cheapest option. Changing the color of the cabinets is much easier. And, this remodeling project won’t be so heavy on your budget.
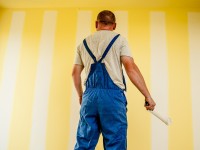
Unfortunately, not all kitchen cabinets may be repainted over. As it was mentioned on Diynetwork.com, some cabinet surfaces will resist the paint. For instance, kitchen cabinets that have plastic laminate finish are quite difficult to remodel. Also, it’s quite difficult to achieve a smooth and lovely effect even on easy-to-paint cabinets. You may easily mess them up and notice it only when the pain is completely dry. That’s why I suggest contacting a painting contractor or posting a cabinets repainting task on HireRush.com to get this job done by a professional. People who’re allergic to paint should definitely do that. Otherwise, you may attempt repainting your kitchen cabinets yourself by following the steps below. Just take your time and don’t be disappointed if the finished look ends up being not as great as you’ve expected. You may always try again later.
Leave a task for a contractor now
5 steps to repaint the kitchen cabinets
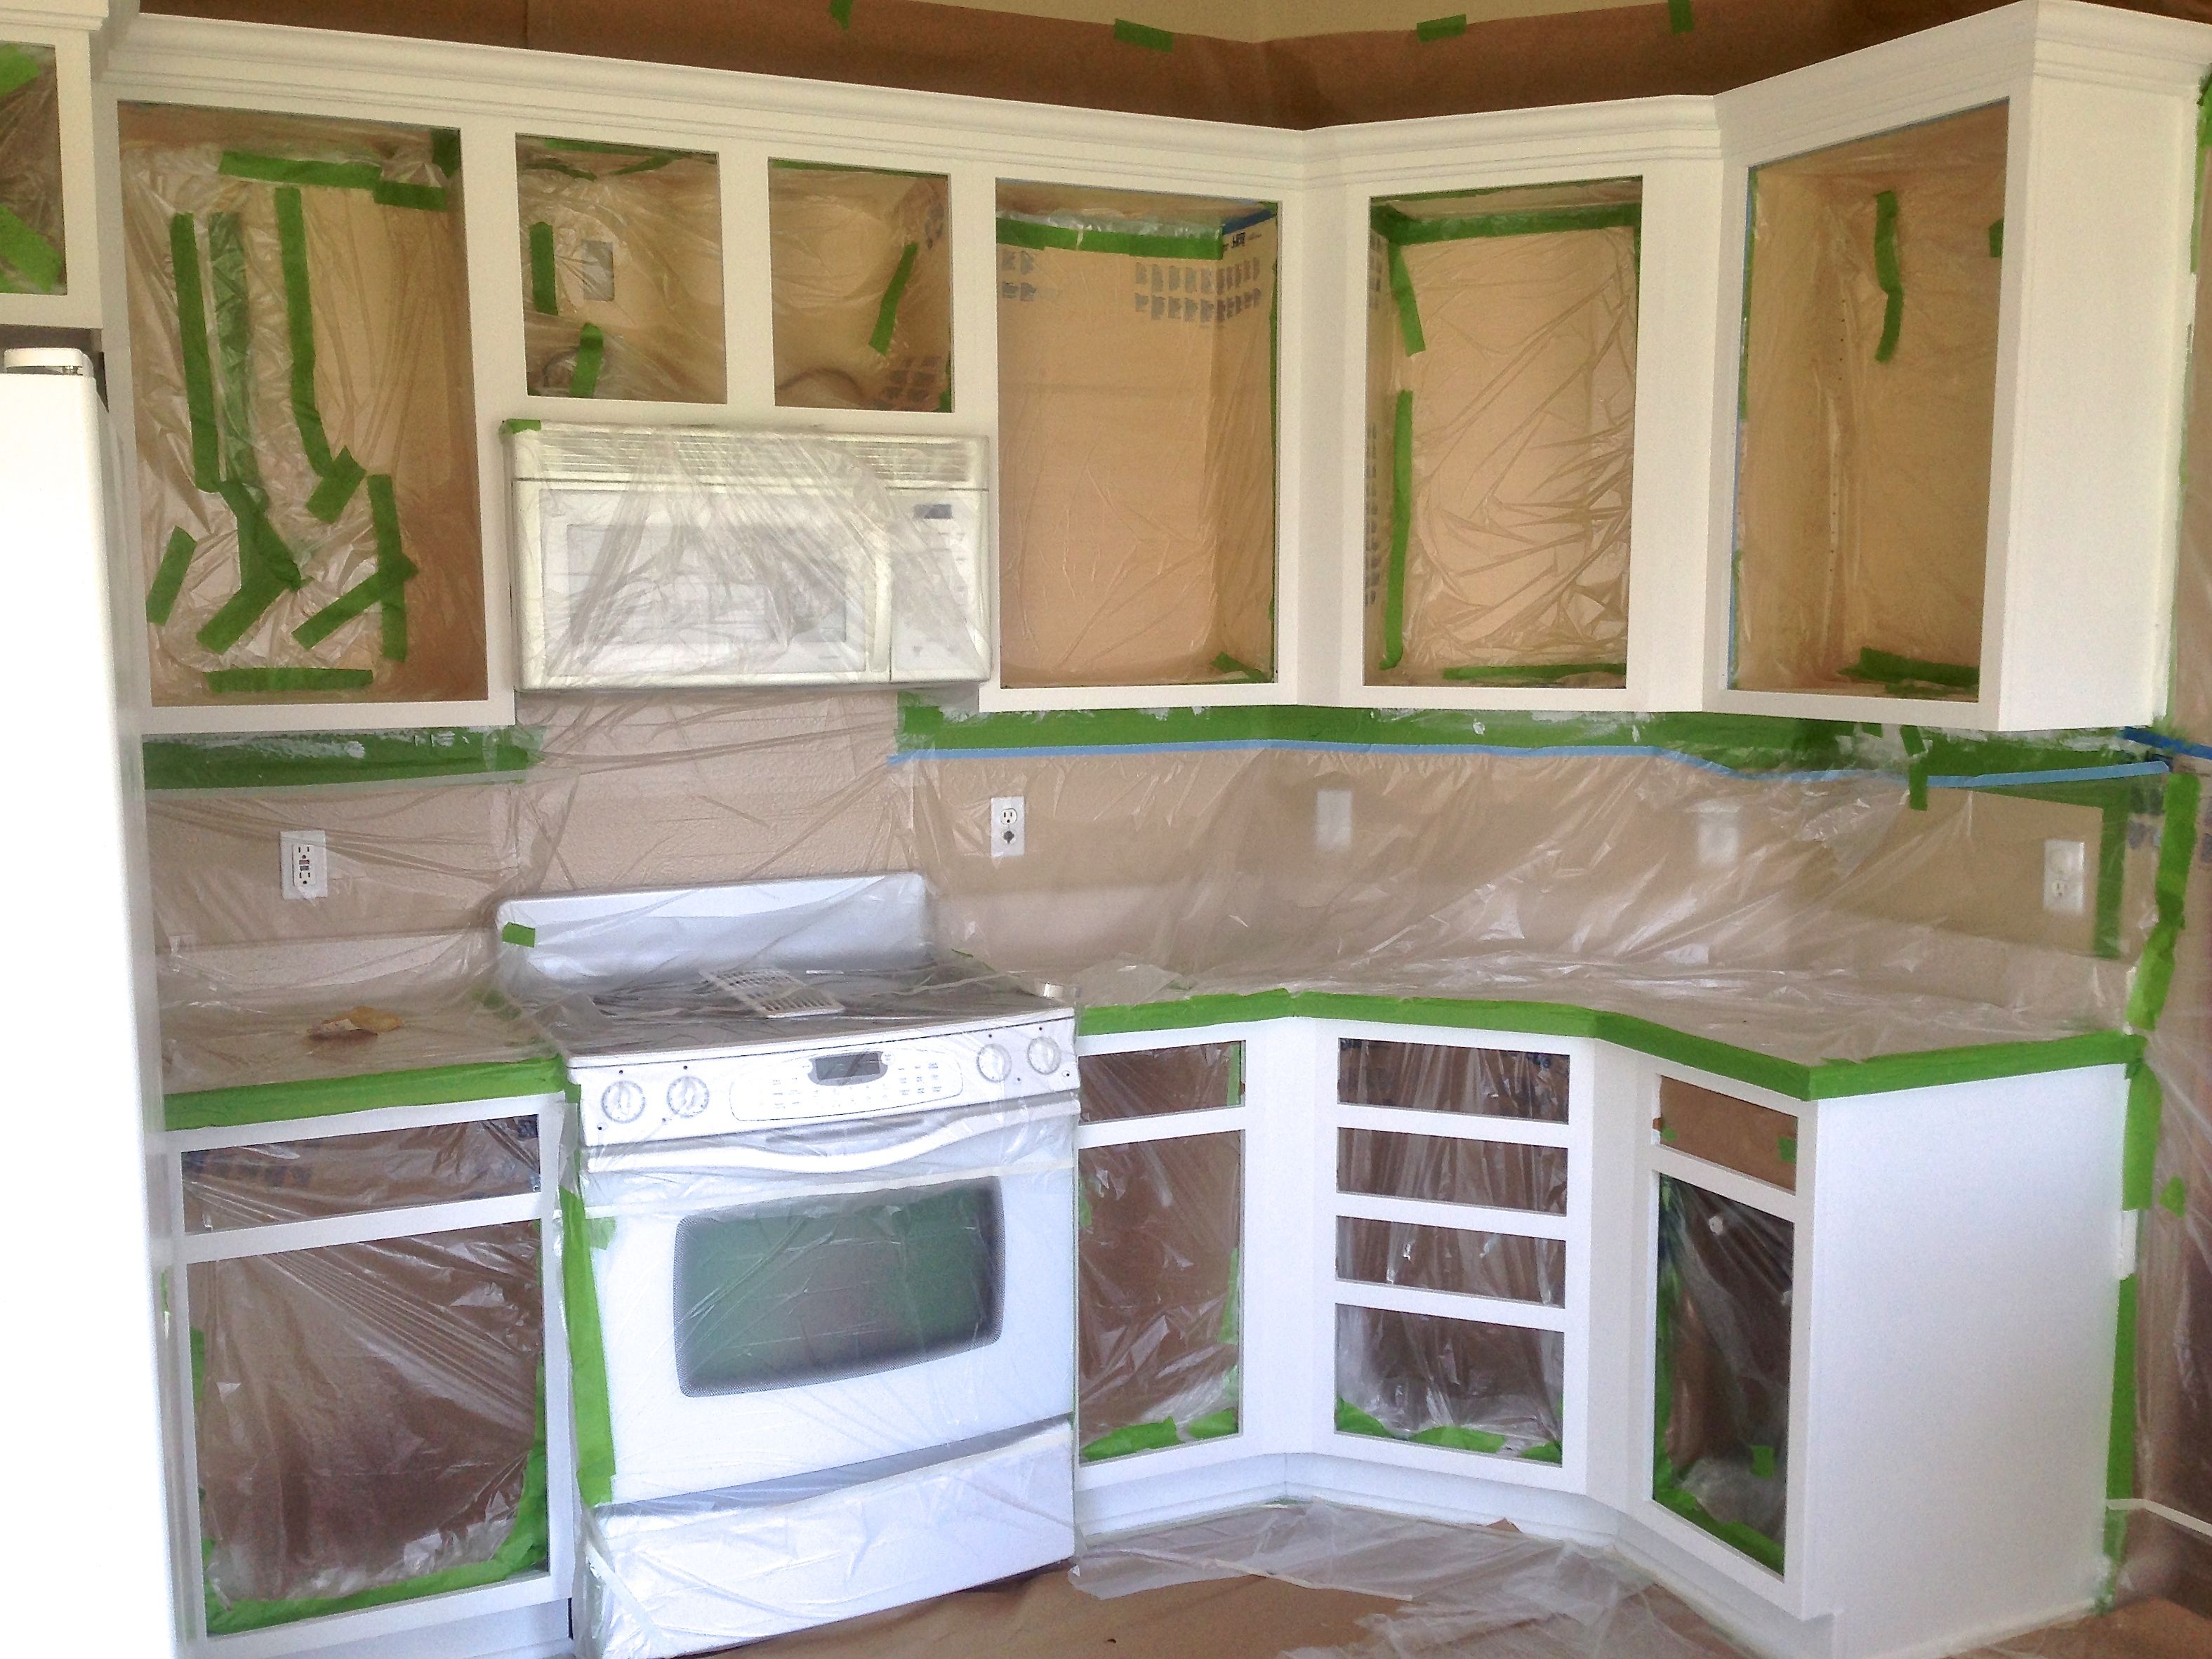
- Prepare the room. Protect the countertops that are situated close to the cabinets. Just cover them with the sheets of rosin paper or plastic cloth attached to the surface with the help of the masking tape. Hide the backsplash panel with the help of plastic wrap or wide painter’s tape. Don’t forget to cover your working area with plastic cloth or newspaper sheets not to let the dust spread all over the place and not to stain everything with paint.Take off the doors and the hardware. Mark each door of the cabinet, each drawer, its front part and the openings or places they’re attached to before doing that. Get a sharpie and write corresponding numbers on pieces of tape and stick them to the details to know which piece goes where. This should make the assembling process much easier. The matter is that if mix the parts up, there’s a great chance that the drawer slides or hinges won’t line up properly. Then, their re-installation will turn into a nightmare.
When marking is done, you may detach the pulls and knobs. After that, unscrew the hinges so that they’re not connected both to the cabinet boxes and their doors anymore. Next, take out the drawers and detach their front parts if you can. In case if you decide to paint the front parts only, there’s no need to unscrew the side slides. - Clean up. If you cook in your kitchen even a little bit, the surfaces, including the tops and doors of cabinets will get dirty with grease and food/water spills and splatters overtime. Grab a sponge and the cleaner of your choice to cleanse the cabinets’ doors and frames, the front parts of drawer’s and all other surfaces you’re going to repaint. Painting contractors recommend using a cleaning mix made out of tri-sodium phosphate and water (one to four parts correspondingly). Apply this solution to the surfaces and rinse them using plain warm clean water. Wipe them with a dry microfiber cloth or leave them to dry naturally.
- Sand the surfaces. Gently treat the doors on all sides and faces. Find a special wood sanding block to do that in order not to round over the edges of wooden doors and other cabinets’ parts. If just want to improve the condition of visible parts of the cabinets or make their fronts more vibrant and colorful if compared to the boxes, you won’t have to sand and repaint them inside. But, you’ll need to tape the interiors’ edges to achieve a crisp finish and avoid unwanted sanding marks.
If you notice that the old paint flakes off in places, it means that it didn’t cling well to the cabinet’s surface. It might happen when the excessive moisture or grease, which hasn’t been removed during the cleaning part, gets under the layer of paint or deep into wooden surface. You want to sand these spots until you reach the bare wood and treat them with a stain-killing primer or sealer prior to repainting.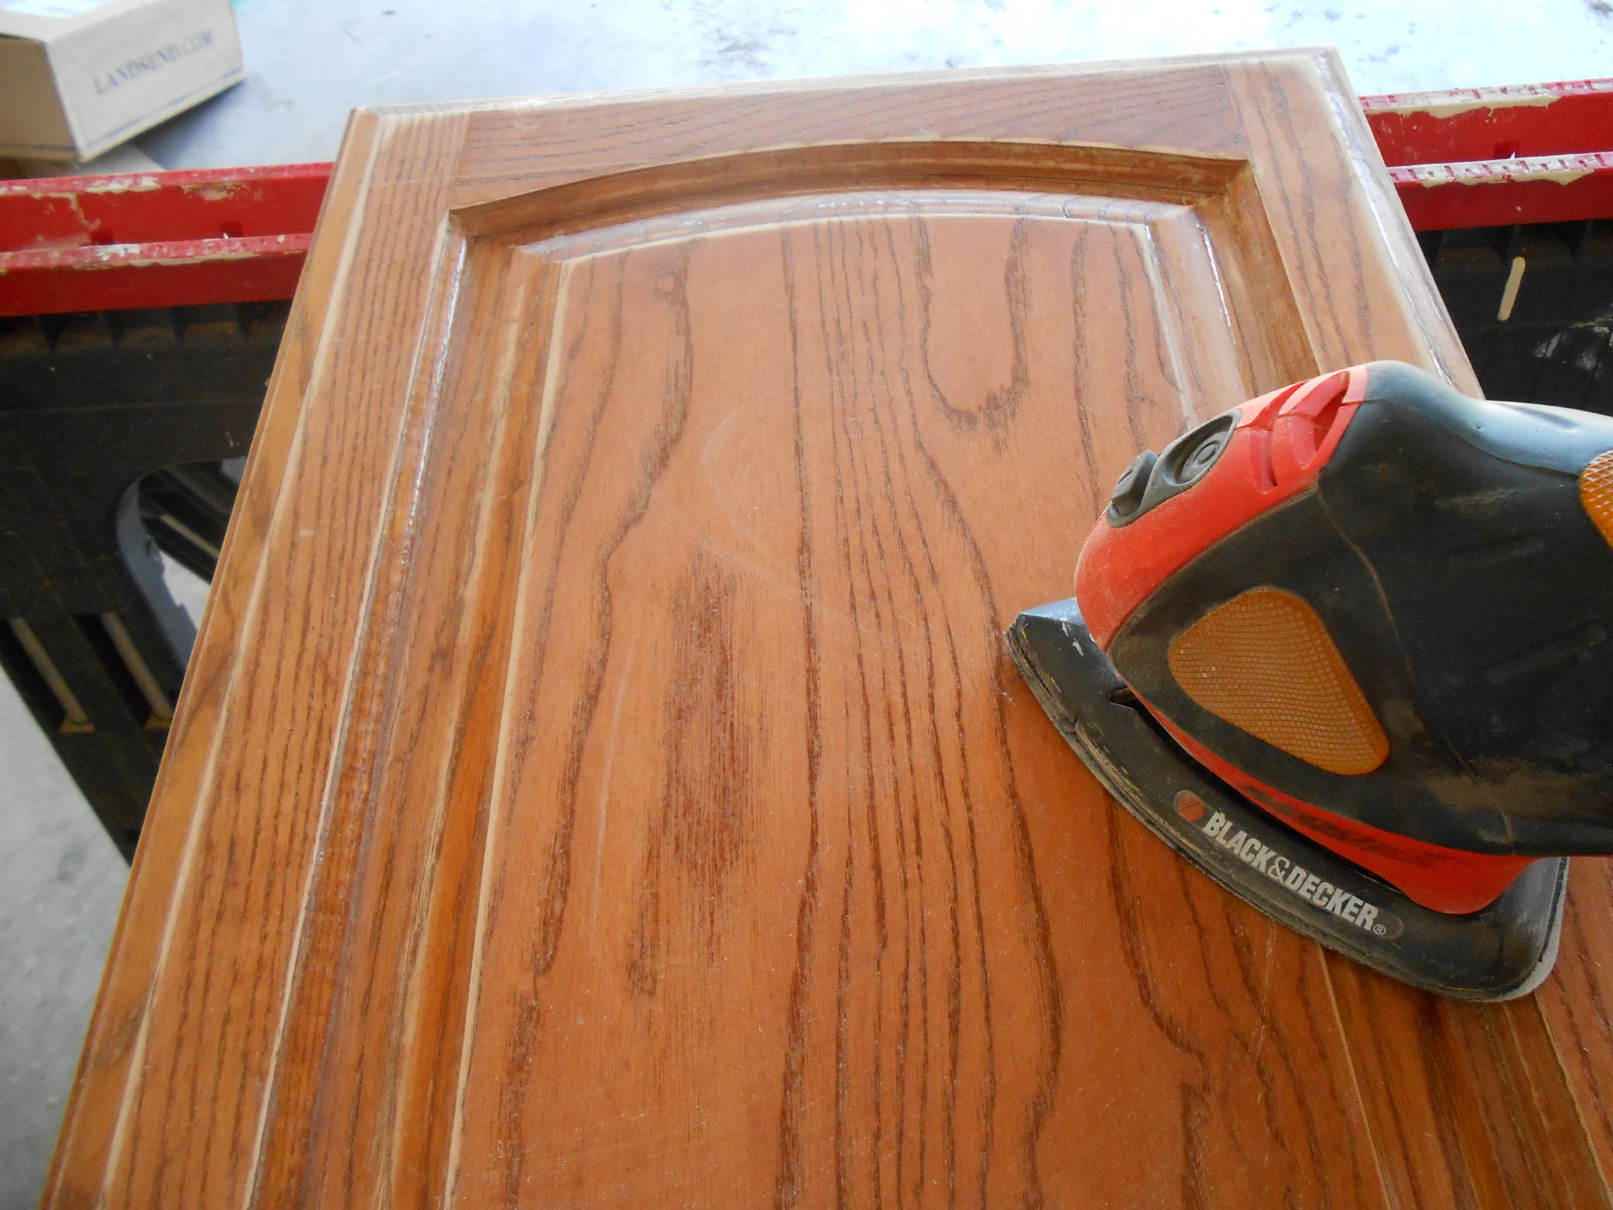
You don’t need to sand the cabinets or their details down to the bare wood. Just roughen the surface to help the new paint adhere to it more easily. If you end up sanding to the bare wood, take an additional step and feather the edges of the treated area. This should let the new paint lay flat. After that, grab a putty knife and fill any dings, holes or divots with wood putty. Also, fill any old hardware holes if you plan to change the position of the knobs and pulls.
Once you’re done sanding, carefully vacuum all the dust from the cabinets’ parts and your working area. Wipe the cabinets with a slightly damp cloth and let them dry. - Apply the primer. Apply an even coat of primer-sealer to all surfaces to achieve a well-bonded finish coat. Primer-sealers also reduce the need to sand or deglaze the cabinets before getting them repainted.
Avoid all-in-one primers and painting products. They don’t do their job properly. To be fair, oil-based primers and paints adhere to the wooden cabinets the best and provide the long-lasting kitchen cabinets finish. However, these products are prohibited in most states of our country. So, you may replace them with the water-soluble waterborne paint.
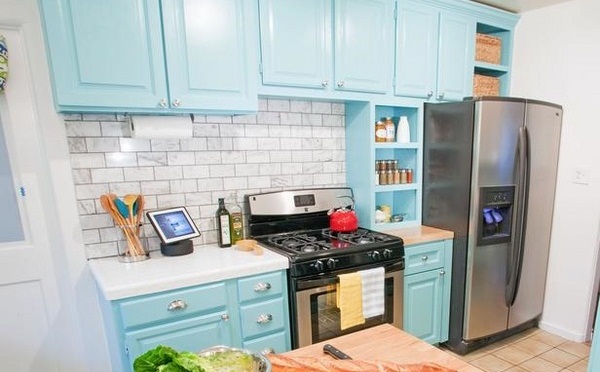
If you’re going to paint dark kitchen cabinets in a light color, tint the primer to match the final shade. If your color transition is quite extreme, you might try applying a coat of underbody. It’s a thicker and less transparent version of ordinary primer that helps overlaying more. You may tint it as well. - Proceed to the actual painting. Purchase enough of a high quality paint to ensure a smooth and even finish. You may buy either semi-gloss, or gloss, or satin finish paint for your kitchen cabinets. But painting contractors advise avoiding matte finishes, as they are really impractical for the cooking areas.

Start painting the kitchen cabinets from the inside edges and openings of their face frames. Move to the outer sides of cabinets. Paint the face frame fronts of kitchen cabinets the last. This method will let you paint quickly in the less critical areas. In addition to that, it will allow you to notice and correct any paint drips or smudges on the most visible spots in time. After you manage to repaint the cabinet boxes, proceed to working with the doors and drawer fronts, separate decorative parts or moldings.
Paint the cabinets in thin layers and allow each layer to dry completely before applying the next one. Also, don’t overwork the brush. If you make too many brush strokes, they’ll create air bubbles. Those will leave bumps and pits on the finish once the paint dries. By the way, a 2- to 2 1/2-inch fine bristle brush is the best tool to paint the kitchen cabinets.
When you’re done painting your kitchen cabinets, leave them to dry. Once you feel that the paint is not sticky at all, you may install all the hardware back on the doors and drawers, put the cabinets together and enjoy the new color.