Have you always wanted your hair look a little bit nicer and not as boring as a dull ponytail or messy bun for school, but thought that doing your hair is not worth your precious morning time before classes? Well, you may diversify your hair looks with these easy and quick back to school hairstyles.
They literally take a couple of minutes to recreate, but never fail to make your hair look amazing and a little bit different every single day.
So, feel free to test them out once you return to school.
5 easy back to school hairstyles for every day of your school week
1. Half up half down back to school front braid to keep your hair away from your face
Even girls with short hair may pull it off.
Make a side part, pick a thin section of hair at the very beginning of the part at your forehead and start braiding a simple French braid, adding hair only from the side, that’s closer to your forehead.
Stop adding hair when you reach your ear, finish a normal 3-strand braid, secure it with a clear elastic band and pin it away at the back of your head with a bobby pin that matches your hair color.
Or, you may glam it up by securing your braid with a pretty bow or flower clip.
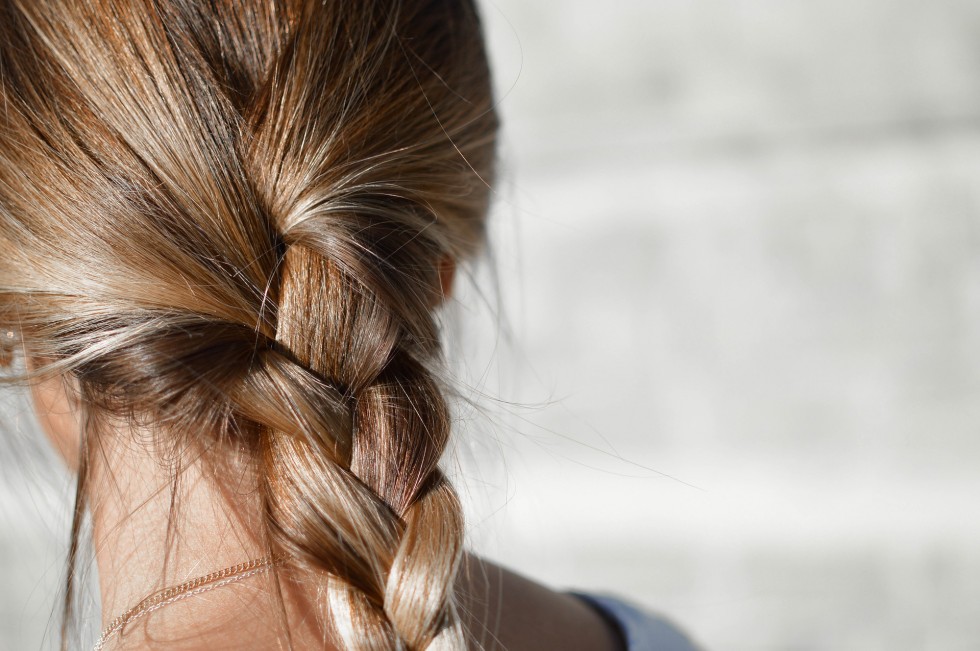
2. Back to school milkmaid braids (for long hair) that last the entire day
Make a middle part and split your hair in half. Bring those two parts to the front and braid two regular 3-strand braids (or fish-style braids if you’re feeling fancy).
Tug on your braid sides to make it a little bit more voluminous and bohemian-style. Grab a couple of bobby pins, take one of your braids and wrap it around your head like a hair band.
For that matter, bring your braid to the opposite ear and secure it with a couple of bobby pins. Do the same to the second braid.
Pull a couple of tiny hair strands right at your ears and you’re done.
Even celebrities wear their hair like that to red carpet events.
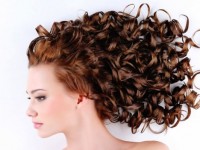
3. 2-minute back to school curls
Do you love curly or wavy hair, but have no desire to spend at least half an hour on styling your stubborn straight hair for your first back to school day?
Well, if you don’t forget to put your hair in a couple of tight buns the night before, you’ll end up with cute and natural looking curls the next morning.
Easy and breezy. The smaller buns you create, the smaller and tighter curls will be.
4. Dressed up back to school messy bun or a high ponytail
Part your hair as you normally like it, pick two semi-thin sections of hair right at the part and braid two small braids.
3-strand ones will work just great, but if you’re not in a major hurry, you may attempt creating fish-style or even 4-strand braids. On the contrary, if you’re running out of time, make two twists.
Tug on the braids’ edges for a voluminous look, secure your braids with clear elastic bands and collect the rest of your hair (incorporating the braids) to create a low or not too high messy bun.
In order to make one, gather your hair into a ponytail, twist your hair and wrap it around the base of a ponytail. Secure this bun with a rubber band rotating its position every time you wrap in around the bun.
Tug on your hair a little bit to make it messier. Secure those strands with bobby pins wherever you like.
5. French style back to school ponytail
Brush your hair away from your face and make two temple parts to section a top part of your hair. Use this hair to create an ordinary French braid. Make sure you don’t touch the sides of your head while adding hair to your French braid.
Braid up to the point where you want your ponytail to be and secure your braid using a clear elastic band. Bring your hair up, smooth the sides with a brush and make a high ponytail.
(Optional) Grab a small section of hair, wrap it around your ponytail and secure it with a bobby pin.
By the way, you may always turn this ponytail into a bun.
Bonus hairstyle – cute back to school 4-strand braid
Now, this is a little bit complicated hairstyle, and you’ll have to practice it a couple times to be able to recreate it quickly. But, it’s not as hard as it seems.
Besides, just one 4-strand braid will make your hairstyle quite unique and even a little bit fancy. And, if you use a colorful ribbon instead of the third strand, you’ll be able to dress it up even more.
So, bring your hair to the side (it will be easier to follow the steps when you see what you’re doing) and divide it into 4 parts. I like when the third strand is a little bit thinner that the rest ones.
Then, take the left-most strand, bring it over the second one and under the third one.
With your other hand, take the right-most strand, bring it under the third one and over the second one.
Braid like so till you reach the end of your hair following a simple rule: ‘over-under’ when you move from your left and ‘under-over’ when you move from your right.
It’s a little bit confusing, so watch this YouTube tutorial to see how that’s done.
Don’t forget to check out professional hairstylists on HireRush.com and leave a request for them in case you need to get your hair done for a special occasion.