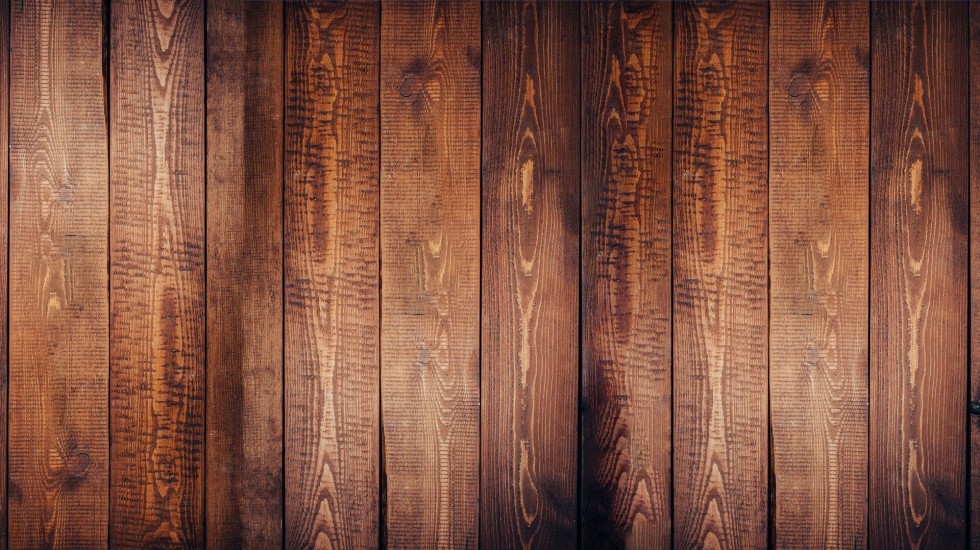
Should you consider refinishing on your own?
Have you ever attempted sanding a piece of furniture (like an old dresser or coffee table) and repainting/recoating it? Well, refinishing hardwood floors is quite similar to those kinds of DIY projects, except it takes a lot of time and special equipment to carry out.
As complicated as it might seem, refinishing hardwood floors is definitely one of the house remodeling jobs any handy person may deal with, especially if you make sure to refinish your floors before they get too scratched and ruined.
The matter is that if the scratches on your hardwood floors cut through the top layer of their finish and don’t reach the actual wood, you won’t have to sand them all the way to the bare wood.
You’ll just have to get rid of the top layer of floor finish and replace it with a new one. And, it won’t be as expensive and time-consuming as scraping off the floor’s finish downto the bare wood, applying several coats of glaze and finish, waiting for each of the coats to dry and so on.
However, you have to bear in mind that engineered hardwood floors are quite hard to refinish due to their easy-to-damage structure. That is why if you don’t want to ruin the flooring in your house, you should entrust your remodeling task to professional hardwood flooring contractors.
First-time DIYers should probably stick to professional flooring services as well. As hardwood floors are too expensive to test your handiness on.
Another thing is that heavily damaged hardwood floor has to be sanded to bare wood and refinished by pros. The same applies to the floors that were stained and waxed over their finish.
Besides, you need to take into consideration the fact that buffing and sanding equipment is quite heavy and not that easy to maneuver. In addition to that, a lot of fine dust is involved in floor sanding process.
That’s why people with allergies or breathing problems (like asthma) should definitely get their hardwood floors refinished by pros.
HireRush.com will hook you up with one of the local flooring contractors in no time if you post a hardwood floor refinishing task on the website.
Otherwise, this simple guideline, as well as your patience and precision should get you through the hardwood floor refinishing DIY just fine.
Things you need to refinish hardwood floors
- Hardwood floor buffing machine (rented)
- Hardwood floor hand sander (rented)
- Clear polyurethane (not oil-based)
- Sanding sealer
- Natural –bristle painting brush
- Stain applicator
- Microfiber mop
- Bucket
- Hardwood floor cleaner
- 120-grit screen
- 320-grit sandpaper
- Cotton cloth
- Mineral spirits
- Tack cloth
- Vacuum
- Cleanroom booties
- Respirator
- Thin rubber gloves
Steps to refinish hardwood floors
- The first thing to do is to prep the room. Free the floors from furniture, room plants, etc. and clean it using a hardwood floor cleaner and a mop. (Water and vinegar solution will work as well).
- Make sure to close all doors and windows so that the sanding dust doesn’t get out from the room you’re working in.
- Put your sanding gear on (comfy long-sleeve clothes and respirator) and start sanding.
Begin with buffing along the baseboard and the corners of the room using a hand buffer that allows more precision. - Buff in 6-inch strips using a hand tool (or 180-grid sandpaper if you don’t have a hand buffer) and proceed to sanding the rest of the room with a real beast – sanding machine with the maroon buffing pad on.
- Move it following the direction of the floor’s grain and overlap each strip by 5-6 inches not to miss any spots. Don’t forget to vacuum the buffing pad every 5 minutes or so.
- If you need to, eliminate the post-sanding roughness of your hardwood floor using a 120-grid screen.
- By the time you’ll be done with sanding, your floor will be covered with a lot of loose powder – the old scratched finish. It will be in the air too.
You’ll need to let that powder set for 15-20 minutes and come back to the room with a vacuum to clean it up. (Use the brush attachment of the vacuum).
And, you’ll have to go over the buffed floor with a dry-tack mop to pick up the remaining dust.
As usual, move the vacuum’s brush and the mop following the hardwood’s grain. - After that, put the rubber gloves on and clean the floor with a cotton cloth and mineral spirits.
- Coat the buffed hardwood floor with the sanding sealer, starting at the wall that’s opposite to the room’s door.
- Leave the sealer to dry for as long as its manufacturer requires and gently buff it with the 320-grit sandpaper.
- Clean the room once again. Vacuum the floor and wipe it with a tack cloth. Put the cleanroom booties on.
- Open the can with polyurethane and stir it with a wooden stick.
Using a natural-bristle brush, cut the floor along the room’s baseboard. A 3-inch wide baseboard band of the finish will be great.
Be careful not to create bubbles while applying the finish, as it will dry not in the nicest way. - To finish the rest of hardwood floor, tack-clean the stain applicator, pour some polyurethane onto the floor.
Work in 6 by 3 feet stripes not to pour more finish than you’re able to spread in a minute or two.
Transferring polyurethane into the watering bucket will make the pouring part a lot easier. - Spread the finish following the direction of wood’s grain. Make sure to overlap the passes and maintain wet edges of the strokes.
This application method will ensure a smooth and bubble-free finish. - Let the finish dry for as long as its instructions require. After that, clean the floor and apply a second coat of polyurethane.
Wait for it to dry as well and enjoy your refinished hardwood floor!


Informative article, just what I was looking for. I am reading this enormous paragraph to improve my knowledge. It’s because that it’s very useful for everyone who needs this kind of thing. Keep up the great work.
Hi, this post is genuinely fastidious and I have learned lot of things from it about this. So much information has been given. I think this could help a lot of readers.