Is it worth the hustle?
Loft beds and loft areas are great solutions to maximizing the space in small rooms or apartments.
Suitable for both adults and children, they eliminate the need to devote a huge area of the room to the bed, as well as create quite a cozy sleeping area.
Quite simple designs are not that difficult even for a beginning DIYer to recreate, while more elaborate options with the built-in dresser, closet and desk spaces require more professional approach.
However, the fact that a loft or a loft bed allows to pretty much triple the space of the room’s side and employ the area your bed would normally occupy as sleeping, working and clothes storing corner at the same time makes hiring a professional contractor worth the money you’ll have to pay him.
Leave a loft building request on HireRush.com and talk to the experienced local contractors about the project details.
Custom approach and multifunctional solutions he’ll offer will help you choose the best loft design for your room/small apartment and make it fit your general interior style perception.
But, you may totally find a loft plan that will suit the dimensions of the room you want to fit it in and attempt recreating it on your own. After all, the cost of the materials will probably make a DIY loft bed a lot cheaper that the price of a bunk bed or a loft-style bed you may order from the furniture store.
And if you manage to utilize recycled materials and repurpose old furniture, the total cost of the project will go down even more.
So, let’s gather all the tools and supplies and build you an amazing loft bed!
What you need to build a loft bed:
- One sheet of 3/4″ plywood
- 4×4’s
- 2×4’s
- 1×2’s
- 2×6’s
- Deck screws (a box or two)
- Angle joint brackets
- ¼ inch lag screws
- Wood paint
- Paint brush and rubber gloves
- Ladder
- Circular saw
- Power drill with bits of different diameter
- Tape measure
- Leveling tool
- Full-size mattress
How to build a loft (wall to wall option)
Measure the loft’s dimensions
- Measure how tall you’d like your loft to be to determine the length of the supporting beams.
- Measure the length and the width of the loft as well. The width will define the number of supporting beams you’ll have to attach to the opposite walls to make the structure as sturdy and stable as you can.
Draw a simple plan of the loft
For instance, you’d like to have two 5ft vertical posts and a couple of horizontal ‘connecting’ beams to bring those two together on each side of the wall.
And, you’d like to build a rectangular frame with a couple of parallel beams for better support. This way the loft will fit a full-size mattress if the wall to wall space you’ll build it in is 76’’ or more.
But let’s say that your wall to wall space is about 8ft long. It won’t influence the total project, but just determine the length of the horizontal frame beams.
In Part 2 of this article, we’re going to provide you with the step-by-step instructions on how to build the most basic loft.
But, you need to bear in mind that the sizes mentioned here could be changed according to the dimensions of the room you’re going to remodel, especially the distance between the walls and the height of the ceiling.
Besides, you may decide on the width of the top frame differently, as you may opt for a king or queen size mattress, add some non-bed space up there, etc.
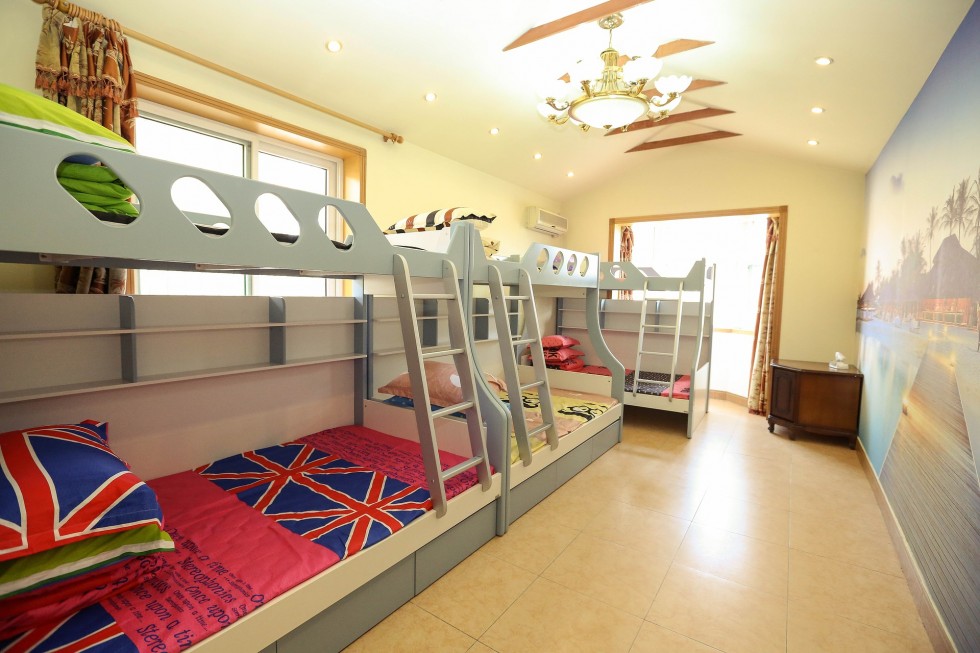
Normally lofts feature just one sleeping place above lounging or working area. However, if you’re building one of them for two kids who share a room, you may add another sleeping place under the top one and use the space under the two-storey loft as toy storing or playing area.
The only thing is that you have to be extremely careful about the sturdiness of the structure and weight distribution.
That’s why if you’d like to make your loft any bigger than this project features, you’ll have to add a couple of vertical posts, as well as a couple of horizontal beams to the frame to make sure that it won’t fall apart under you.
That’s also why I wouldn’t recommend building quite large lofts without any professional planning and building assistance.
However, the loft we’re going to learn how to build in Part 2 (coming soon) of this article is quite manageable for a person, who has some experience in similar DIYs.
So, if you’re confident in your abilities, check out the second part of the article, where we’re going to carry out precise calculations and build a loft shown on the picture above.


