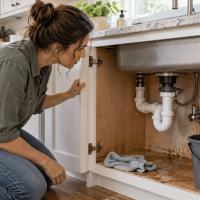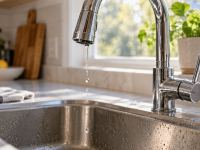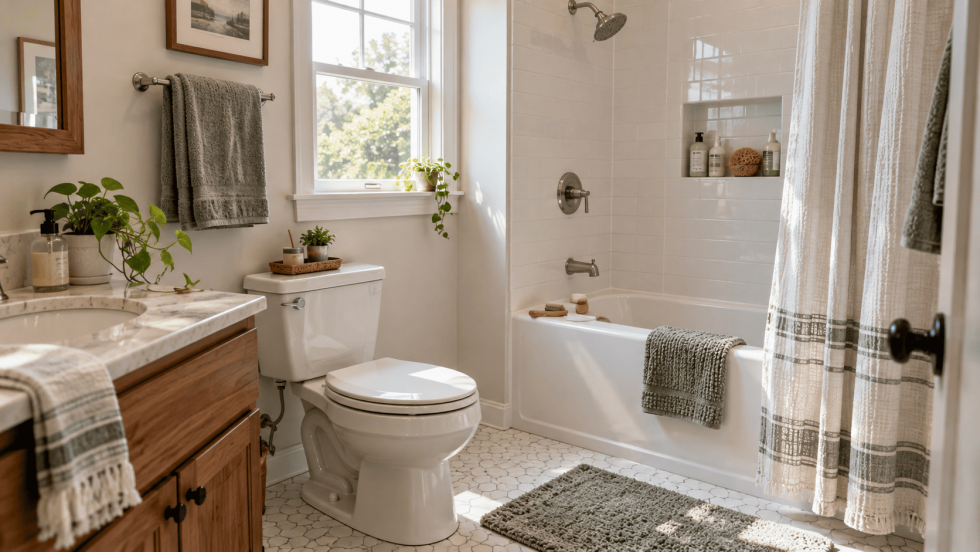
The toilet hisses long after anyone flushed, and the shower keeps dripping after you turn it off. Then a brown stain shows up on the ceiling right below the tub.
Behind each of those symptoms is usually one inexpensive part: a flapper, a fill valve, a shower cartridge, or a strip of caulk. That puts many bathroom plumbing repair jobs within reach of a homeowner with basic tools.
Below are the fixes for each one, plus the signs that mean you need a licensed plumber the same day.
What Are the Most Common Bathroom Plumbing Repair Problems?
Quick answer: The most common bathroom plumbing problems are a running toilet, a dripping shower faucet, and water leaking around the tub. A worn flapper or fill valve causes most running toilets. A worn cartridge or washer causes most shower drips, and failed caulk, a drain seal, or an overflow gasket causes most tub leaks.
| Problem | Likely cause | DIY fix | Call a pro if… |
|---|---|---|---|
| Toilet runs or refills by itself | Worn flapper, tangled chain, or water level set too high | Adjust the chain or float, replace the flapper | The tank or bowl is cracked |
| Toilet hisses and won’t stop filling | Failing fill valve | Replace the fill valve | The shutoff valve behind the toilet won’t close |
| Shower drips after you turn it off | Worn cartridge, or worn washers and seats | Replace the cartridge or washers | The valve body is corroded inside the wall |
| Water comes from the tub spout during a shower | Worn diverter in the spout | Replace the tub spout | The spout connection leaks inside the wall |
| Water under the tub or a stain on the ceiling below | Failed caulk, drain seal, or overflow gasket | Recaulk, reseal the drain, or tighten the overflow plate | Water comes from inside the wall |
| Water around the toilet base after flushing | Failed wax ring or loose closet bolts | Snug the closet bolts or replace the wax ring | The floor feels soft or the flange is broken |
How Do You Find the Source of a Bathroom Leak?
Run these checks before you buy parts:
- Toilet tank: Add a few drops of food coloring to the tank and wait 10 minutes without flushing. The EPA’s Fix a Leak Week program says any color in the bowl means a leak. Flush afterward so the dye doesn’t stain.
- Toilet base: Dry the floor and flush. Water that appears right after a flush points to the wax ring.
- Shower: A few drops right after shutoff are the showerhead draining. A steady drip minutes later means a worn valve part.
- Tub: Fill the tub above the overflow plate, then drain it while you watch the ceiling below. A leak at high water points to the overflow gasket, and a leak while draining points to the drain seal.
Running Toilet Repair: How to Stop a Toilet That Won’t Quit
Running toilet repair usually takes three moves: adjust the flapper chain, lower the water level, and replace the flapper or fill valve if the toilet still runs. According to the EPA, a worn flapper can silently leak thousands of gallons a year, and the agency recommends replacing flappers at least every five years.
Tools and materials
- Replacement flapper sized to your flush valve (2-inch or 3-inch)
- Universal fill valve kit, if needed
- Adjustable wrench, sponge, bucket, and rubber gloves
Step 1: Check the chain and flapper
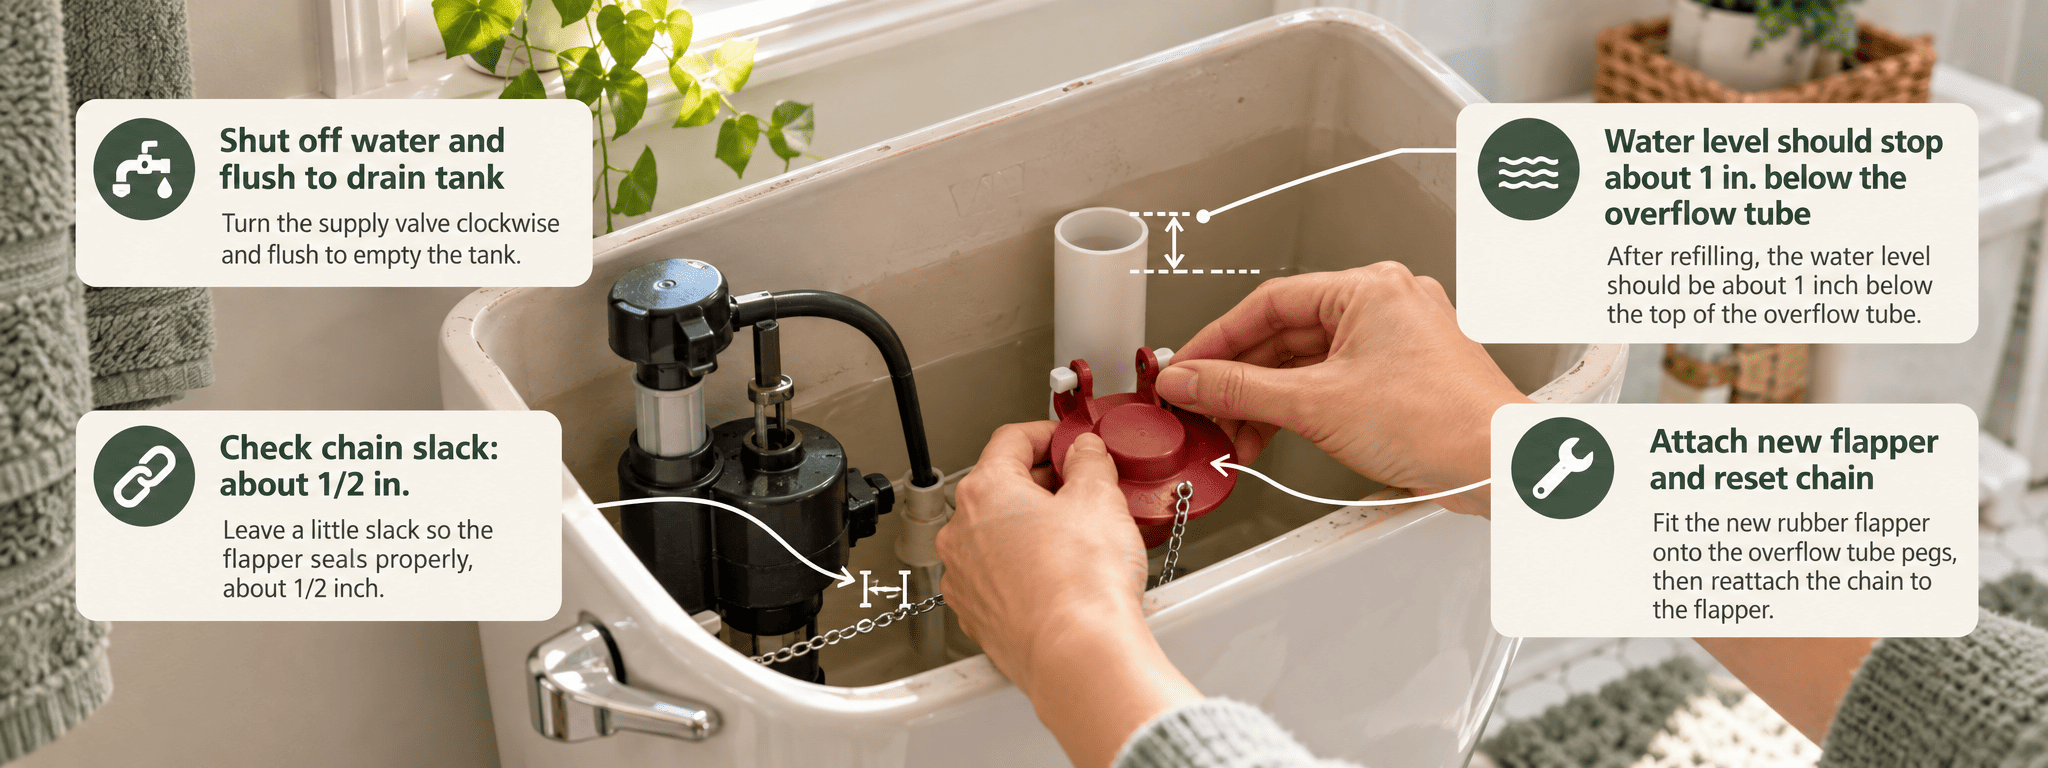
Lift the tank lid and flush. With the flapper closed, the chain should have about 1/2 inch of slack. A chain that’s too tight holds the flapper open, and one that’s too long can get caught under the flapper.
Step 2: Adjust the water level
The water should stop about 1 inch below the top of the overflow tube, or at the fill line marked inside the tank. If water spills into the overflow tube, lower the float with its adjustment screw or clip.
Step 3: Replace the flapper
Turn the shutoff valve behind the toilet clockwise and flush to empty the tank. Unhook the old flapper from the pegs on the overflow tube and unclip the chain from the handle arm. Attach the new flapper, reset the chain slack, and turn the water back on.
Step 4: Replace the fill valve if the toilet still runs
With the water off, sponge out the tank. Disconnect the supply line, unscrew the locknut under the tank, and lift out the old valve. Install the new valve at the height its instructions specify, clip the refill tube to the overflow tube, and tighten the locknut by hand plus about a quarter turn.
Safety: Don’t overtighten anything that threads into a porcelain tank. Porcelain cracks, and a cracked tank means a new toilet.
Leaking Shower Faucet: How to Fix a Drip From the Showerhead
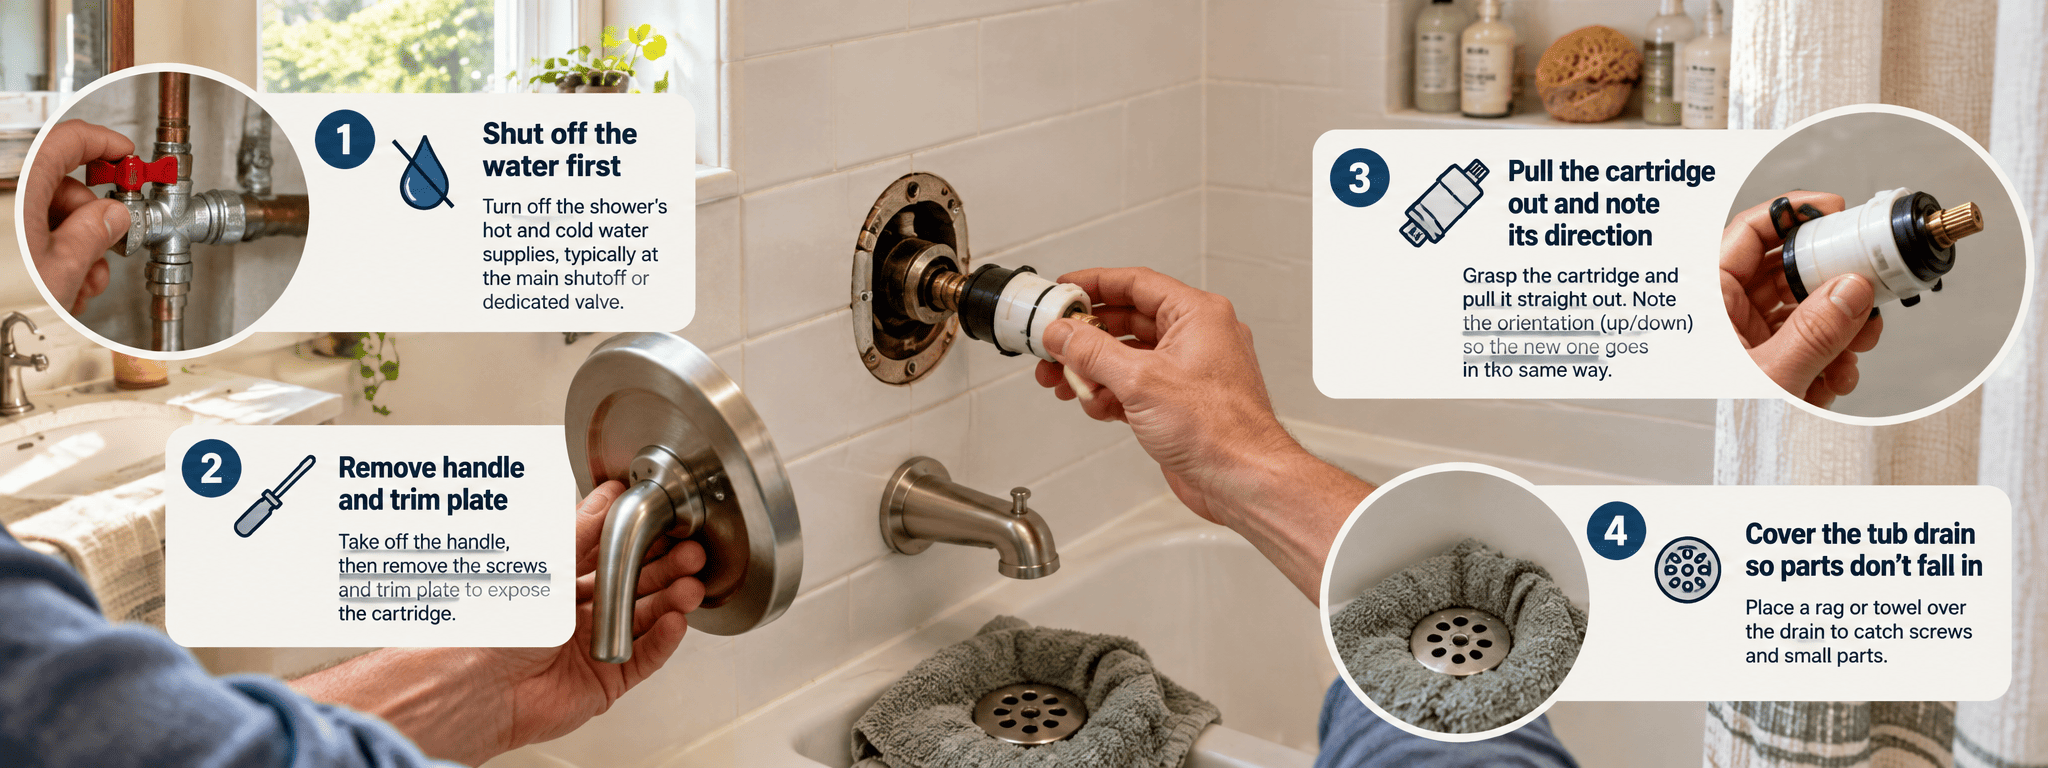
A leaking shower faucet that drips minutes after shutoff needs a new cartridge (single-handle valves) or new washers and O-rings (two- and three-handle valves).
Step 1: Shut off the water
Some shower valves have built-in shutoff stops behind the trim plate. Many don’t, so you may need to close your home’s main water shutoff. Open the shower to drain the lines, and cover the tub drain with a rag.
Step 2: Remove the handle and trim
Pry off the handle cap, remove the screw, and pull the handle off. Unscrew the trim plate to expose the valve.
Step 3: Replace the cartridge or washers
On a single-handle valve, remove the retaining clip or bonnet nut and slide the cartridge out, noting which way it faces. Use a cartridge puller if it’s stuck, and take the old cartridge to the store to match it. On two-handle valves, remove each stem with a deep tub-valve socket and replace its washer and O-rings.
Step 4: Reassemble and test
Install the new part, reattach the trim and handle, and turn the water back on slowly. If the new cartridge has a rotational limit stop, set it as the instructions describe so the hottest setting can’t scald. Test hot and cold, then confirm the drip has stopped.
Pro tip: If the showerhead leaks at the shower arm, unscrew it and wrap the arm’s threads with two or three turns of plumber’s tape (PTFE tape) in the direction the head tightens.
Bathtub Leak Repair: Caulk, Drains, and Overflow Gaskets
Bathtub leak repair usually means replacing a failed seal, not the tub. Water that slips past one runs under the tub and can stain the ceiling below or soften the subfloor.
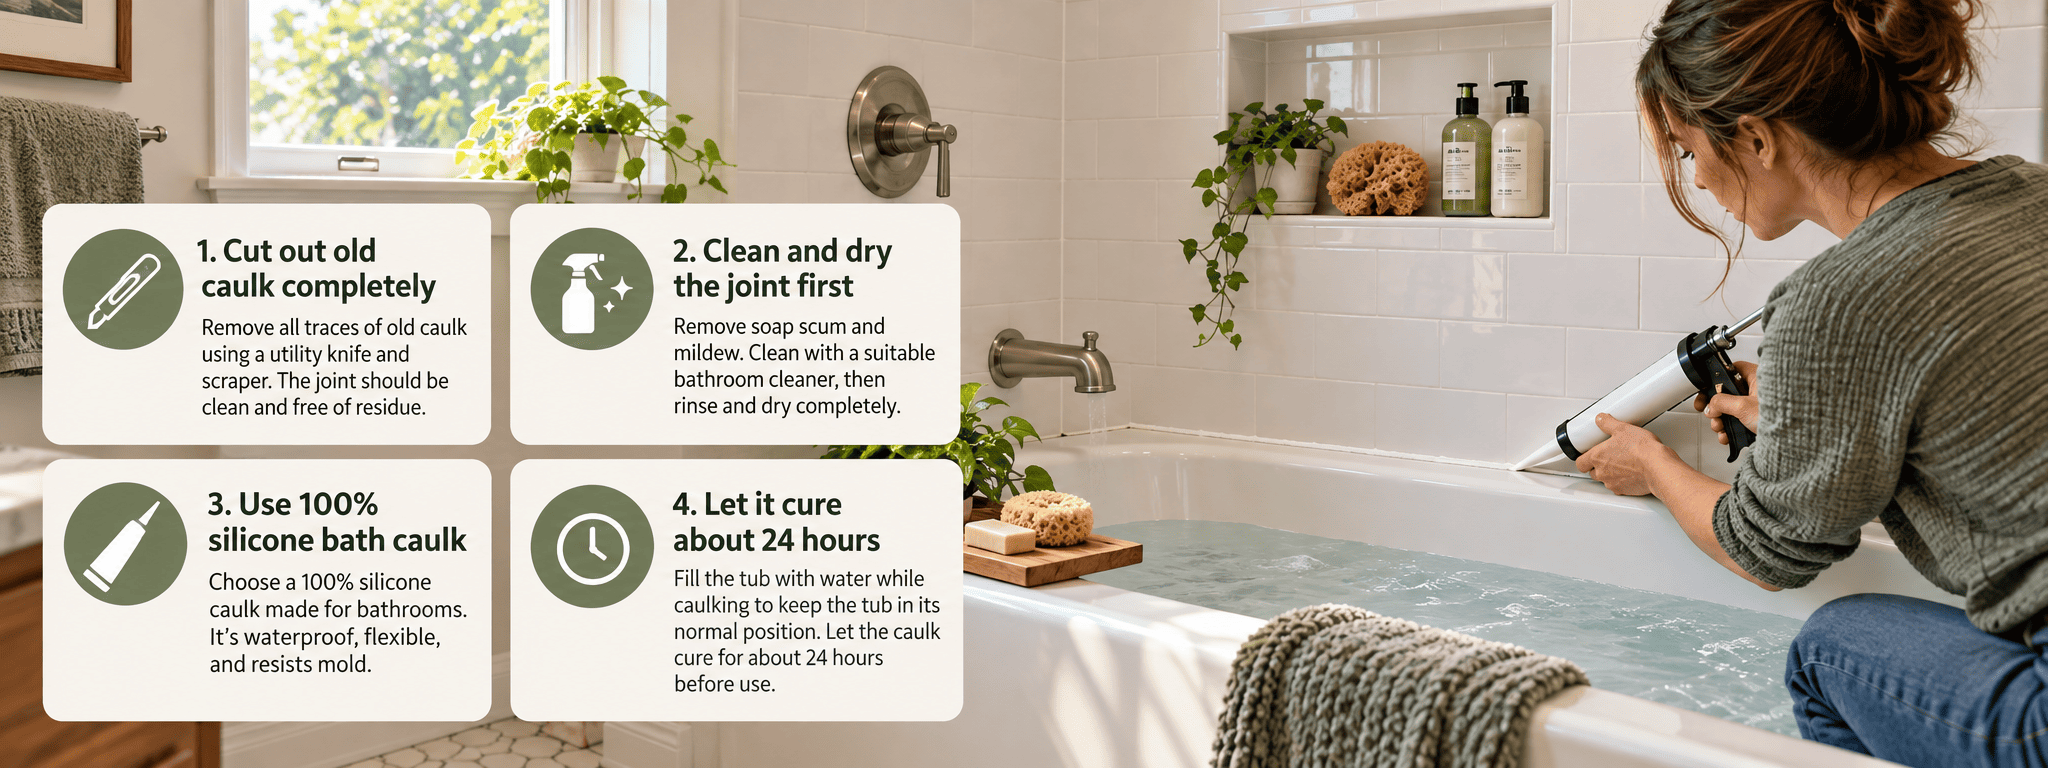
Step 1: Recaulk the tub edge
Cut out the old caulk with a utility knife and scrape away the residue. Clean the joint with rubbing alcohol and let it dry. Apply a steady bead of 100% silicone caulk labeled for kitchen and bath, smooth it, and let it cure as long as the label says, often 24 hours.
Pro tip: Fill the tub with water before you caulk, and drain it only after the caulk cures. The weight flexes the tub slightly, so the bead won’t pull away the first time someone steps in.
Step 2: Reseal the drain
If water appears under the tub while a full bath drains, the drain flange seal has likely failed. Remove the drain, clean off the old putty, and reinstall it with fresh plumber’s putty, or silicone if the tub maker specifies it. Our guide on how to remove a bathtub drain shows how to do it without scratching the finish.
Step 3: Fix the overflow gasket
If the leak shows up only when the water is above the overflow plate, suspect the overflow gasket. Remove the cover plate and tighten its screws evenly to recompress the gasket behind the tub wall. If the gasket is cracked, replacing it usually requires an access panel behind the tub; without one, call a plumber.
Should You Repair or Replace the Toilet?
Repair a toilet when the porcelain is sound and parts are still sold, and replace it if the tank or bowl is cracked. A toilet that rocks even with a new wax ring usually needs shims or a flange repair.
An older toilet may be worth replacing for water use alone. According to the EPA, older, inefficient toilets can use as much as 6 gallons per flush, while WaterSense labeled toilets use 1.28 gallons or less, versus the 1.6-gallon federal standard.
If you’re ready for a new toilet, our guide on how to install a new toilet walks through the process.
When Is a Bathroom Leak an Emergency?
A bathroom leak is an emergency when water keeps spreading or reaches wiring or the structure below. Act right away if:
- The toilet is overflowing and won’t stop
- A stain on the ceiling below is growing or dripping
- Water is dripping through a ceiling light or reaching an outlet
- The floor around the toilet or tub feels soft
- Water appears on a wall behind the shower valve
For an overflowing toilet, lift the tank lid and push the flapper closed, then turn the shutoff valve clockwise. If that valve won’t close, shut off your home’s main water valve.
Safety: If water reaches a ceiling light or outlet, turn off that circuit at the breaker panel while staying out of standing water, and have an electrician check it before use.
Then dry the area quickly. The EPA’s guide to mold and moisture says to dry water-damaged areas and items within 24–48 hours to prevent mold growth.
DIY or Hire a Pro?
Good DIY project if…
- You’re replacing a flapper, fill valve, or tub spout
- The shower valve has an accessible cartridge or stems
- You’re recaulking a tub or resealing a tub drain
Call a pro if…
- The leak is inside the wall or under the floor
- The shower valve body is corroded or needs replacement
- The toilet still rocks or leaks at the base after a new wax ring
- A ceiling stain below the bathroom keeps growing, or the subfloor feels soft
If you can reach the failed part without opening a wall or lifting flooring, the repair is usually DIY; if you can’t, hire a licensed plumber.
Access also drives the price, since opening tile to reach a corroded valve adds a lot of labor. For typical rates, see the HireRush plumbing cost guide.
Common Mistakes to Avoid
- Buying the wrong flapper size. A 2-inch flapper won’t seal a 3-inch flush valve. Bring the old flapper to the store.
- Caulking over old caulk. New silicone won’t bond to old caulk, so the joint leaks again. Cut the old bead out completely first.
- Overtightening closet bolts. Too much force cracks the porcelain base. Tighten the nuts alternately in small turns until the toilet stops moving.
- Repainting a ceiling stain before fixing the leak. The stain comes back while the source keeps leaking. Fix the leak and let the area dry before you paint.
What to Fix First in a Leaking Bathroom
Bathroom plumbing repair usually starts with one worn part: a flapper or fill valve, a shower cartridge or washer, or the caulk and gaskets around the tub. Run the dye and fill tests first so you replace only the part that failed.
If the source is inside a wall or under the floor, or a ceiling stain keeps growing, call a licensed plumber before the damage spreads.