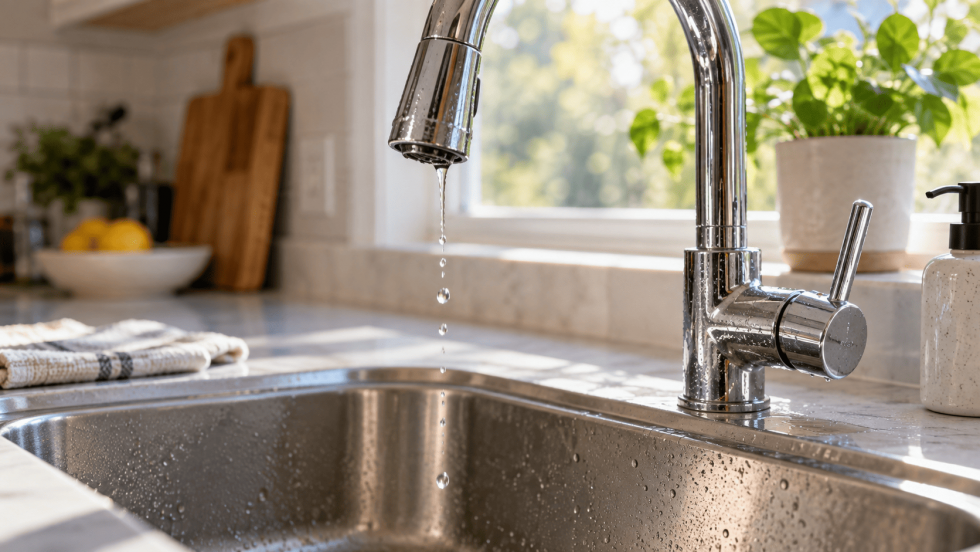
It starts as a soft drip you only notice at night. A week later, there’s a mineral stain in the sink and the drip is faster. A leaking faucet rarely fixes itself, but it’s one of the most beginner-friendly plumbing repairs in the house.
The key is knowing where the water comes from and what kind of faucet you have. Below, each leak point (spout, handle, and base) gets its own diagnosis and fix for the four common faucet types, plus clear signs that replacing the faucet or calling a plumber makes more sense.
Why Is Your Faucet Leaking?
Quick answer: Most faucets leak because a rubber washer, O-ring, seal, or cartridge inside the handle has worn out, often faster because of mineral buildup. Shut off the water, take the handle apart, and replace the worn part with an exact match. A cracked faucet body usually means replacement.
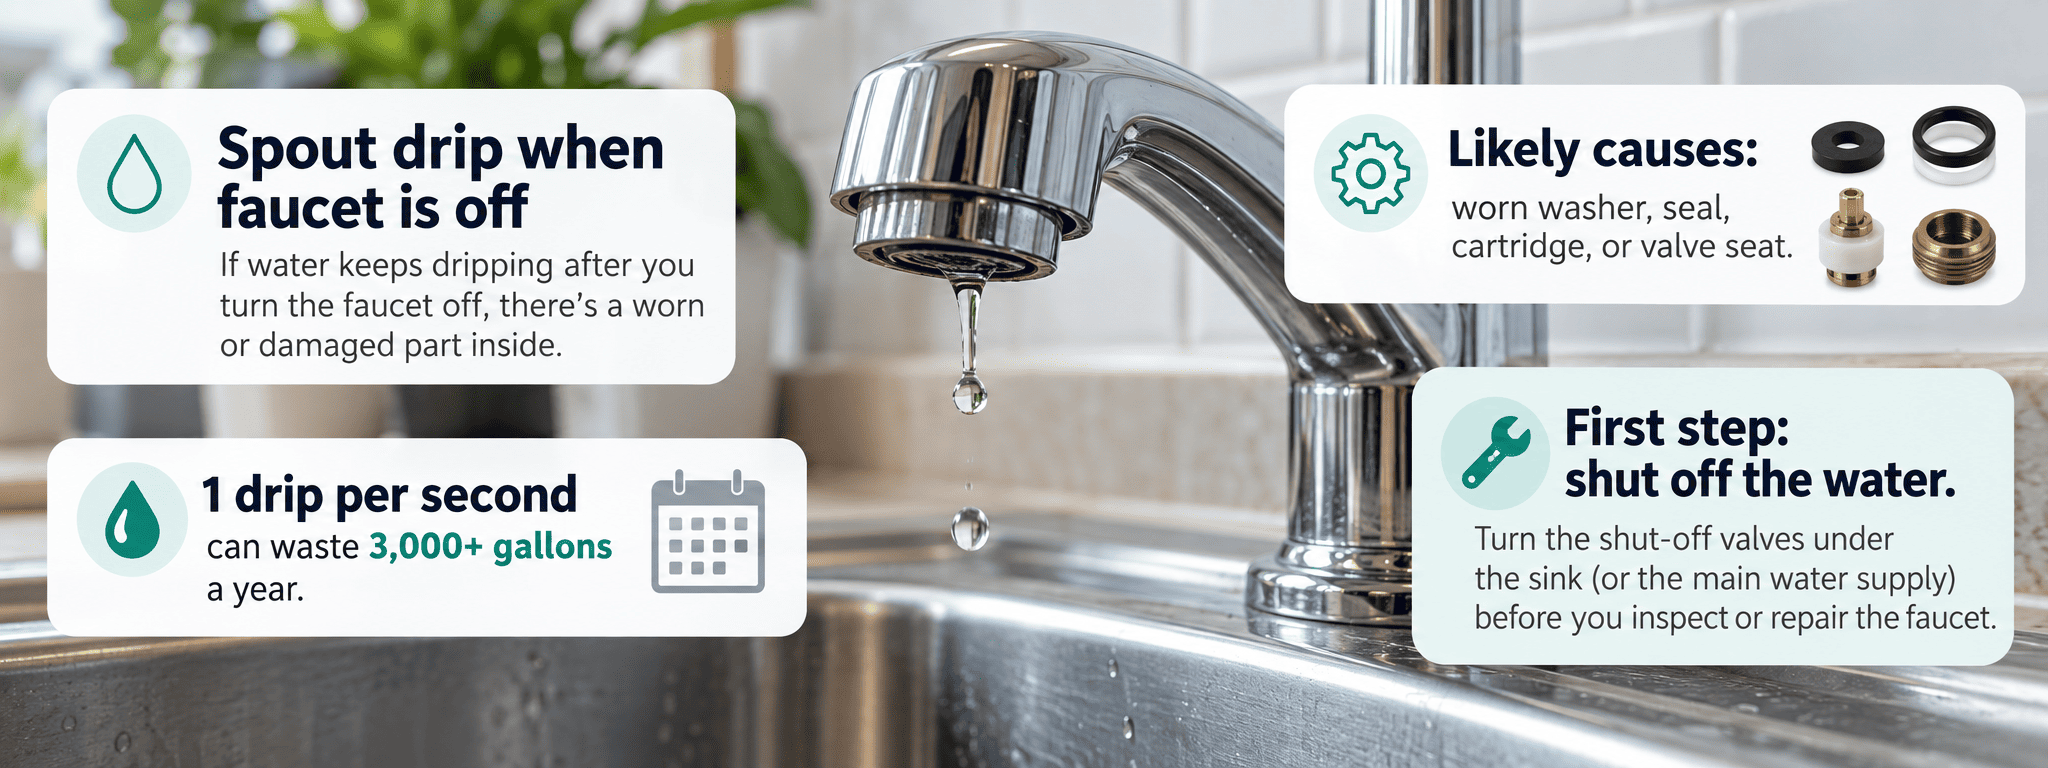
A drip may look harmless, but it adds up. According to the EPA’s Fix a Leak Week program, a faucet that drips once per second can waste more than 3,000 gallons of water a year. If it’s the hot side, you’re also paying to heat that water.
Where you see the water tells you which part has failed.
| Where it leaks | Likely cause | DIY fix | Call a pro if… |
|---|---|---|---|
| Spout drips when the faucet is off | Worn washer, valve seat, cartridge, or ball-faucet seats | Replace the washer, seats, or cartridge | The valve seat is pitted and won’t come out |
| Around the handle when water runs | Loose packing nut or worn stem O-ring | Tighten the nut or replace the O-ring | The handle is seized or the stem is stripped |
| Base of a kitchen spout | Worn spout O-rings | Replace the O-rings and grease them | The faucet body is cracked |
| Under the sink, below the faucet | Loose supply line or mounting nut | Tighten the connection or replace the line | Water comes from inside the faucet body |
| Water keeps flowing after you shut it off | Broken cartridge or damaged stem | Replace the cartridge or stem | The shutoff valves won’t close |
Identify Your Faucet Type Before You Buy Parts
Every faucet stops water differently, so parts aren’t interchangeable. Check how the handle moves and look up the brand name on the faucet if you can find it.
- Compression faucet: Two handles that you screw down until they feel snug. It seals with a rubber washer and is common in older homes.
- Cartridge faucet: One or two handles that move smoothly with no “squish” at the end. It uses a replaceable cartridge.
- Ball faucet: A single handle on a rounded cap, often in kitchens. It uses a ball, rubber seats, and springs.
- Ceramic disc faucet: A single lever over a wide cylinder. Two ceramic discs control the water, and rubber seals below them wear out first.
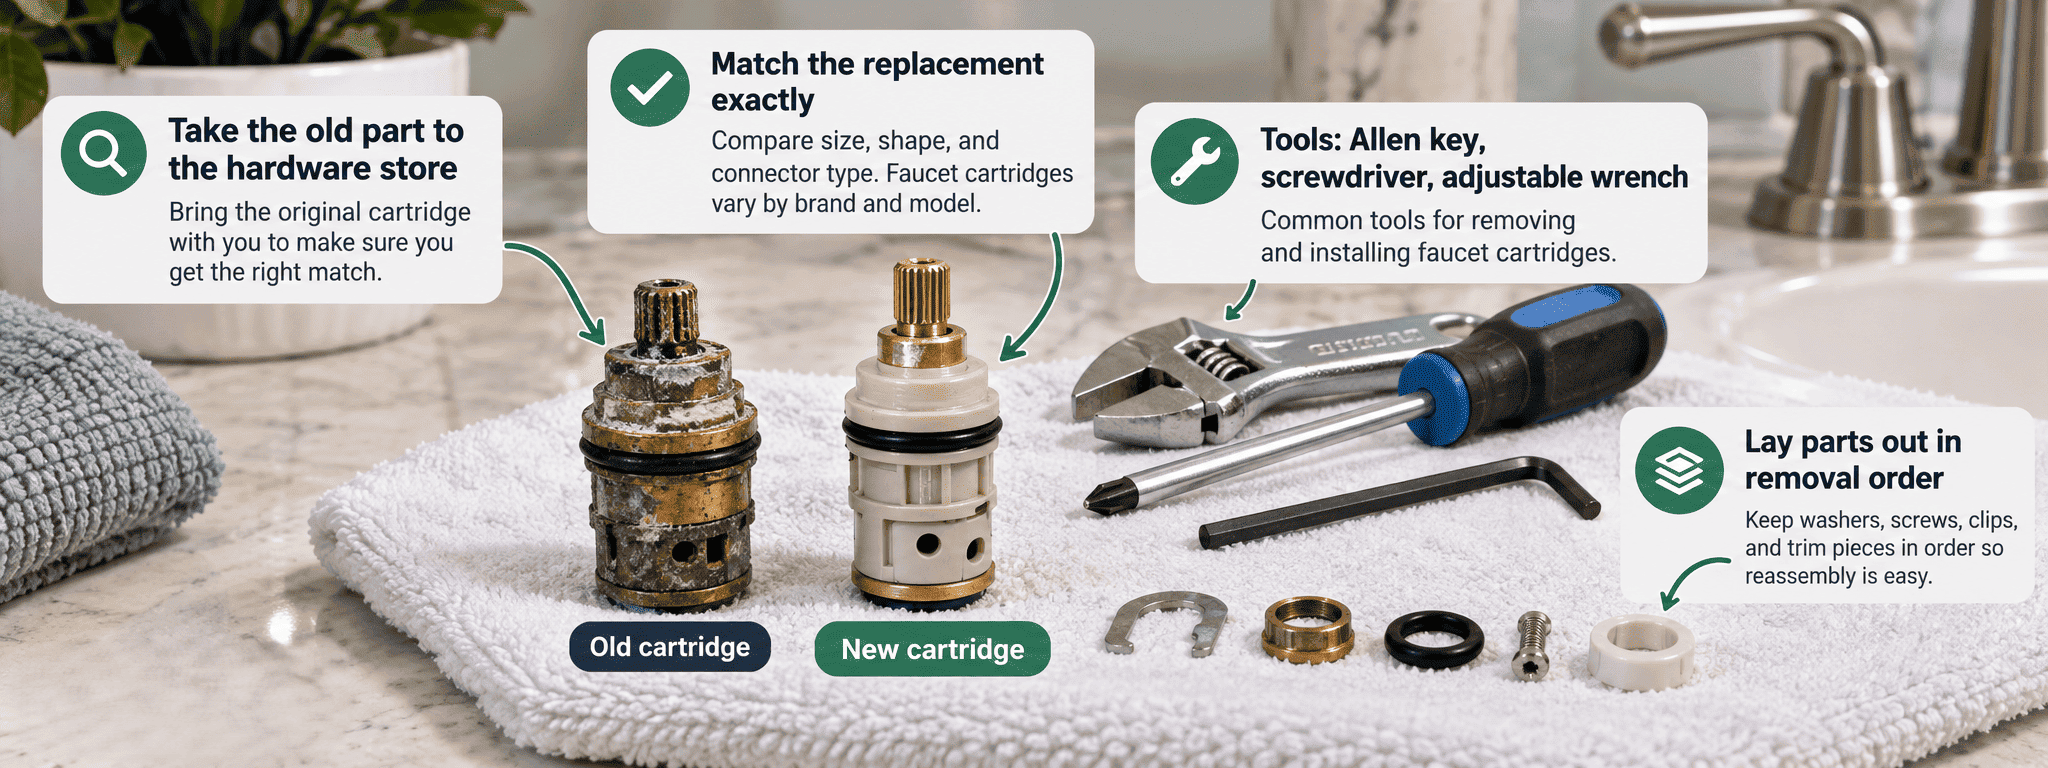
Pro tip: Take the old washer, cartridge, or seal to the hardware store. Matching it side by side is the fastest way to avoid a second trip.
Faucet Leaking From Spout? How to Stop Faucet From Dripping
A spout that drips with the handle off almost always has a worn washer, seal, seat, or cartridge; the EPA notes that old and worn washers and gaskets frequently cause faucet leaks. The steps below work for all four faucet types. Only the part you replace in Step 4 changes.
Tools & materials
- Adjustable wrench and screwdrivers
- Allen (hex) key set
- Replacement washer, O-rings, seats, or cartridge
- Silicone plumber’s grease
- White vinegar and an old toothbrush
- Masking tape and a towel
Parts are usually inexpensive. Washer and O-ring kits cost a few dollars, while a brand-specific cartridge costs more, so identify the faucet before you shop.
Step 1: Shut off the water and plug the drain
Turn both shutoff valves under the sink clockwise until they stop. Open the faucet to drain any water left in the lines. Close the drain stopper or stuff a rag in the drain so small screws can’t disappear.
Step 2: Remove the handle
Pry off the decorative cap with a flat screwdriver. Remove the screw underneath, or loosen the small set screw with an Allen key. Lift the handle straight off.
Safety: Wrap your wrench jaws with masking tape. Chrome and brushed finishes scratch easily.
Step 3: Take out the stem or cartridge
Loosen the retaining nut or clip that holds the stem or cartridge in place. Pull the part straight up, noting which way it faces. Lay every piece on a towel in the order you removed it.
Step 4: Replace the worn part
- Compression: Replace the rubber washer at the bottom of the stem. If the valve seat below it feels rough, replace it with a seat wrench, or smooth a non-removable seat with a seat dressing tool.
- Cartridge: Install a new cartridge from the same brand and model.
- Ball: Replace the rubber seats and springs with a repair kit.
- Ceramic disc: Replace the rubber seals under the cylinder, or the whole cylinder if a disc is cracked.
Step 5: Clean, grease, and reassemble
Soak crusty parts in white vinegar for about 15 minutes, then scrub them with a toothbrush. Coat new O-rings with silicone plumber’s grease. Reassemble everything in reverse order.
Step 6: Test the repair
Open the shutoff valves slowly and run hot and cold water for a minute. Turn the faucet off and watch the spout for a few minutes. If it still drips, check that the new part sits fully down and faces the right way.
Faucet Leaking From Handle? Tighten or Replace the Seals
Water that seeps around the handle only while the faucet runs usually comes from a loose packing nut or a worn O-ring on the stem. On compression faucets, remove the handle and tighten the packing nut about a quarter turn. If that doesn’t stop it, replace the O-ring or packing washer.
On cartridge faucets, the O-rings on the cartridge are the usual culprit. Many ball faucets leak at the handle because the adjusting ring under the cap has loosened. A ball-faucet repair kit usually includes the small spanner tool you need to tighten it.
Faucet Leaking From Base? Check the O-Rings and Deck Seal
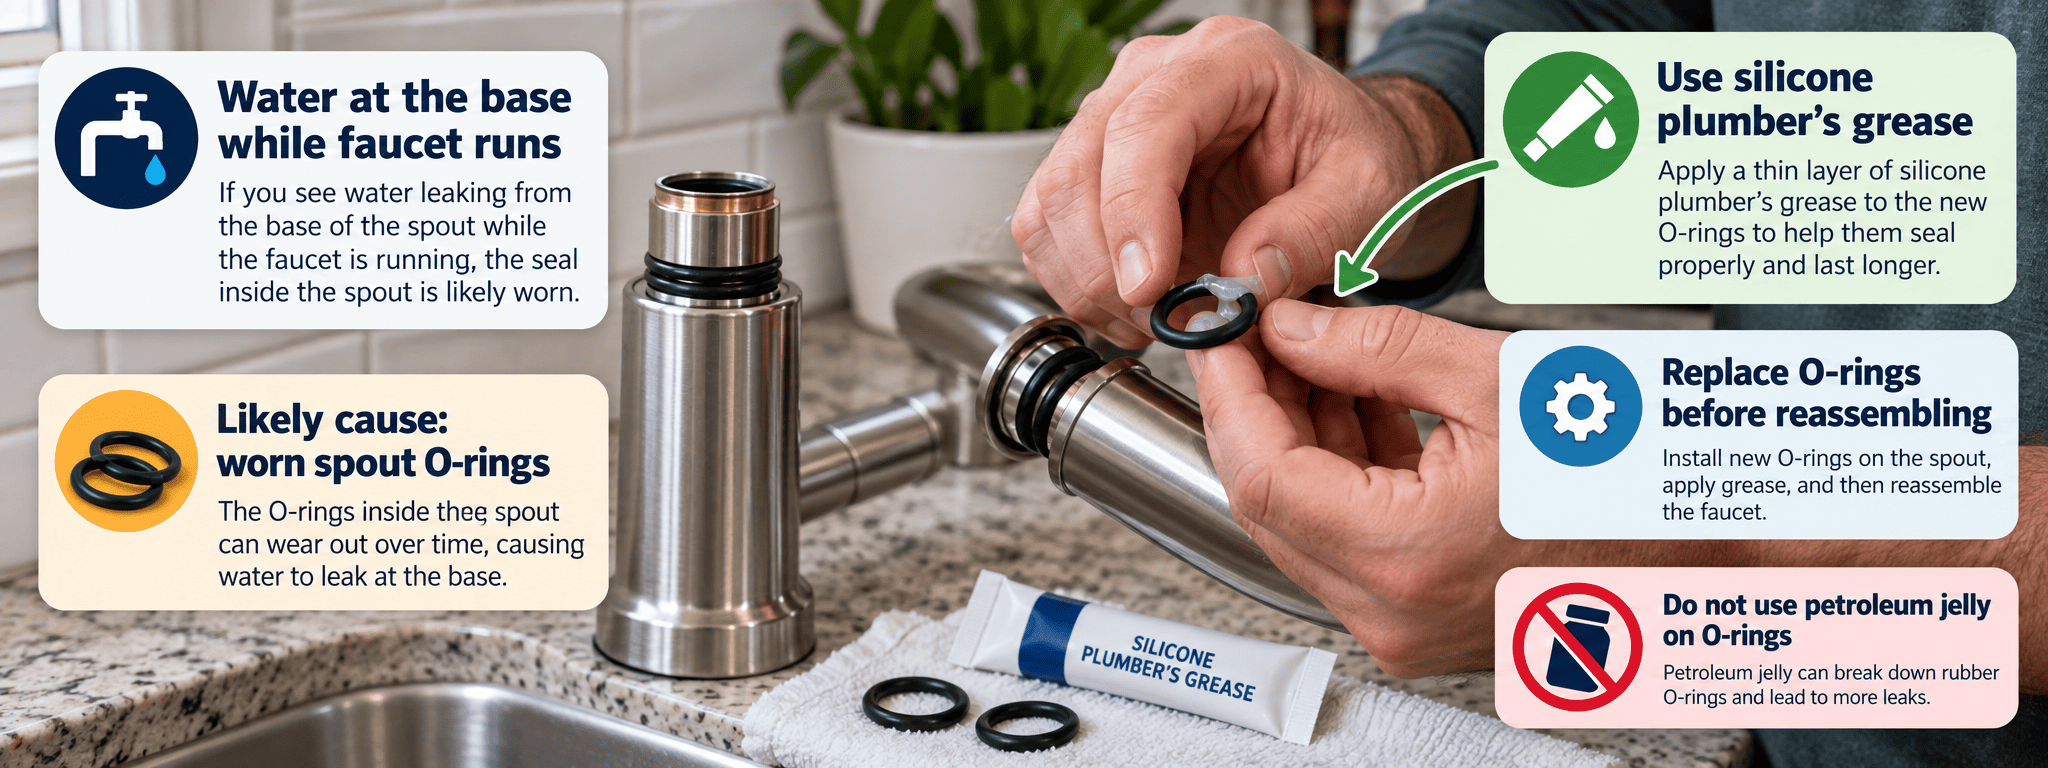
On a kitchen faucet with a swivel spout, water pooling around the base while the faucet runs points to worn spout O-rings. Pull the spout up, roll on new O-rings, and coat them with plumber’s grease before sliding it back on.
If water collects around a bathroom faucet’s base plate, the gasket or sealant underneath may have failed. Our guide on where and how to caulk at home explains how to reseal fixtures properly. Water that shows up under the sink instead usually comes from a loose supply line or mounting nut.
Repair or Replace Your Faucet?
Repair makes sense when the faucet body is solid and parts are still sold. Replacement makes sense when the faucet is cracked, heavily corroded, or leaks again right after a repair. It also makes sense when parts for an older model are no longer available.
A new faucet can also cut your water use. The EPA notes that WaterSense labeled bathroom faucets flow at no more than 1.5 gallons per minute, at least 30 percent less than the standard 2.2 gallons per minute.
Pro tip: Check the manufacturer’s warranty before you buy parts. Some faucet warranties cover replacement cartridges and seals, so the part you need may cost nothing but a phone call.
When a Leaking Faucet Is More Than a Drip
Most faucet leaks can wait a day or two. These signs need attention right away:
- Water keeps flowing even with the handle fully off
- The shutoff valves under the sink won’t close
- Water drips inside the cabinet or behind the wall
- The faucet body or spout has a visible crack
- The cabinet floor is soft, stained, or smells musty
Close the shutoff valves or your home’s main water valve, then dry the area. Leave the faucet off until it’s repaired.
DIY or Hire a Pro?
Good DIY project if…
- You can shut off the water at the sink
- You know your faucet brand and can find the right parts
- The leak comes from a washer, O-ring, seat, or cartridge
- The faucet body is in good shape
Call a pro if…
- The shutoff valves are stuck, corroded, or missing
- Parts are seized, stripped, or badly corroded
- The faucet still leaks after you’ve replaced the parts
- You’re replacing a faucet in a stone countertop or a wall-mounted faucet
- Water has already damaged the cabinet or wall
With the right replacement in hand, you can fix leaking faucet parts like washers, O-rings, and cartridges in under an hour. If the repair means cutting pipes or replacing valves, call a plumber.
Our tips on how to find a reliable plumber help you choose the right one. Before you book, compare local prices in the HireRush plumbing cost guide.
Common Mistakes to Avoid
- Skipping the shutoff valves. Taking a faucet apart under pressure will spray water across the room.
- Buying “universal” parts. Cartridges and seats are brand-specific. The wrong part may fit loosely and keep dripping.
- Overtightening the handle. Cranking a compression handle closed crushes the new washer and shortens its life.
- Using petroleum jelly on O-rings. It can make some rubber seals swell or break down. Use silicone plumber’s grease instead.
- Ignoring mineral buildup. Scale on the valve seat or cartridge housing keeps even new parts from sealing.
- Losing track of the order. Reassembling parts upside down is a common reason a repaired faucet still leaks.
Final Thoughts
Almost every leaking faucet traces back to a worn washer, O-ring, seal, or cartridge. Where the water appears tells you which one: the spout, the handle, or the base.
Once you know your faucet type, most repairs take basic tools and less than an hour. Seized parts, failing shutoff valves, cracked faucet bodies, or leaks that return after a repair are a job for a licensed plumber.