
Many renovation problems trace back to the planning stage. The budget was never firm, the scope stayed vague, and big decisions waited until demolition was already underway.
Good home improvement planning keeps a project on time and close to budget. The steps below follow the order a real project runs in: goals, budget, and layout first, then permits, hiring, and scheduling the trades. Two short sections at the end cover preparing your home for the crew and keeping the work on track once it starts.
What Does Home Improvement Planning Involve?
Quick answer: Home improvement planning means deciding what you want to change, what it will cost, and who will do each part before any work starts. Define your goals, set a budget with a 10-20% cushion, plan the layout, and check permits. Then get written estimates, sign a detailed contract, and schedule the trades in order.
A typical mid-size project, like a kitchen or bathroom remodel, moves through these phases. Timelines vary widely by project size, region, and permit office.
| Phase | What you do | Typical timeframe |
|---|---|---|
| Goals and research | List needs and wants, collect ideas, measure the space | 1-2 weeks |
| Budget and financing | Price out options, set a cushion, arrange funds | 1-2 weeks |
| Design and layout | Finalize the floor plan, fixtures, and materials | 2-6 weeks |
| Quotes and hiring | Get written estimates, check licenses, sign a contract | 2-4 weeks |
| Permits | Submit plans and wait for approval | A few days to several weeks |
| Construction | Demolition, rough-in work, inspections, finishes | Depends on scope |
| Final walkthrough | Punch list, final inspection, final payment | 1-2 weeks |
How to Start Home Improvement Planning
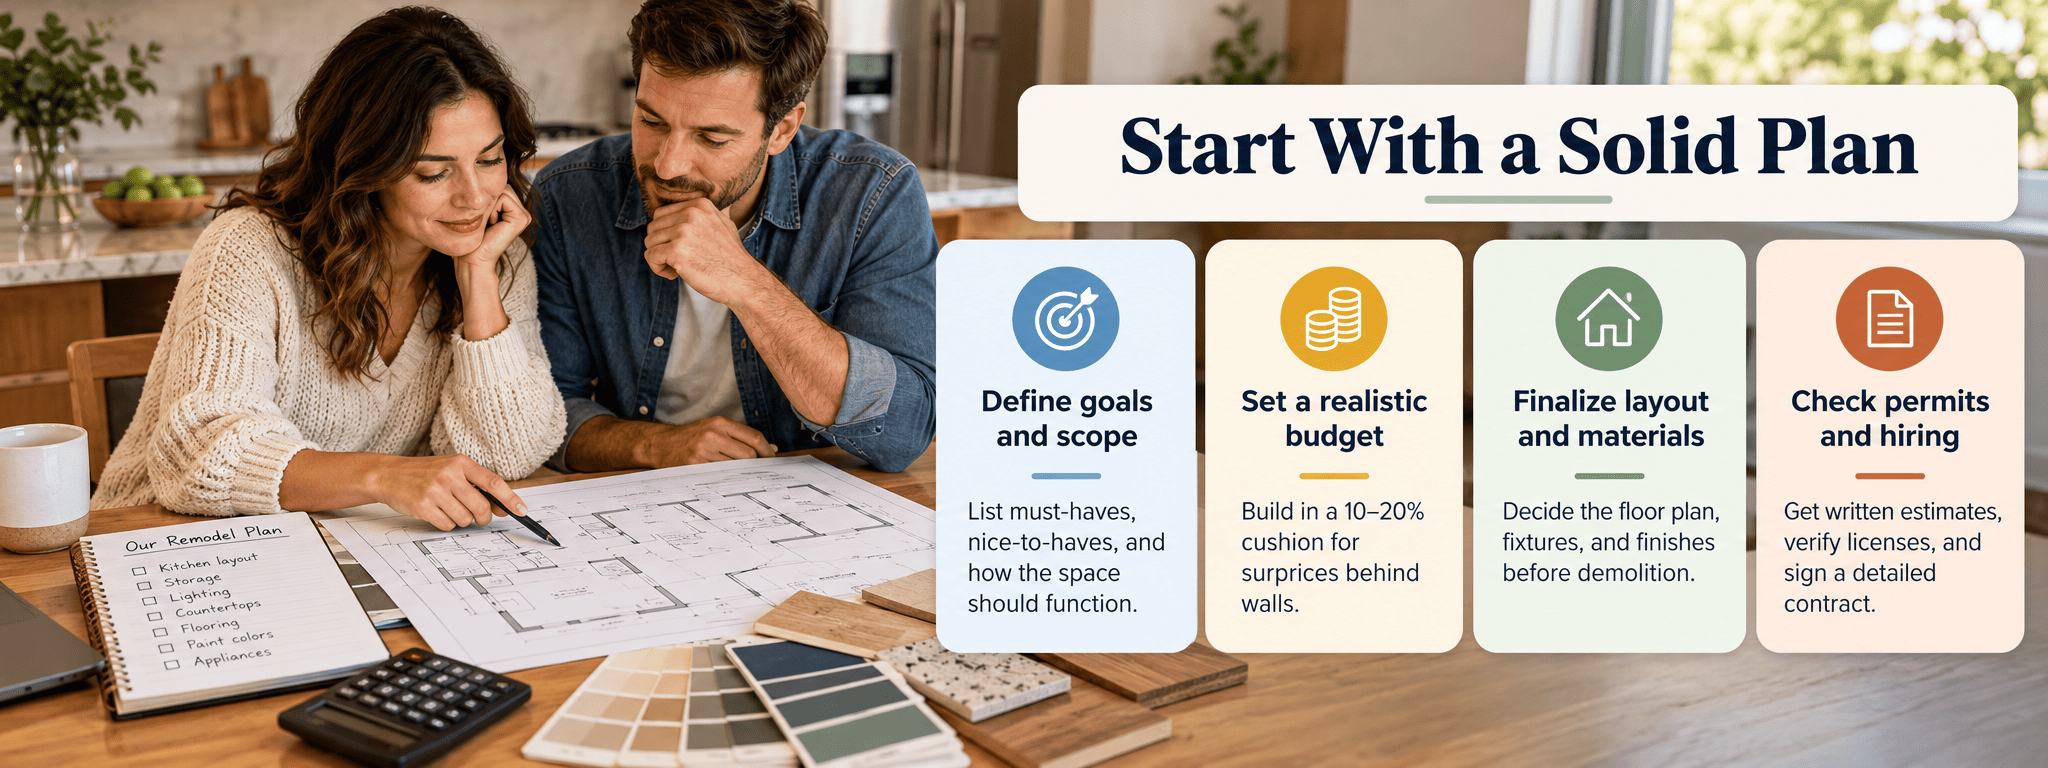
Step 1: Define your goals and scope
Write down why you’re renovating: more space, better function, lower bills, or higher resale value. Split your list into must-haves and nice-to-haves. Collect photos of what you like so you can show contractors exactly what you mean.
Step 2: Set a realistic budget
Research typical costs for your project, then set aside a contingency for surprises behind walls; 10-20% of the budget is a common rule of thumb. Decide in advance which nice-to-haves you’ll cut if prices come in high. The HireRush home remodeling cost guide gives price ranges to start from.
Step 3: Decide what you’ll do yourself
Be honest about your time and skills. Demolition, painting, and cleanup are common DIY tasks. Structural, electrical, plumbing, and HVAC work usually need licensed pros.
Map Out Your Home Improvement House Layout
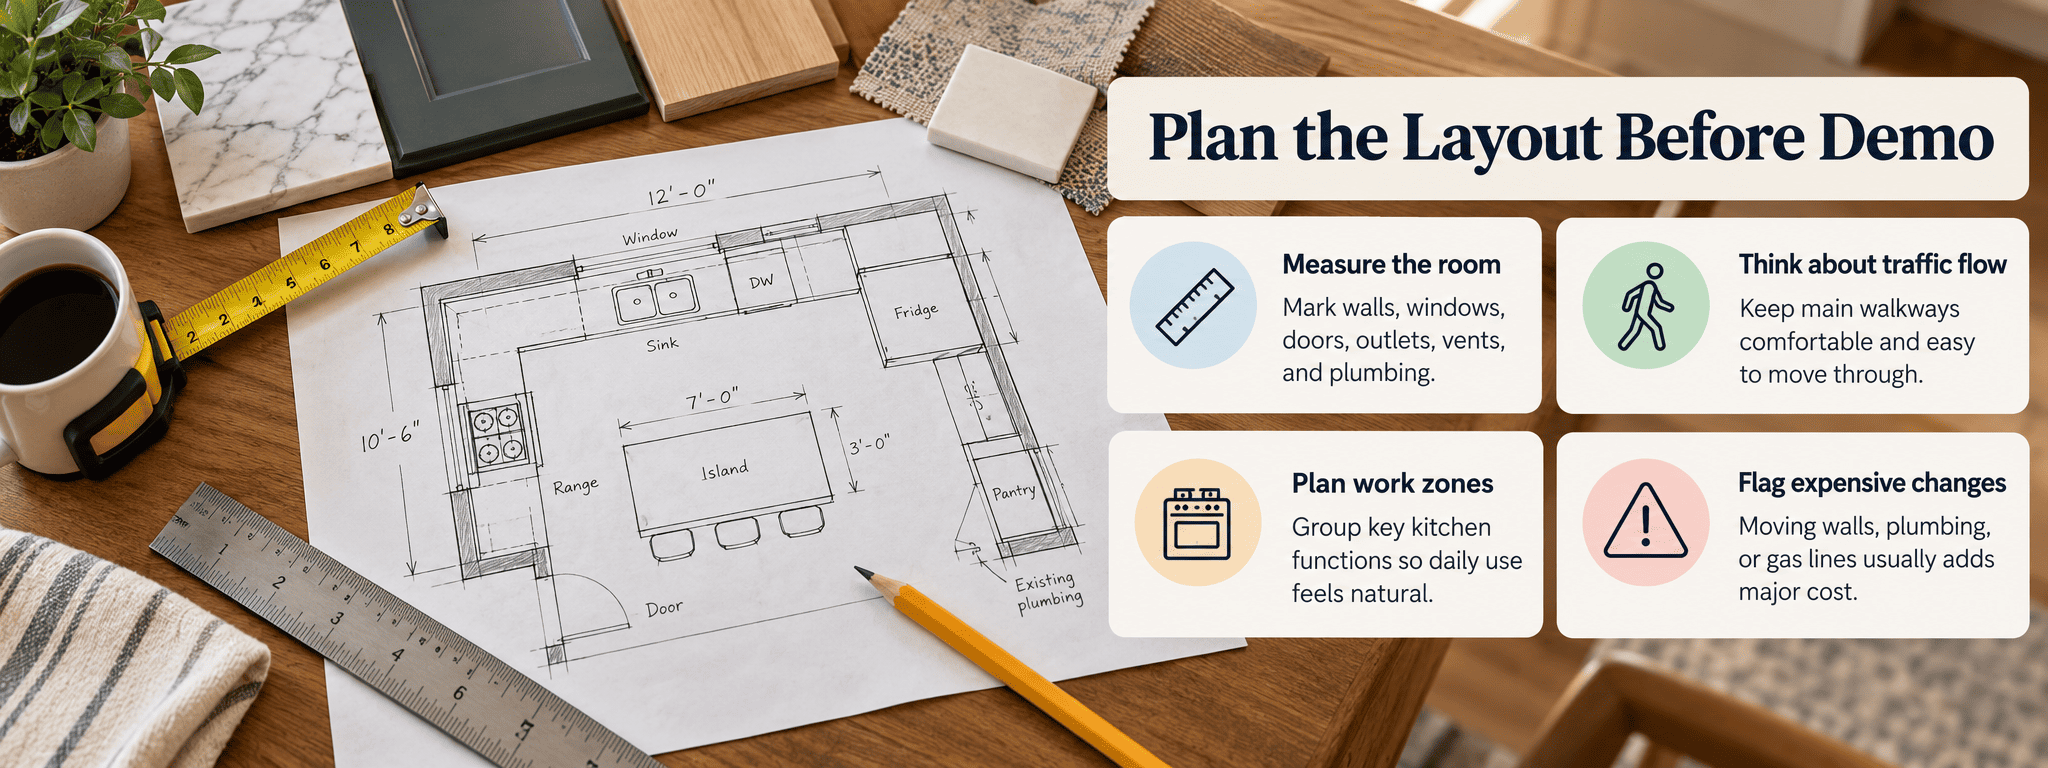
Your house layout drives both how the space works and how much the project costs. Start with an accurate floor plan: measure each room and mark windows, doors, outlets, vents, and plumbing fixtures.
Then think about how you move through the space every day:
- Traffic flow: Leave enough room in main walkways for people to pass without squeezing; about 36 inches is a common minimum.
- Kitchen work zones: Place the sink, range, and refrigerator close enough to move easily between them without crossing a busy path.
- Natural light: Note which rooms get morning or afternoon sun before you move walls or choose finishes.
- Storage: Plan built-ins and closets now, since adding them later costs more.
Moving plumbing fixtures, gas lines, or walls is usually where a layout change gets expensive. Before you remove any wall, have a contractor or structural engineer confirm whether it’s load-bearing.
Check Permits, Codes, and Safety
Most areas require permits for structural changes, additions, new electrical circuits, plumbing changes, and HVAC work. Cosmetic updates like paint and flooring usually don’t. Check with your local building department, and with your HOA if you have one.
Older homes need extra care. According to the EPA, about three-quarters of American homes built before 1978 still contain some lead-based paint. Anyone paid to do work that disturbs paint in these homes generally must be certified in lead-safe work practices.
Some renovations also change your insurance coverage or premium. Our article on renovations that could impact your homeowners insurance explains what to tell your insurer.
Hire the Right Pros and Get It in Writing
Ask several contractors to bid on the same written scope of work, so the estimates are comparable. Check each contractor’s license and insurance, read reviews, and ask for references from similar projects. Our guide on how to find a professional contractor walks through the vetting process step by step.
The FTC’s advice on avoiding home improvement scams recommends a written contract that lists the contractor’s name, address, and license number, estimated start and completion dates, and any promises made about scope and cost. It also warns against paying the full amount up front. Hold the final payment until the work is done and passes any required inspection.
Schedule the Work in the Right Order
Renovations run smoother when each trade works in sequence. A typical order looks like this:
- Demolition and debris removal
- Structural and framing changes
- Rough-in plumbing, electrical, and HVAC
- Rough-in inspections
- Insulation and drywall
- Primer and paint
- Cabinets, fixtures, and trim
- Flooring and final touches
- Final inspection and punch list
Pro tip: Photograph every wall before the drywall goes up. The photos show where pipes and wires run, so you can avoid them when you hang shelves or plan the next project.
Order items that take a long time to arrive, like custom cabinets, windows, and special-order tile, before demolition starts. Otherwise the crew may finish the rough-in work and then sit idle, with your kitchen torn apart, waiting for one delivery.
Prepare Your Home Before Work Begins
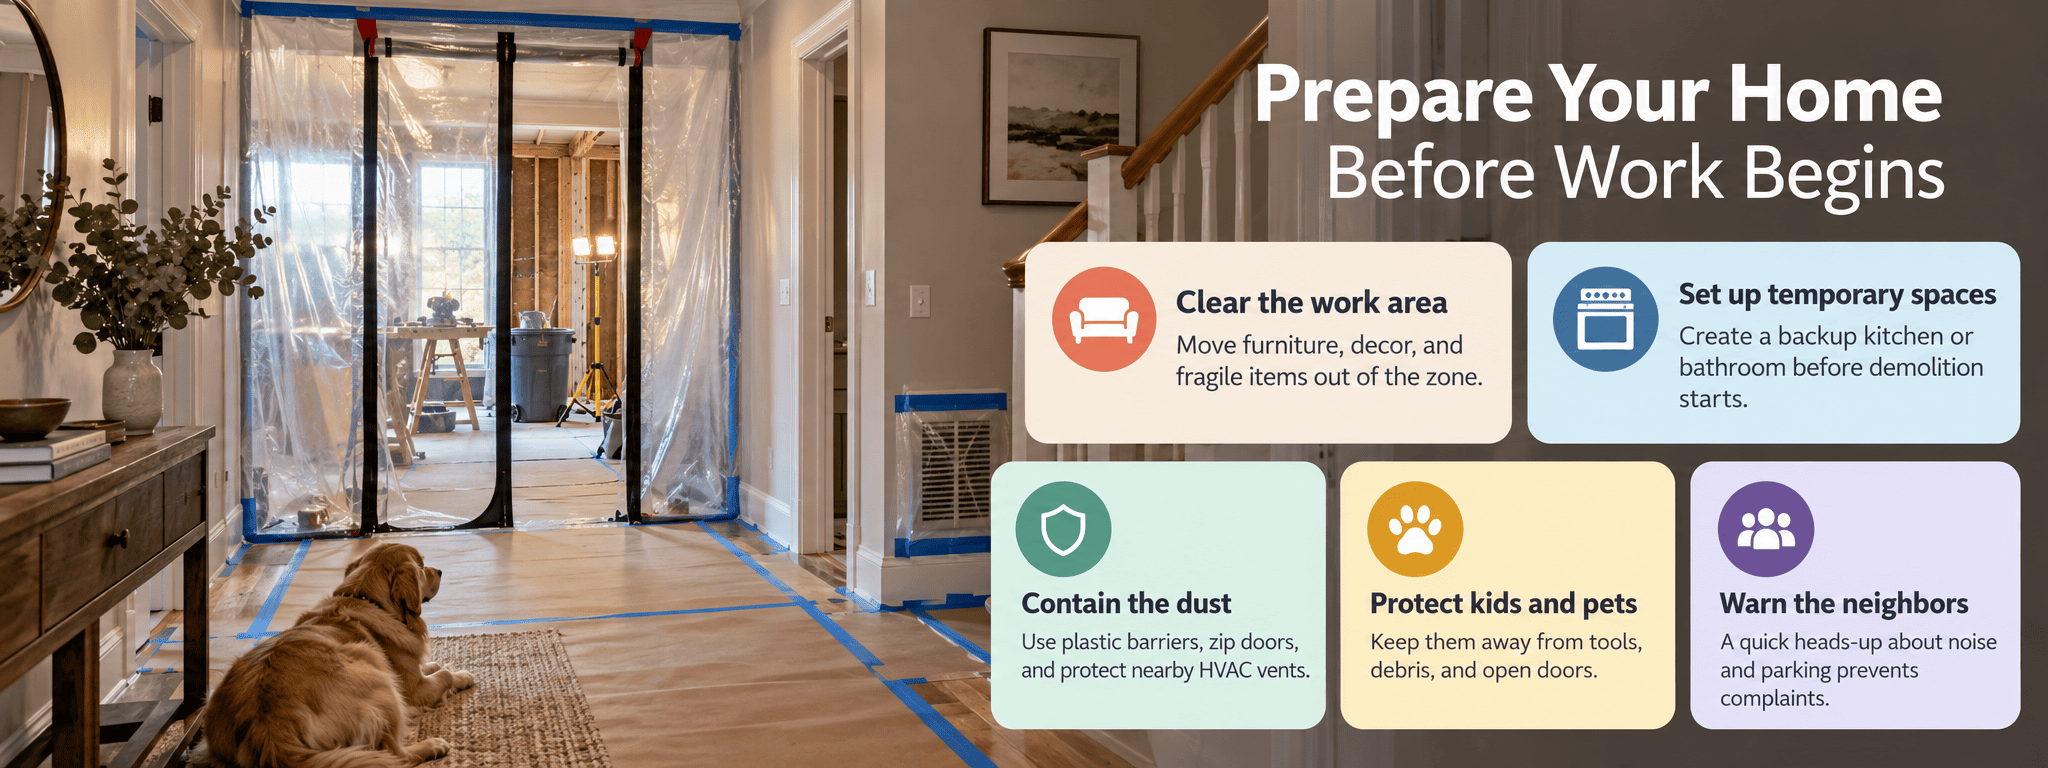
Before the crew arrives, clear the work area, set up temporary spaces, and agree on dust control:
- Clear the work area. Move furniture, art, and anything fragile out of the room and nearby hallways.
- Set up temporary spaces. For a kitchen remodel, set up a microwave, coffee maker, and mini-fridge in another room.
- Contain the dust. Ask your contractor to use plastic sheeting, zip doors, and floor protection. Cover or close HVAC vents near the work zone.
- Plan for kids and pets. Keep them away from tools, debris, and open doors on work days.
- Talk to your neighbors. A quick heads-up about noise, parking, and dumpster placement prevents complaints.
How to Keep Your Renovation on Track
Once construction starts, weekly check-ins, written change orders, and running budget tracking keep small problems from turning into delays:
- Hold a short weekly check-in. Review progress, the next week’s work, and any decisions the contractor needs from you.
- Put every change in writing. A signed change order should list the new work, its cost, and how it affects the schedule.
- Track spending as you go. Compare invoices against your budget so the cushion isn’t gone before the finishes.
- Keep one project folder. Store the contract, permits, receipts, warranties, and product manuals in one place.
- Walk through before paying. Check completed work against the contract before each progress payment.
DIY or Hire a Pro?
Good DIY project if…
- The work is cosmetic: paint, hardware, or simple trim
- The job doesn’t need a permit or inspection
- You have the time to finish before the room is needed again
- A redo wouldn’t cost much if something goes wrong
Call a pro if…
- You’re moving walls, plumbing, gas lines, or electrical
- The project needs permits and inspections
- Several trades need to be coordinated
- Your home was built before 1978 and the work disturbs paint
- You need the project finished on a firm deadline
For projects with several trades, a remodeling contractor handles the scheduling, permits, and inspections for you.
Common Mistakes to Avoid
- Starting without a finished plan. Changes after work begins usually add both cost and time.
- Budgeting with no cushion. Hidden rot, outdated wiring, or water damage often turn up once walls are open.
- Choosing on price alone. Compare what each bid includes, line by line, before you compare the totals.
- Skipping permits. Work done without a required permit may have to be opened up for inspection or redone, and it can complicate a sale.
- Ordering materials late. Backordered items can stall a project for weeks.
- Living in the work zone without a plan. Set up a temporary kitchen or bathroom before demolition.
Final Thoughts
Successful home improvement planning starts long before demolition. Define your goals, set a budget with a cushion, and plan a layout that fits how you live.
Check permits and safety rules, get written estimates and a detailed contract, and schedule the trades in order. Handle cosmetic work yourself if you like, and bring in licensed pros for structural, electrical, plumbing, and multi-trade projects.